Hot! Hot! Hot! Part 5

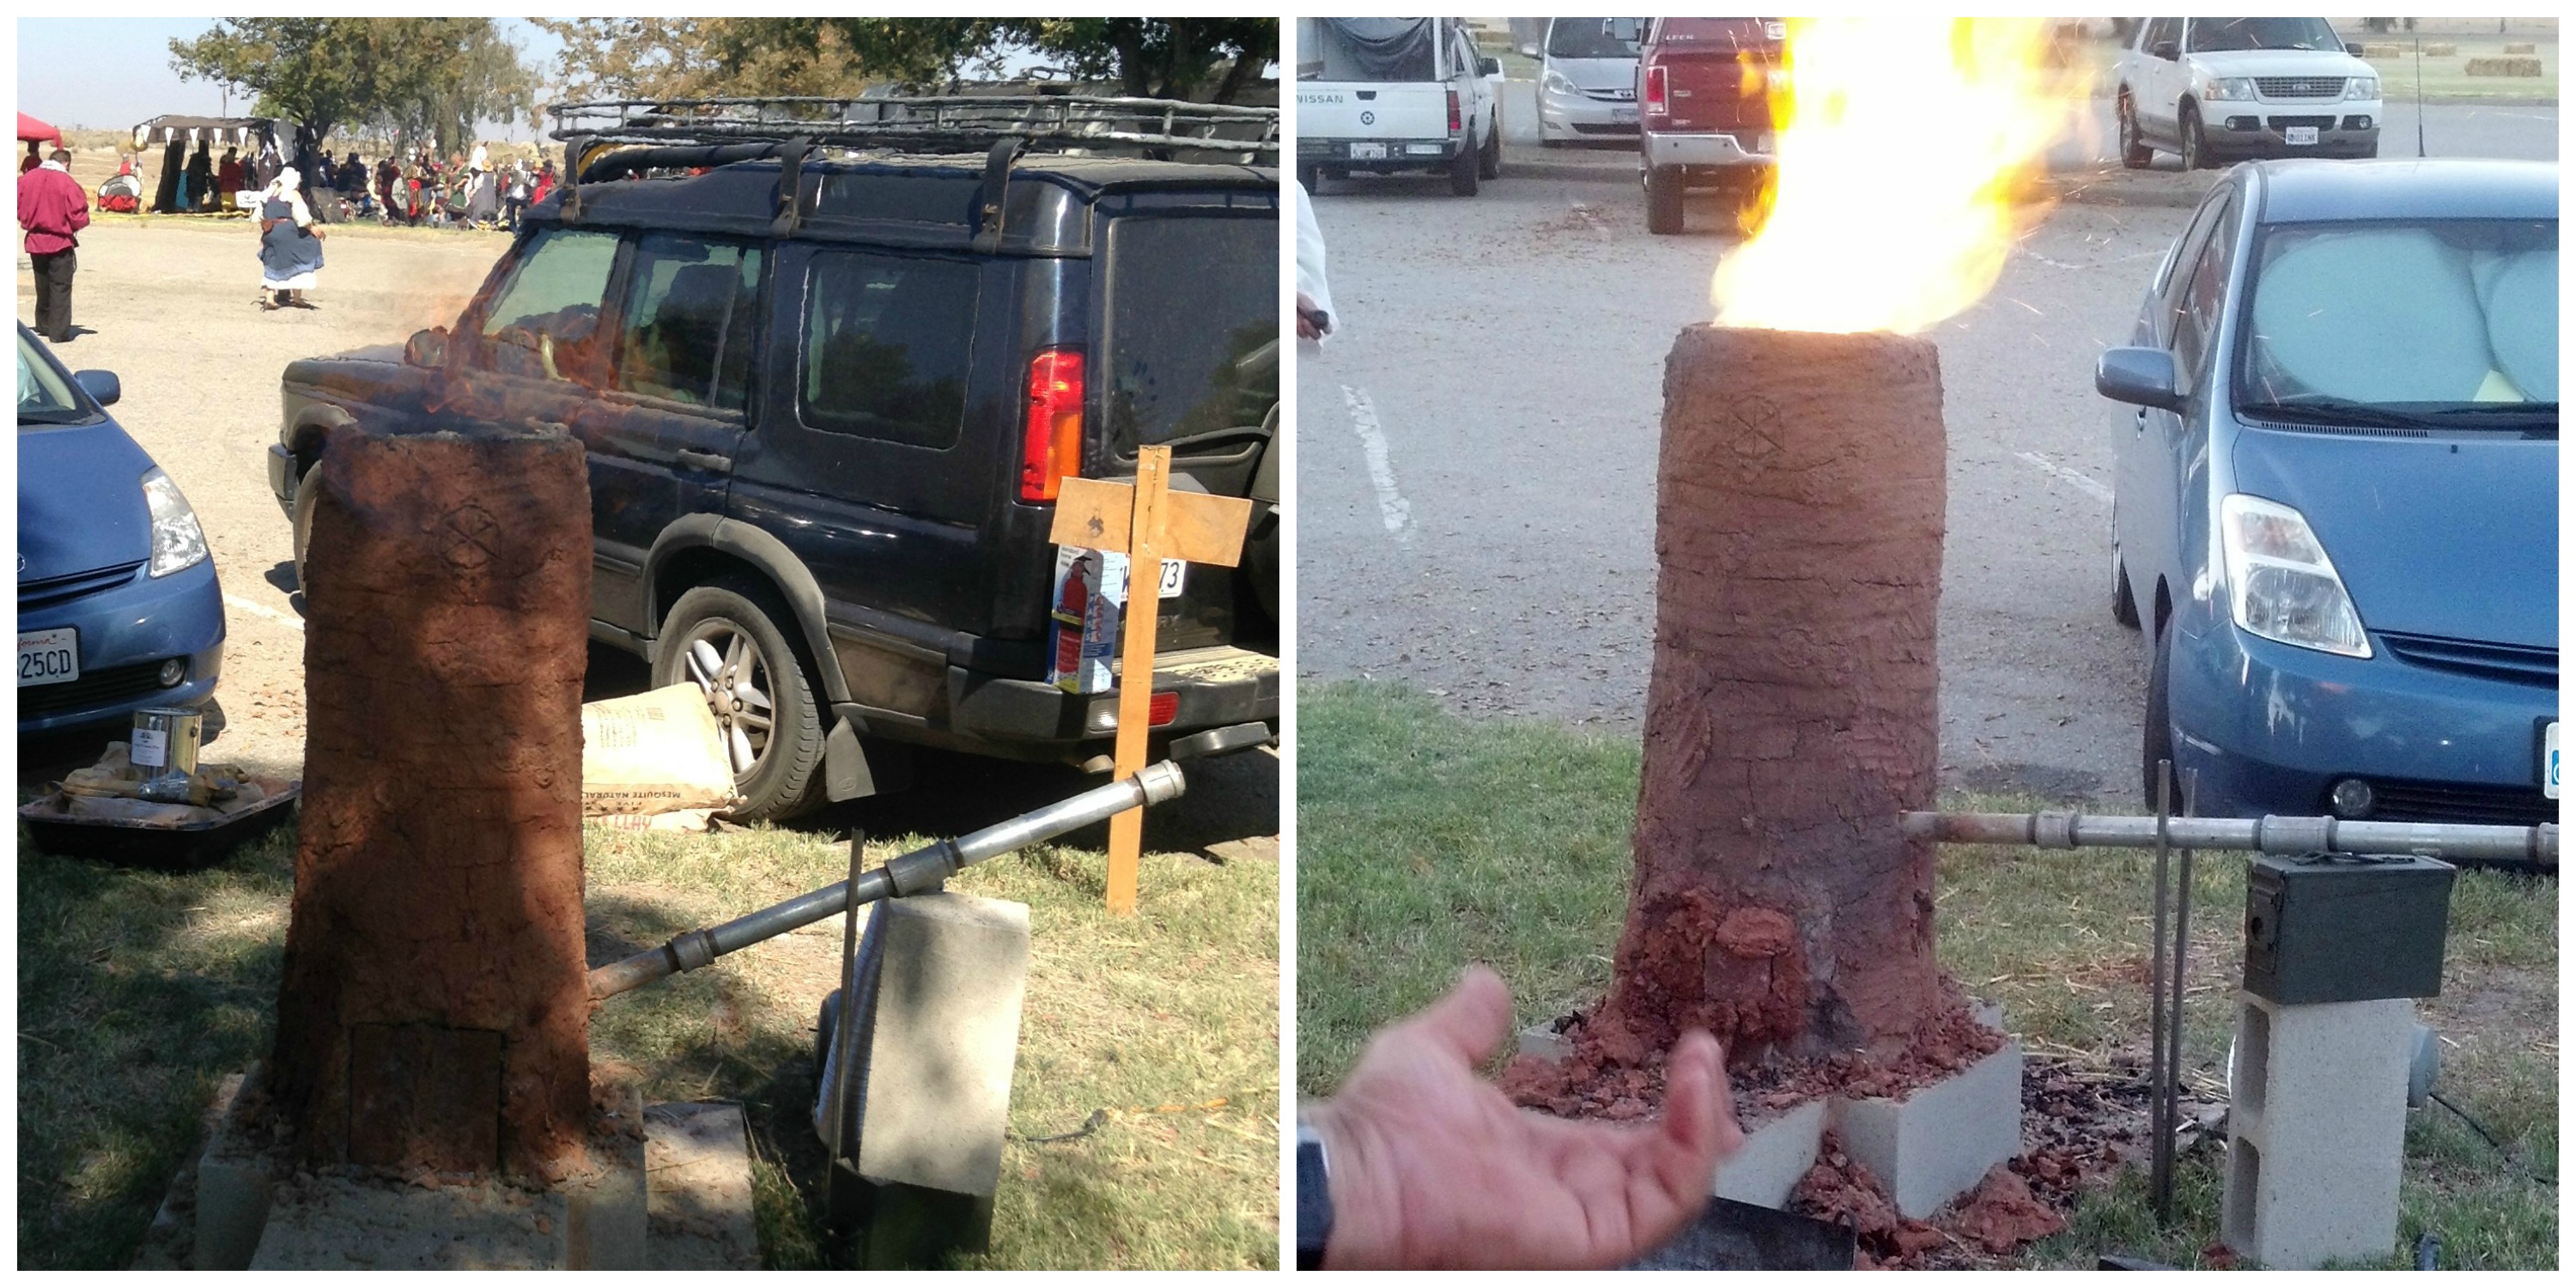
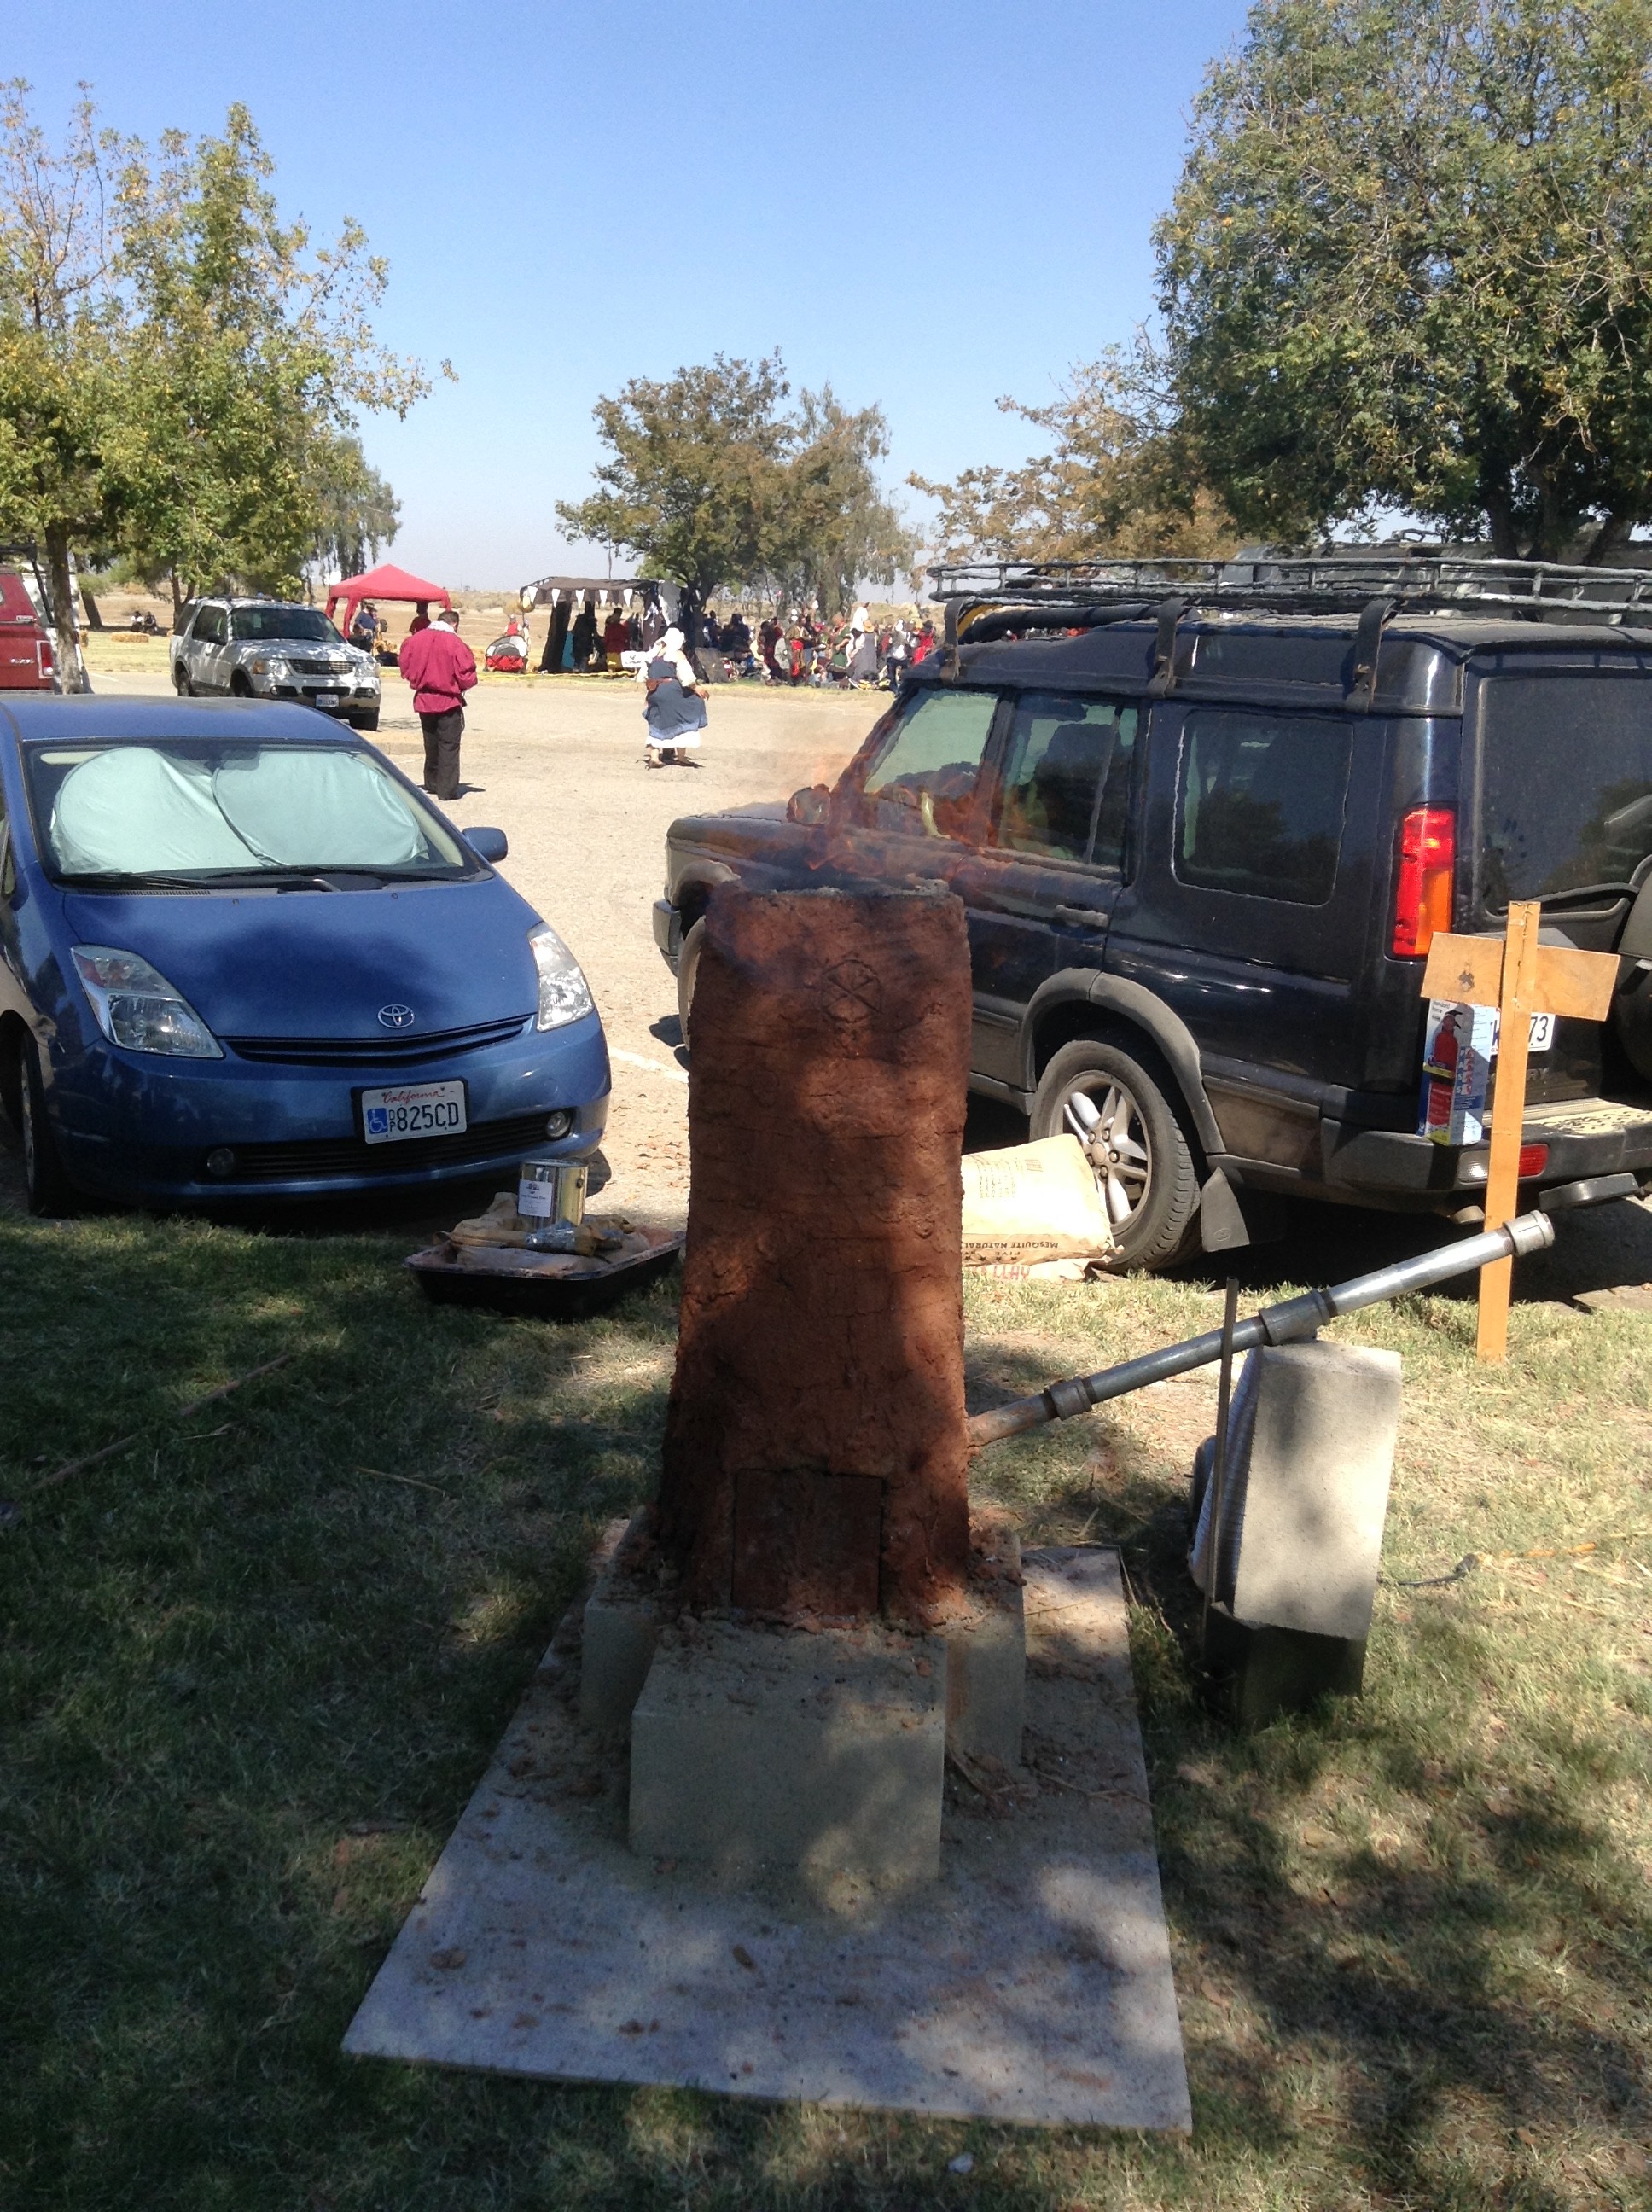
So last time we were biting our nails wondering what would happen when the guys who were working on the Iron Smelting Furnace finally opened it! Well, first, let us give credit where credit is due! The smelting furnace, also called a bloomery, was created and operated by Otuell, Erikr, and Damales.

Second, you need to understand the next steps in the process (the steps that I list are a rough approximation of the process and are only used in small scale production like this one). So, when a smelting furnace is opened, the iron should have melted out of the iron ore and formed what is called a bloom. This is just a mass of iron; porous and usually with slag around the outside. This bloom is removed from the furnace and placed in a blacksmith’s forge, and the air flow is increased to increase the heat and prepare the bloom for consolidation. This consolidation is accomplished by a considerable amount of hammering (forging) with a sledge hammer, followed by reheating, and more hammering. This process causes the slag to break off and the metal to be welded together into a solid mass. This process is repeated over and over again until the iron is “ready”.

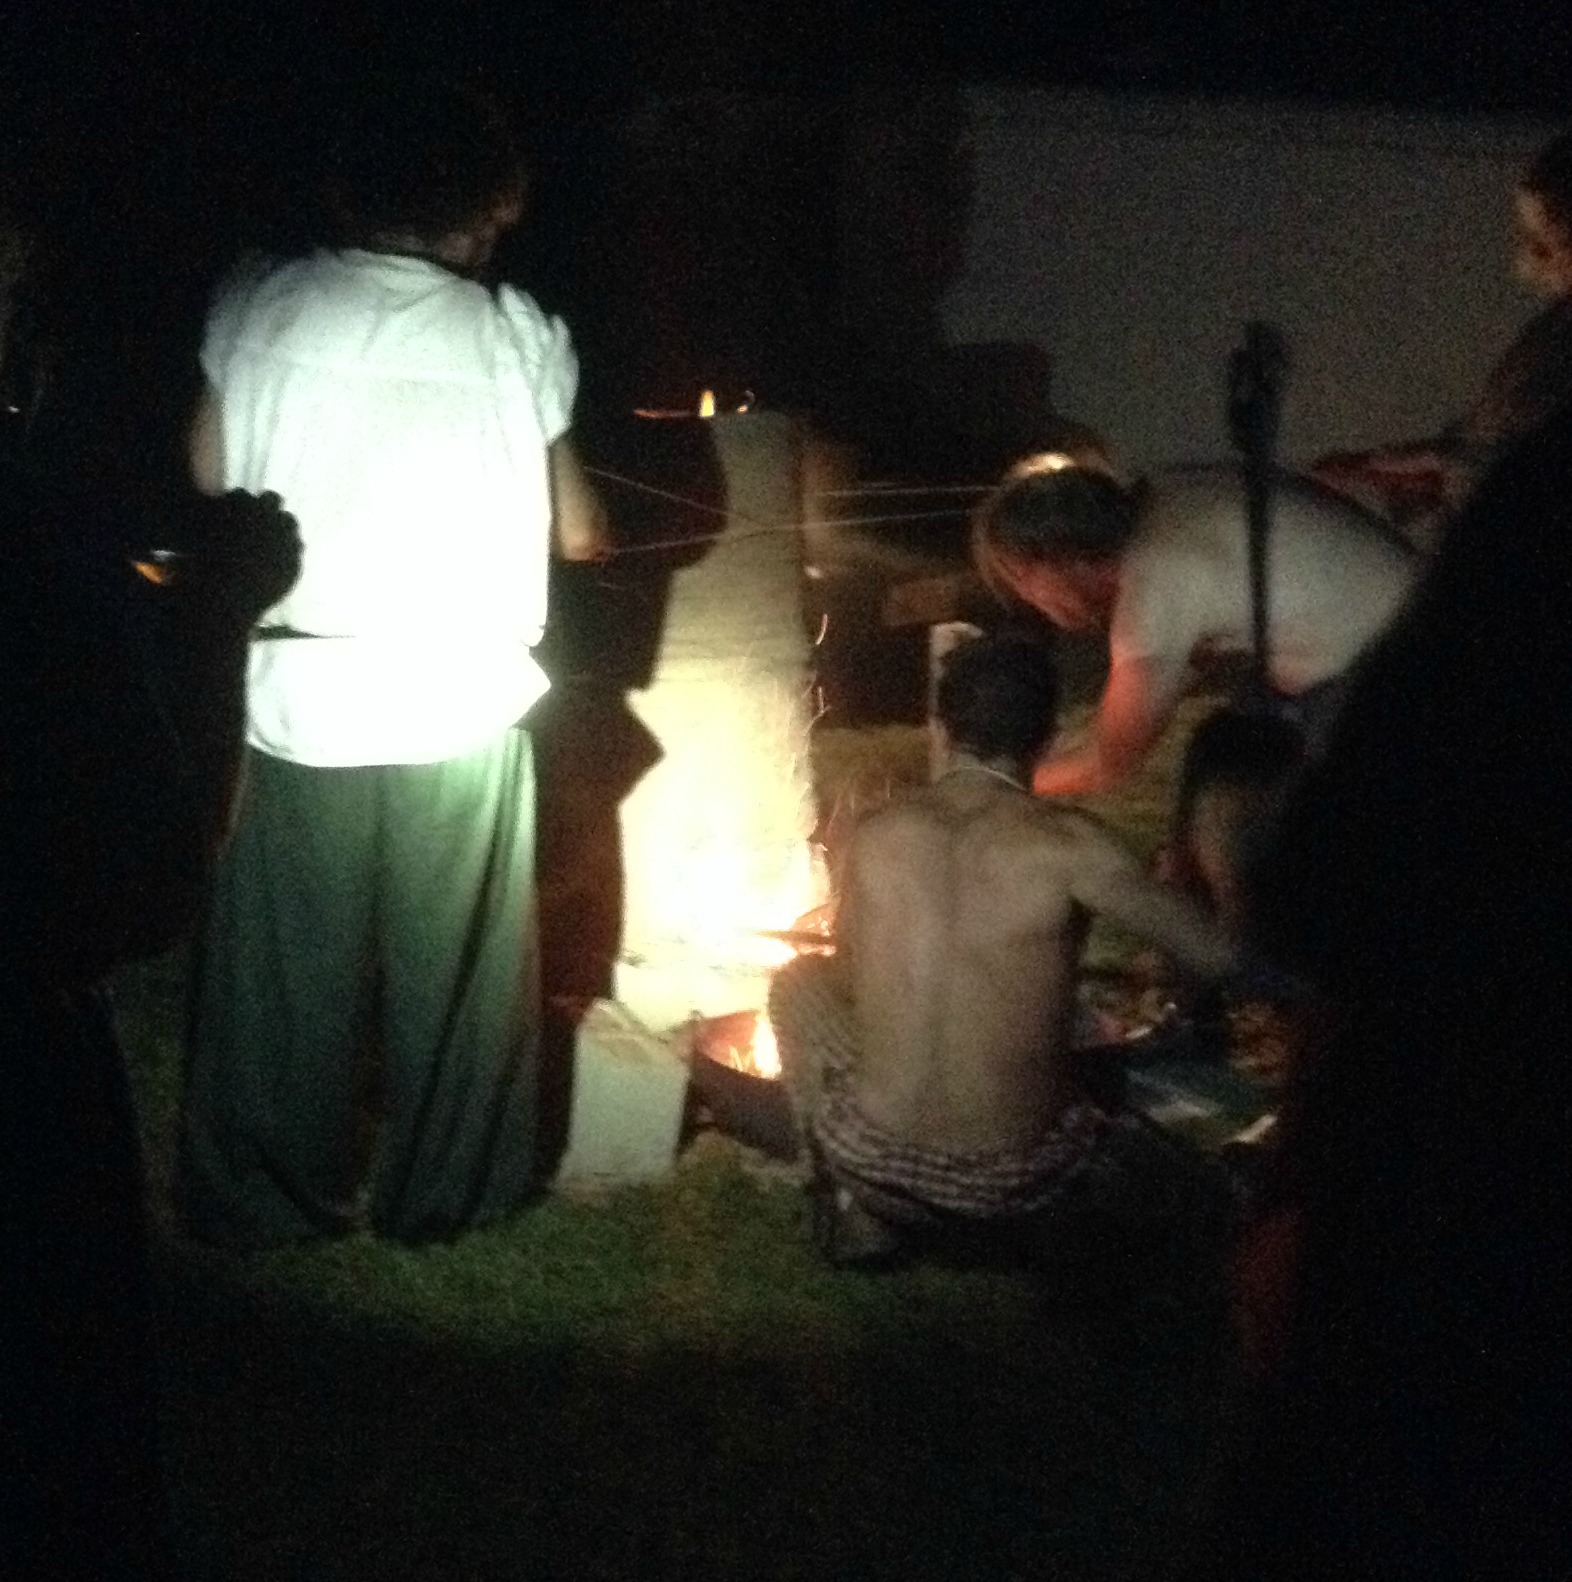
Having watched this process at Great Western War, all I can say is Wow! The fact that all of this process was occurring after dark made it equally impressive because it was easy to see the sparks flying and the glow of the forge and the bloom.

So first let’s take a look at the first good photo that I have of the bloom. Notice the large glowing mass in the picture? Well, that is it! I believe that it had already been hammered on once when this picture was taken, so it started out even bigger.

bloom at the beginning cropped

Then it goes back into the forge and the airflow is increased. Very impressive.

iron in the forge 2 cropped

And this is what it looks like when it is pulled out of the forge with a pair of long handled tongs and the hammering continues. Sparks everywhere!

forging with lots of sparks cropped

And now a couple of videos, just to show a few of the challenges that the workers faced. This short one shows a little hammering, and an unsuccessful transfer back to the forge for more heat. The person on the far left is actually using hose to put out any sparks and cool the many pieces of random slag that flew around.

Video of hammer and drop

This longer video allows you to hear the change in pitch as the iron is consolidated. You can hear the hammer sounds take on a much more solid tone. You also get to see some rather large pieces of slag fly off and be wet down, and here the cry of “slag be gone!”

slag be gone

And in this last video we can see the bloom consolidations, being turned and hammered. The background conversation discusses the process. I have other videos, but the intelligent conversation in this one beat out some of the funnier adult conversations.

last forging video with conversation

I hope that this gives you an idea of just how much work went into the process! This is how iron was produced for a very long time. It really makes you understand why iron was such a valuable commodity.

Hot! Hot! Hot! Part 4

And last time we asked the question – but what about the iron smelting?

I was delighted to hear that there was going to be an iron smelting furnace just a hundred yards from my shop at Great Western War. It meant that I could go by a couple of times a day to watch it being built and with any luck I would also be able to be there when the furnace was opened. I have been to events with smelting furnaces before, but this was just so darn convenient, and I was determined to take advantage of it!

So exactly what is a smelting furnace? Well it is the furnace that you use to melt the metal out of metal bearing ore. In this case, the furnace was being used to melt the iron out of iron ore.

Now I have to admit, I have not spent any great amount of time studying ore furnaces. They require a considerable amount of heat, and therefore a considerable amount of fuel and the proper amount of air flow. Historically they come in many different sizes and forms and people who understood the magic of creating and working metal were held in serious esteem.

I remember a number of years ago there was considerable excitement over the discovery of blast furnaces for producing high carbon steel in Sri Lanka. The very cool thing about these furnaces was that they used the monsoon winds to provide the needed draft for the furnaces…in the first millennium AD. That’s right! While most people were frantically pumping on double bellows systems to make their furnaces work, these folks were letting Mother Nature do the work for them. They were producing monumental quantities of metal, for the time frame.

But getting back to the project at hand, the basic needs are a furnace, fuel, iron ore and a reliable source of air flow. Obviously, the first step is creating the furnace. In the case of this temporary furnace, a combination of fire brick and clay were used to create the basic shape. The form of this furnace is basically a chimney filled with LOTS of charcoal (the real stuff, not charcoal briquettes), and iron ore, and using an electric blacksmith’s blower to provide the air flow to make the charcoal burn really, really hot.

During the day it was difficult to see the fire from the iron smelting furnace because it was burning so hot and clean, but as it started to get dark it looked like an angry volcano. This picture shows the furnace during the day, and then just before dusk they reset the air source because it had become partially blocked with slag, and whoosh, a truly impressive display! Just goes to show what proper airflow will do for you!

furnace collage

They ran the furnace for several more hours until it was determined that the furnace was ready. I have the feeling that ancient people’s would have had some sort of science behind when they decided to crack open a furnace, but since most of us modern folks have never done this before, I was just delighted that someone warned me that they were about to open the furnace, so that I wouldn’t miss it. I got down there in time to see the process begin. Here is a picture of the men breaking into the furnace…after dark…by flashlight. It was really exciting. (I almost said “cool”, but actually it was incredibly hot!)breaking into the furnace

And what happened next? Well, we will talk about that next time.

Hot! Hot! Hot! Part 2

Well, last time I wrote my blog on the fly on my iPad. I had just finished packing up and leaving from Great Western War in Bakersfield, CA, and I was totally psyched about the very cool, and very hot, activities that I had participated in. It was the sort of experience that makes you genuinely excited about your craft and reminds you why you got involved in all of this in the first place.

Thanks to the miracle of the internet I now have more information to share about the people and things that were going on. The bead furnace at GWW was made by Thea Northernridge, Maeve Douglass, and crew, from the Kingdom of Caid. I have seen several bead furnaces over the years, most courtesy of Keeley the Tinker (Kingdom of the Midrealm), who has been researching and experimenting with pre-1600 glass bead furnaces for a considerable number of years. The GWW bead furnace is based on Keeley’s work and the plans that she made available to the group. The plans produce a furnace that can be completed quickly and used quickly. While not completely period it gives the impression of a period furnace, and it does work well enough to allow people to make beads. Not all experimental furnaces actually function.

I am not using any formal titles for any of the folks who are involved with this project. Several people have several titles, some people’s titles that have changed since older documents were published, and to be honest, my goal is to give as much credit as I can to the folks who did the work. I have several titles and names. My favorite one to answer to? Eirny.

Like many things that happen at events, this bead furnace project became a cooperative project. Through a series of mishaps people who had planned to help could not attend, but another group, who were planning to build an iron-smelting furnace, pitched in. And the rest is history. A pseudo-historic bead furnace and an iron smelting furnace were both built down at the end of merchants’ row, right next to the blacksmith shop. Great piles of red clay and charcoal became baked receptacles for glass and iron ore. And to be blunt, it was just plain exciting. I stopped by as often as I could to watch the progress of the construction and firing of the bead furnace and the smelting furnace. Great lengths were taken to make sure that water and fire extinguishers were at hand and that everyone was safe. Here is a picture of the iron smelting furnace, complete with some fire.

Iron Smelting Furnace

I realize that not everyone has seen a bead furnace in person, and many people may not have even seen glass beads being made. I went in search of a good video that would show how Viking style glass bead furnaces actually work. This is probably one of my favorite videos about ancient glass beadmaking. It shows the building of the furnace, the firing of the furnace, and then the furnace being used to make glass beads. The video was made at the Viking Center outside of Ribe, Denmark, so the commentary is in Danish, but the pictures tell the story very well. I was impressed by the skill of both the clay worker who built the kiln and the glassworker who was making beads. No one knows for sure what a real Viking Age bead furnace looks like, so this is just one of many types that have been made.

Next time: More Glass Bead Furnace and Bead Making