The Way That I Cast: The Lost Wax Process Part 2

Last time we discussed the basic processes for creating waxes for casting. And then we asked: So now that we have waxes, what next? We turn the waxes into a mold.

The waxes are “glued” to special rubber bases using melted wax. The process is called sprueing. Here is a picture of the rubber bases, just after they are done being used.

Rubber flask bases

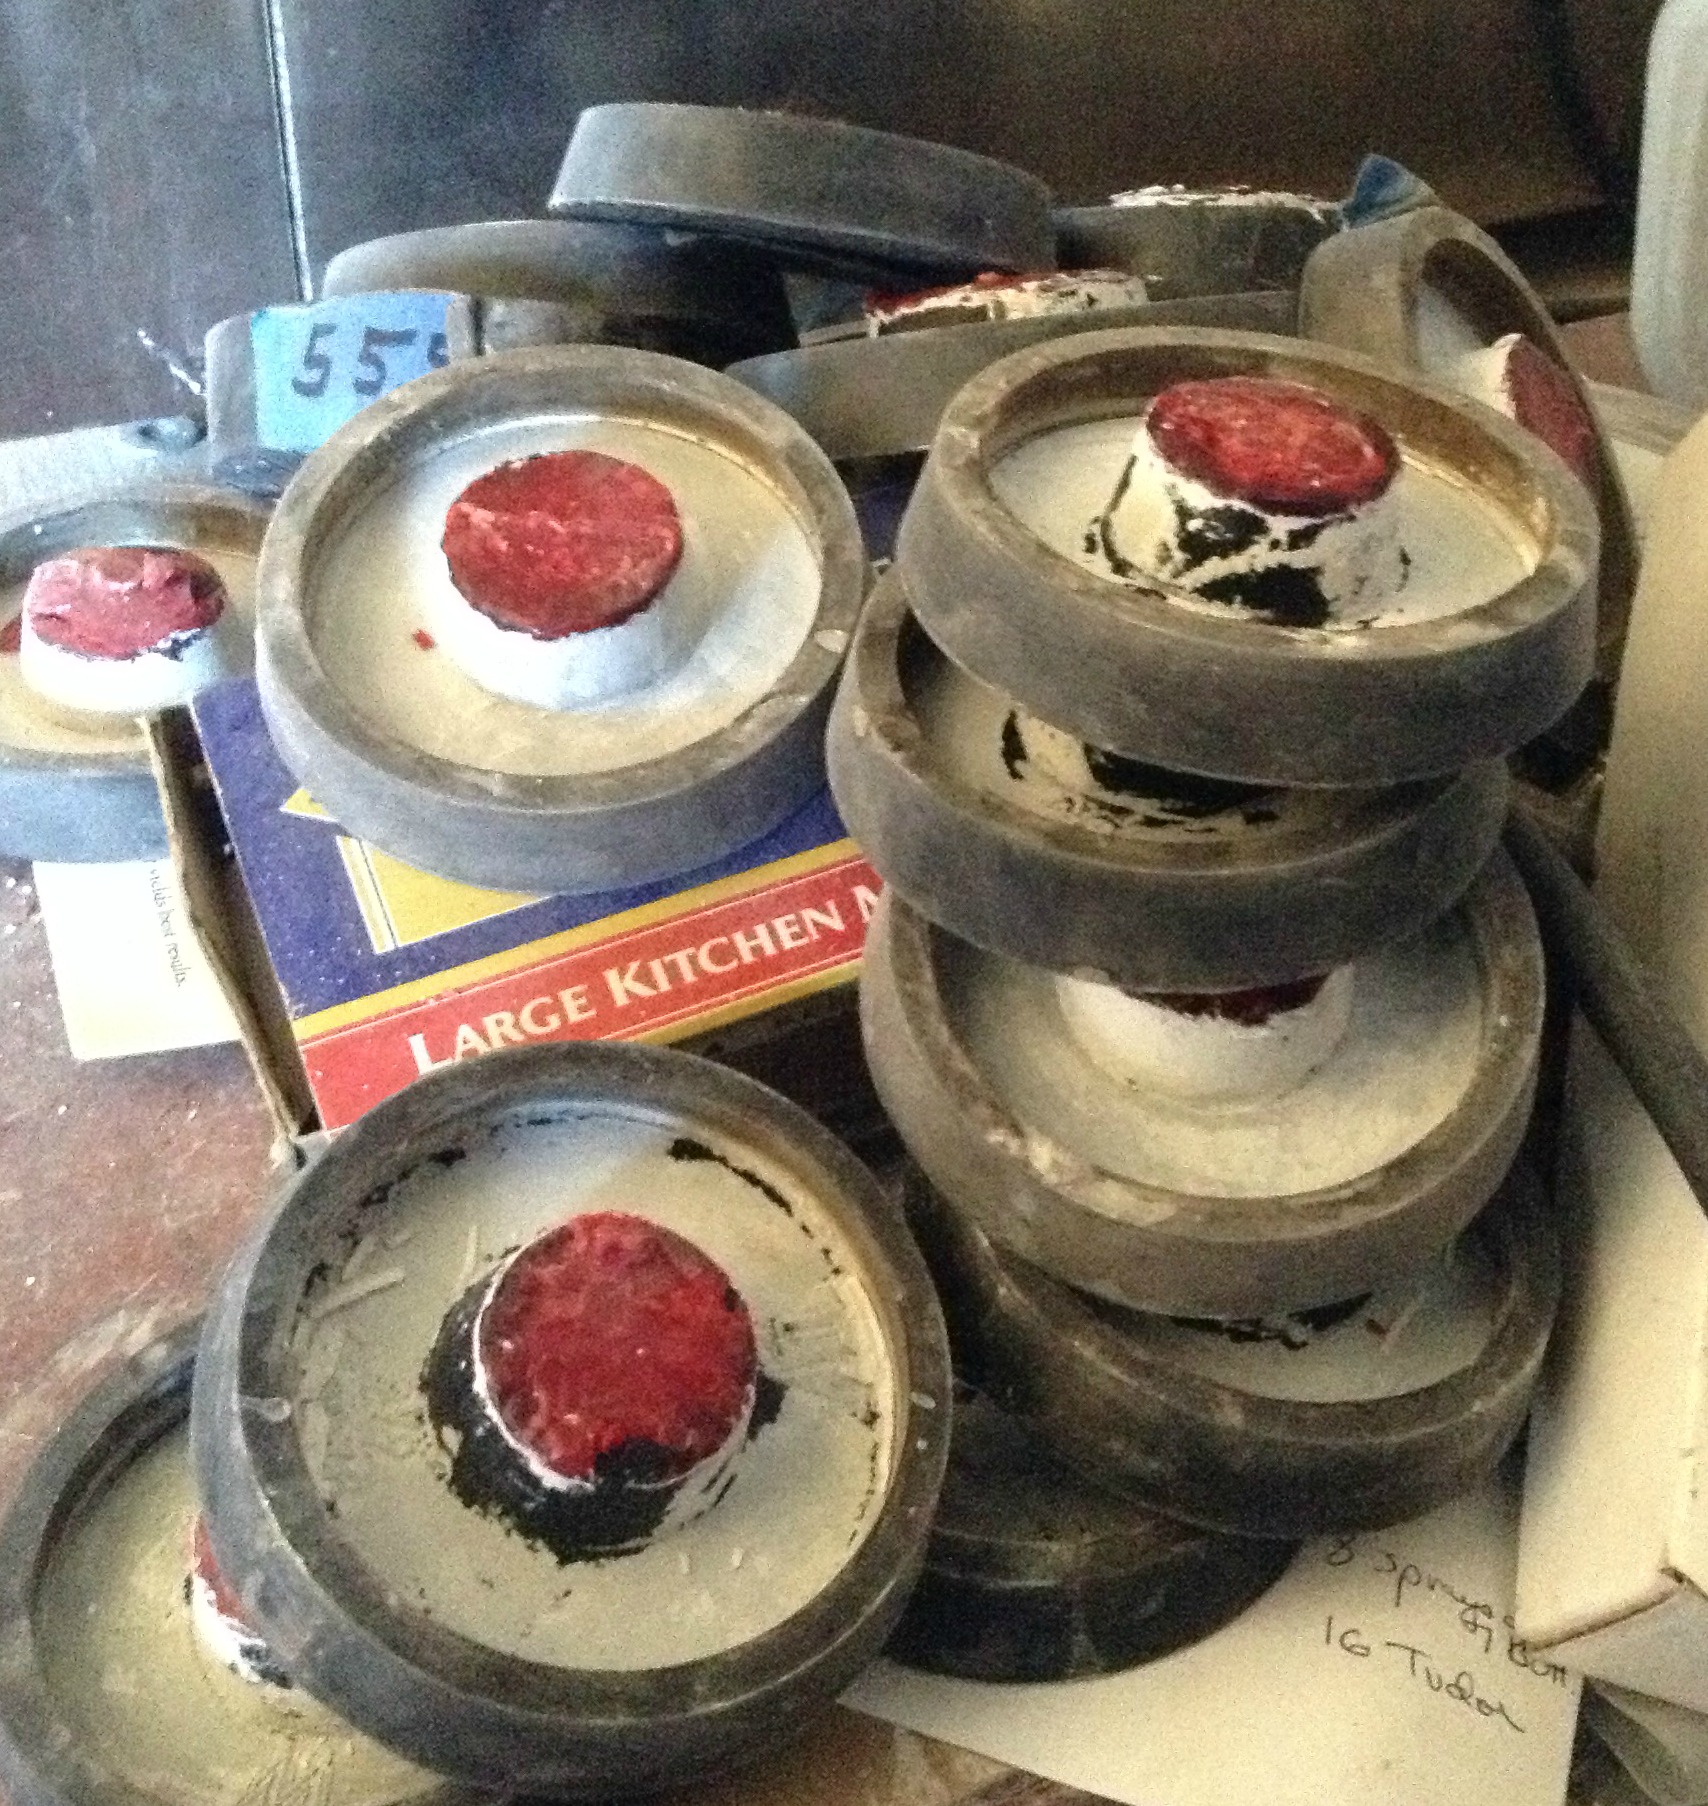
The red area in the center of the bases is wax and the white substance on the bases is investment (we’ll talk about that latter). You can see a number taped to the side of one of the bases in the back of the pile – that is the weight of the base when it is clean (in grams) and has no wax or investment on it.

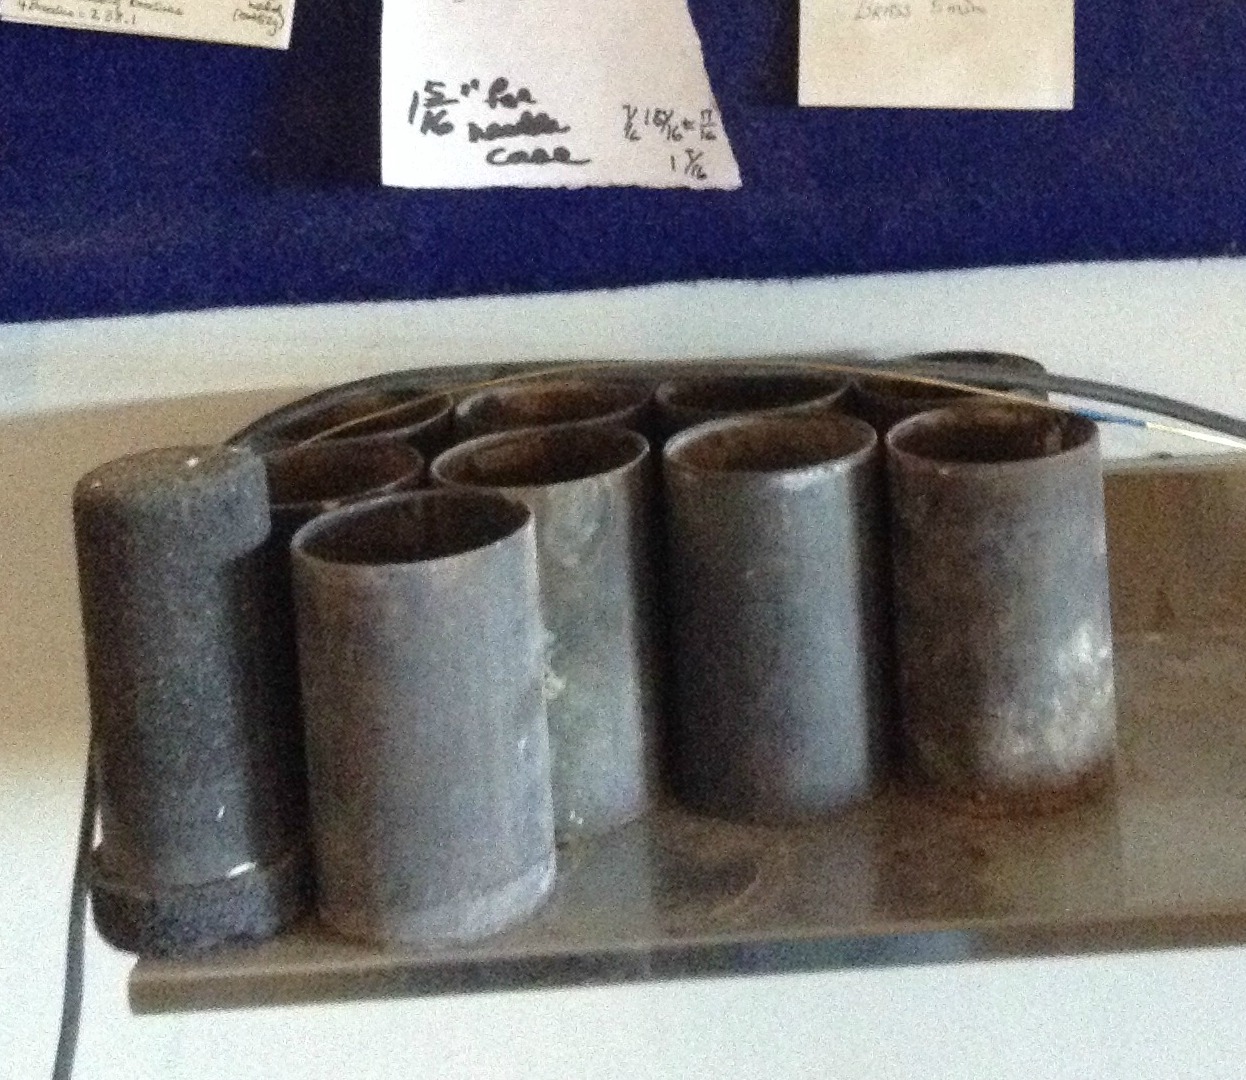
These bases, with the waxes in place, are slid onto the bottom of stainless steel flasks, which are basically just large sections of stainless steel pipe. Here is a picture of some of the flasks waiting on their shelf to be used. The blue board on the wall is a production board with all sorts of production details for a variety of projects. The strange looking black thing on the left side of the shelf is an old graphite crucible (it is upside down). I sometimes use it to measure the scrap metal that I am going to re-melt in my small melting furnace to make sure it will fit in.

Flasks on shelf short version

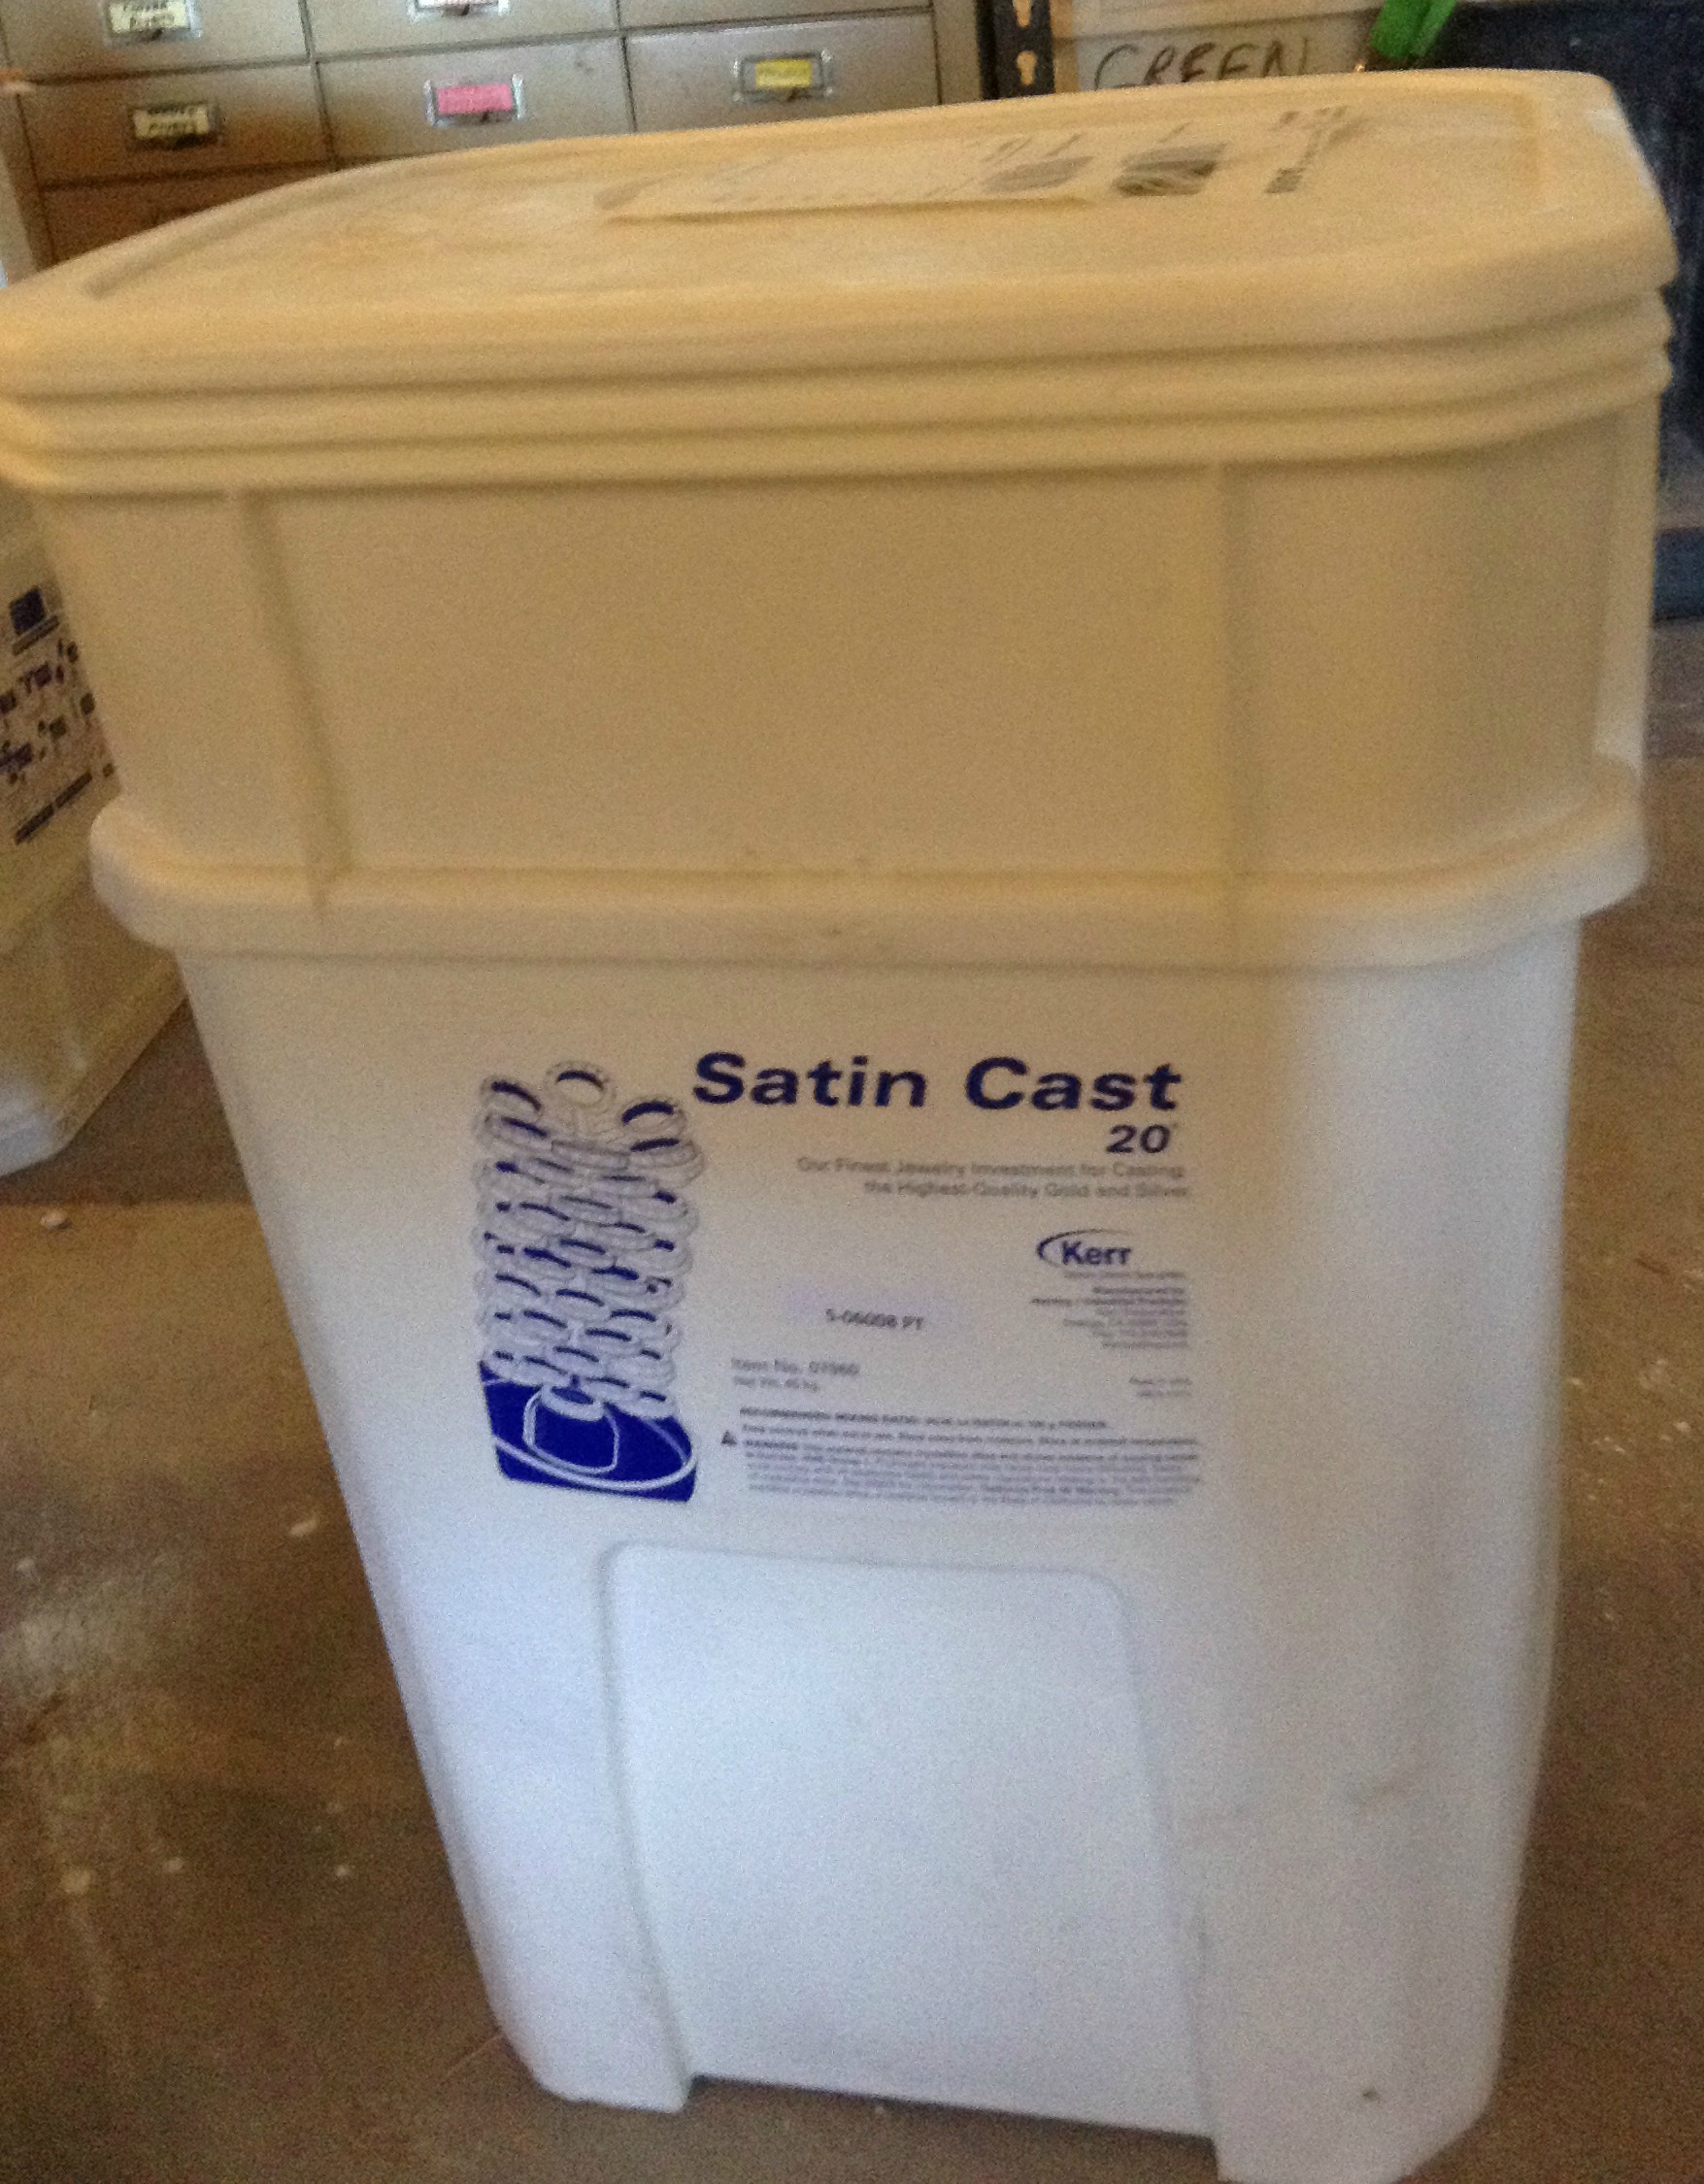
Once the base is on the flask it forms a container for the investment. Investment is just a high temperature material, containing silicon, that looks like Plaster of Paris. It is mixed with water in precise quantities to form a slurry. This is how I buy my investment, in 100 pound plastic boxes.

Satin Cast box

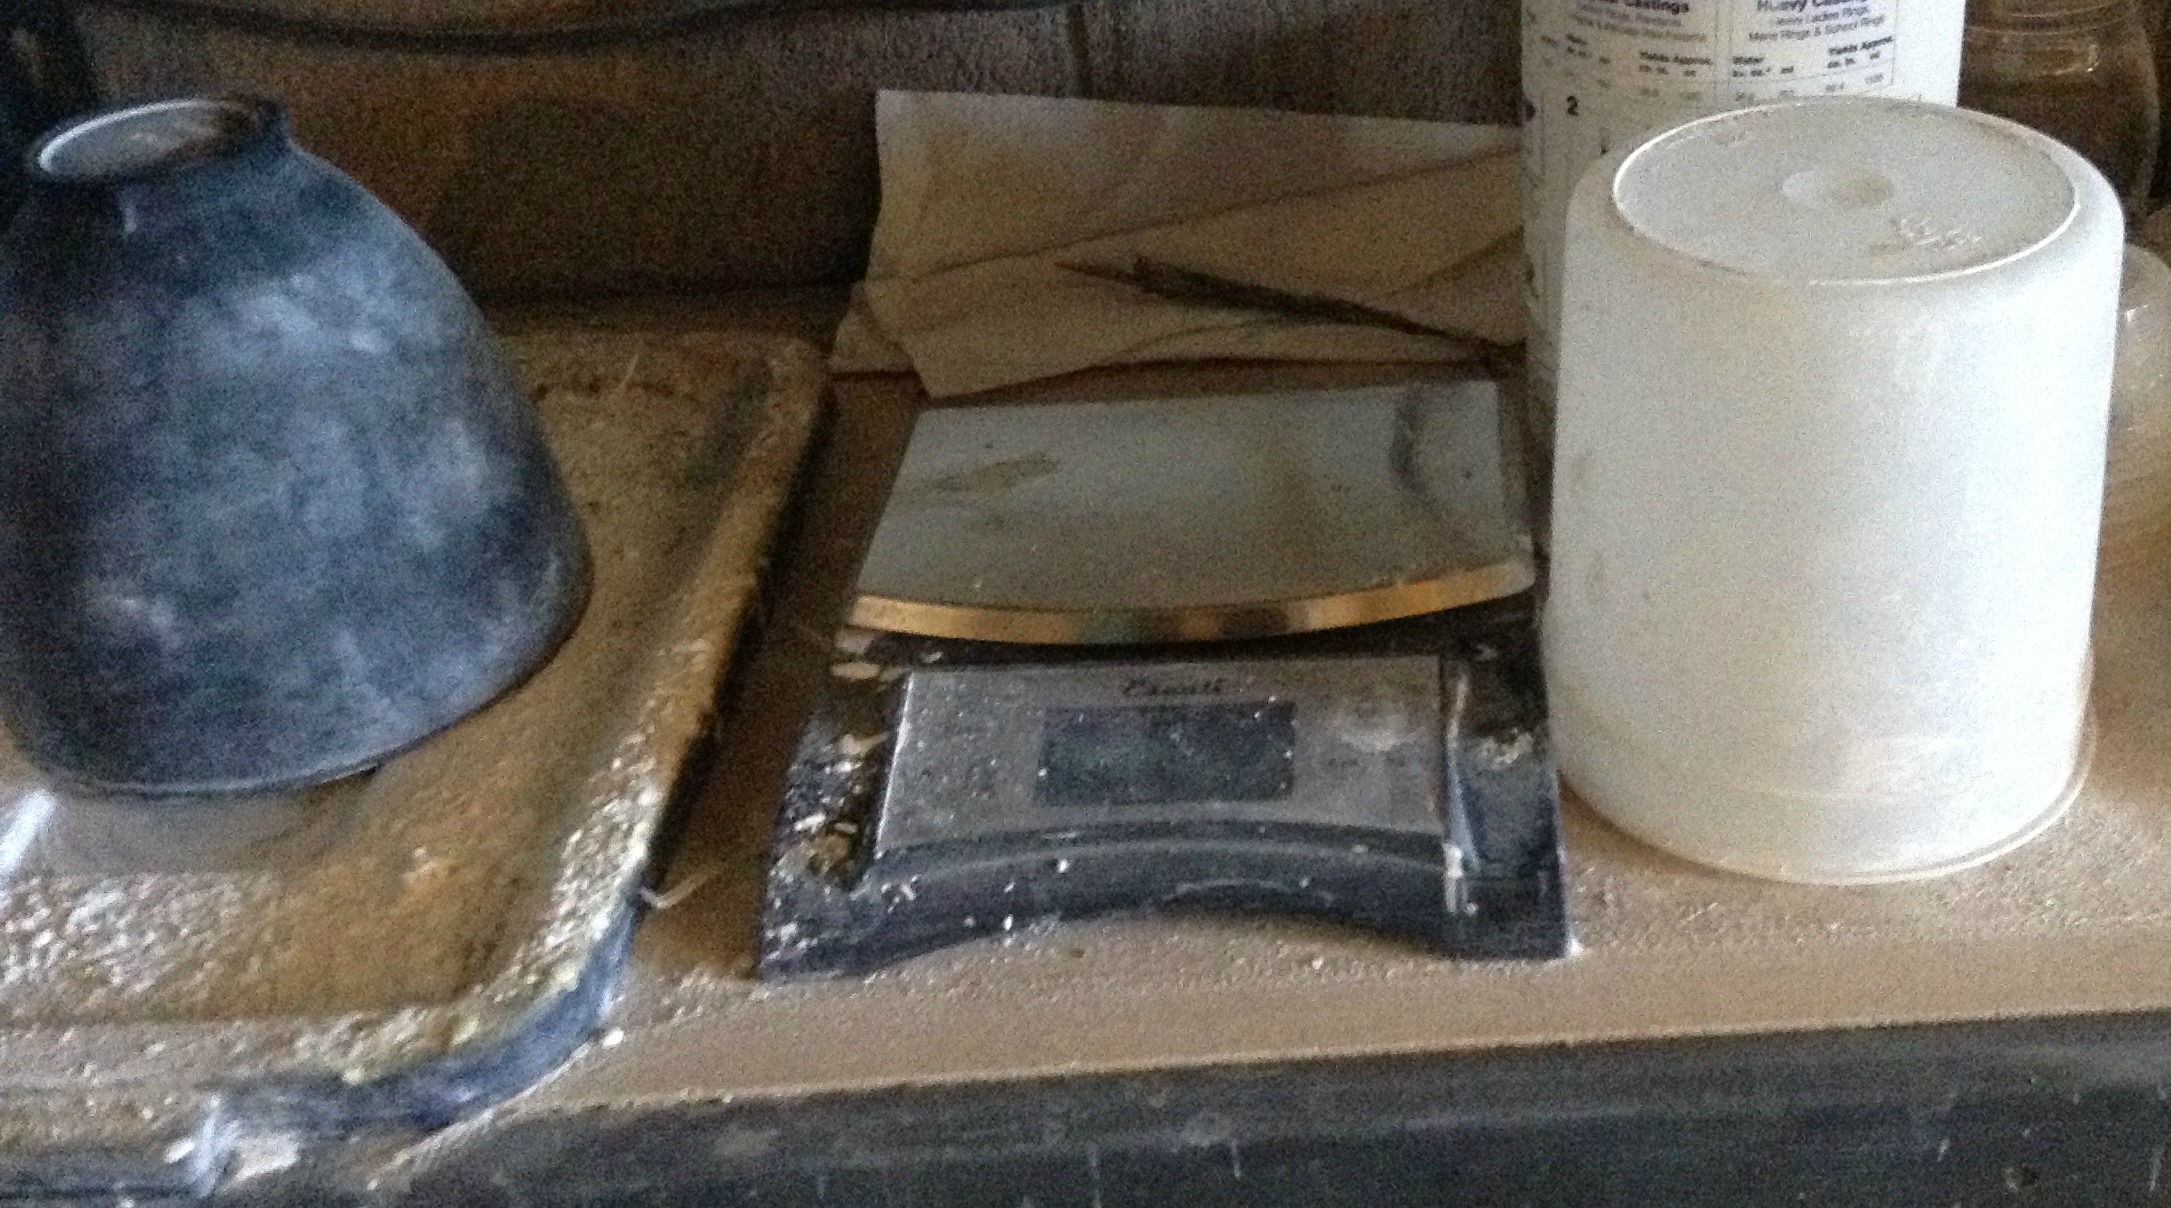
Here is my messy bench, just after weighing the investment. No matter how careful you are this stuff gets everywhere, just like flour. Because the investment contains silicon, which is bad for you if it is inhaled, it is important to wear a good quality dust mask. The upside down rubber bowl on the left is used for mixing the investment with water.

investment weighting

Once a lump-free slurry has been created it is placed in a vacuum chamber to remove air bubbles. The square plate on the top of this vacuum machine has a rubber mat that creates a good seal for the plastic dome that you can see on the left hand side of the machine. It allows the user to create a vacuum chamber that removes excess air that has been trapped in the liquid investment during mixing. Bubbles weaken the structure of the investment and also create lumps on the outside of the cast piece.

Vic 9

Once the investment has been vacuumed it is allowed to harden, the bases are removed, and the flasks are ready to be turned into molds. The stainless steel flasks are placed into a de-waxer, a machine which heats the flasks using steam and allows most of the wax to melt out of the flask. Here is a picture of my de-waxer.

Dewaxer

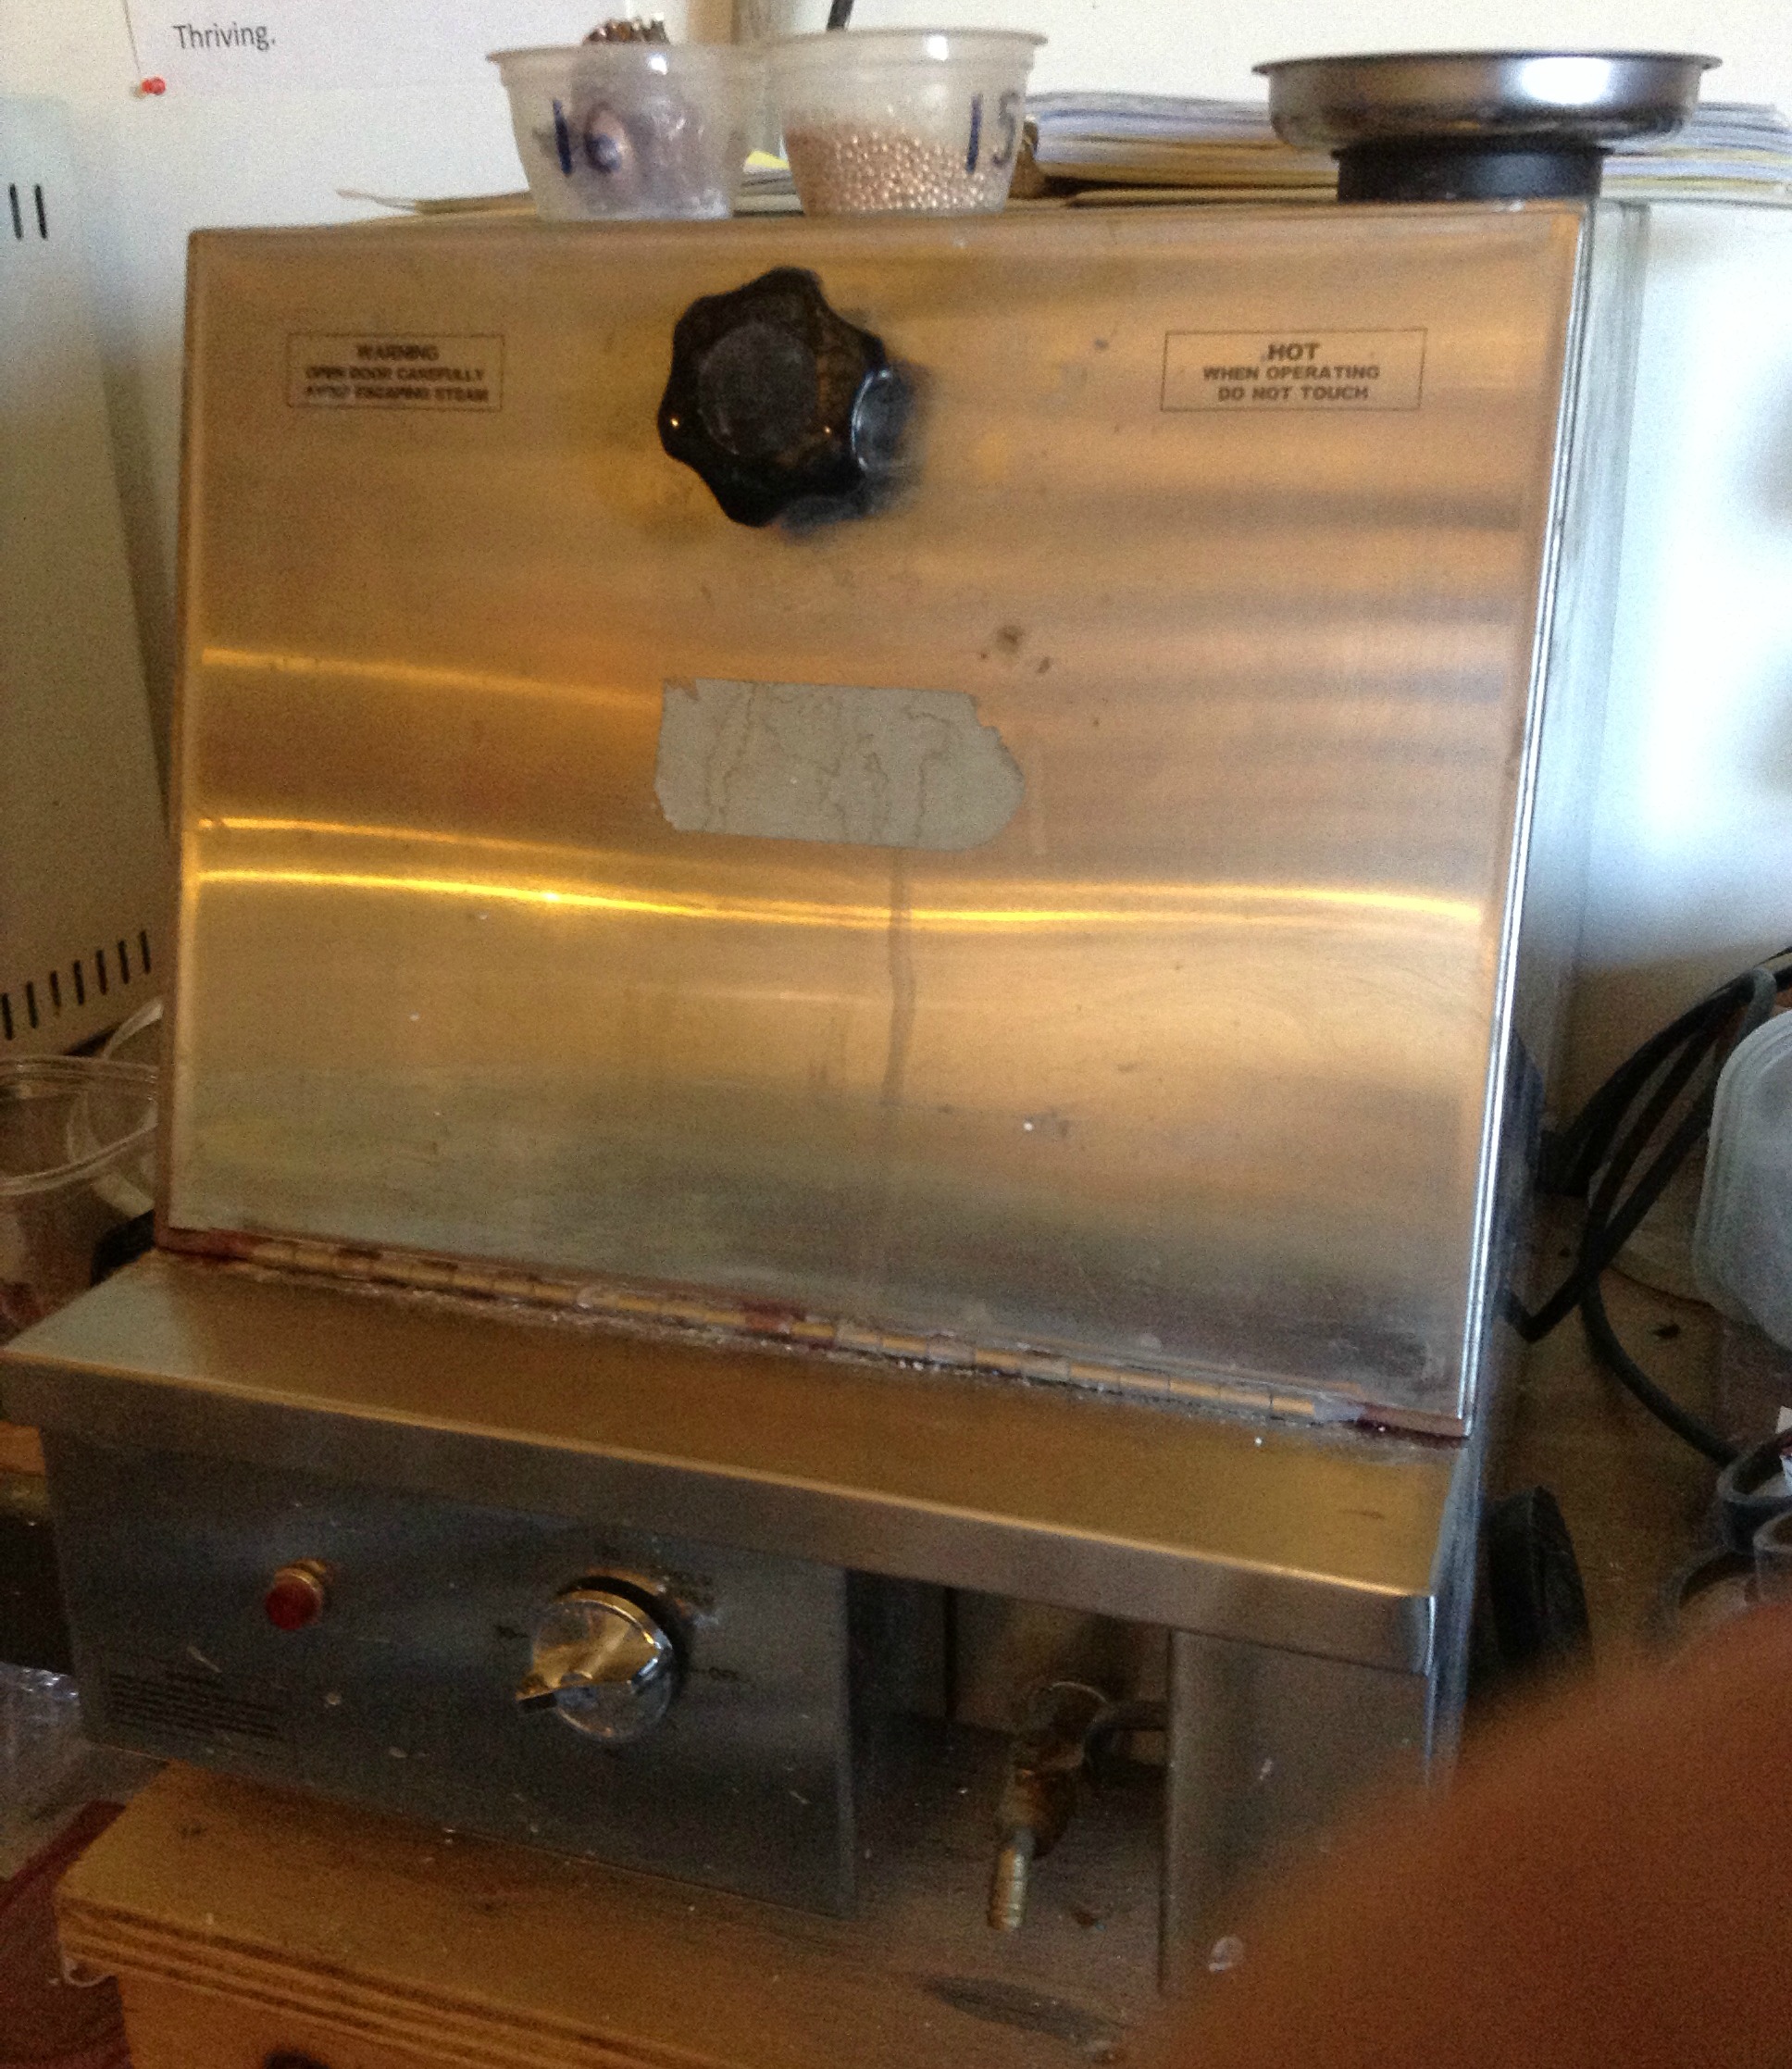
This step is where the process gets its name from – Lost Wax. Removing the wax creates a cavity in the investment that is shaped exactly like the original wax.

What Next: Heat, Heat, and More Heat!

Purses Part 6: The Tip of the Iceberg

Last time I mentioned that there are a considerable number of other types of metal purse frames, including some that are truly odd, and some that are totally over the top.

So first let’s start with an odd one. This next purse belongs to the Museum of London and dates from the 14th or 15th century. It has a single metal support bar. The leather, which is original, is cut in an unusual asymmetrical shape and is beautifully tooled. Be sure to look at both of the pictures, the back is plain, but the front has two incised hearts with lattice patterns. There are no metal purse frame rings or attachments and no obvious indication that there ever were any. The leather is attached directly to the support bar. I would love to be able to see an x-ray of this piece to determine if the original attachments were simply broken off and the support bar was reused, or if it was actually designed that way from the beginning.

After a simple purse like this is seems appropriate to go in a completely opposite direction – all the way to the over-the-top luxury purse. This purse belongs to the British Museum. It is dated to around 1450 and is believed to have been manufactured in France or Flanders. The British Museum actually dismantled the purse frame as part of an effort to conserve the piece, which does show some damage from previous conservation actions. You will notice that this purse frame has even more rings than usual. The smaller partial frame would have created an additional pocket in the purse. The artifact listing has something like nine pictures, including pictures of the purse while it is taken apart. It is a really nice, and fairly elaborate purse frame, but NOT the fanciest that I have seen.

Here is a purse that belongs to the Metropolitan Museum of Art. Made of Iron – a material that most people do not think of a being capable of delicate detail. The top of the purse is a true masterpiece of the iron worker’s art.

And just so that you don’t think that this purse is the only one of its kind, here is one from the Metropolitan Museum of Art collection that is even more magnificent. This piece is also made of iron, and was probably made in France. I have actually seen several of these elaborate “rose window” purse frames in my travels, and they are really quite amazing.

Iron Purse Frame MET

And then there is this purse from the Museum of London. It is a simpler form than the previous two purses, more like the original simple purse frames that we looked at, but the level of decorative detail is outstanding. The Niello decorations and words on the frame are truly masterful. It also shows us another form of purse frame rings that was fairly standard during the 1500 and 1600’s. Be sure to enlarge the image so that you can see the details!

Next Time: Back Down to Earth