My Casting Process Up Close – No It Is Not Instant! Part 3

Last time we ran through some of the basic techniques that I use to process my lost wax cast pieces. And we asked the question : Are We Done Yet?

Well, almost. I use essentially the same process for both bronze and silver. The biggest differences in the way pieces are processed depends on the shape of the piece. Flat pieces, like regalia medals, often require a lot less sanding and polishing than three dimensional pieces, like buttons, or pendants. The Raven Viking Pendant, for instance, has more than one sprue connection that needs to be cut and polished off for each piece (three to be exact).

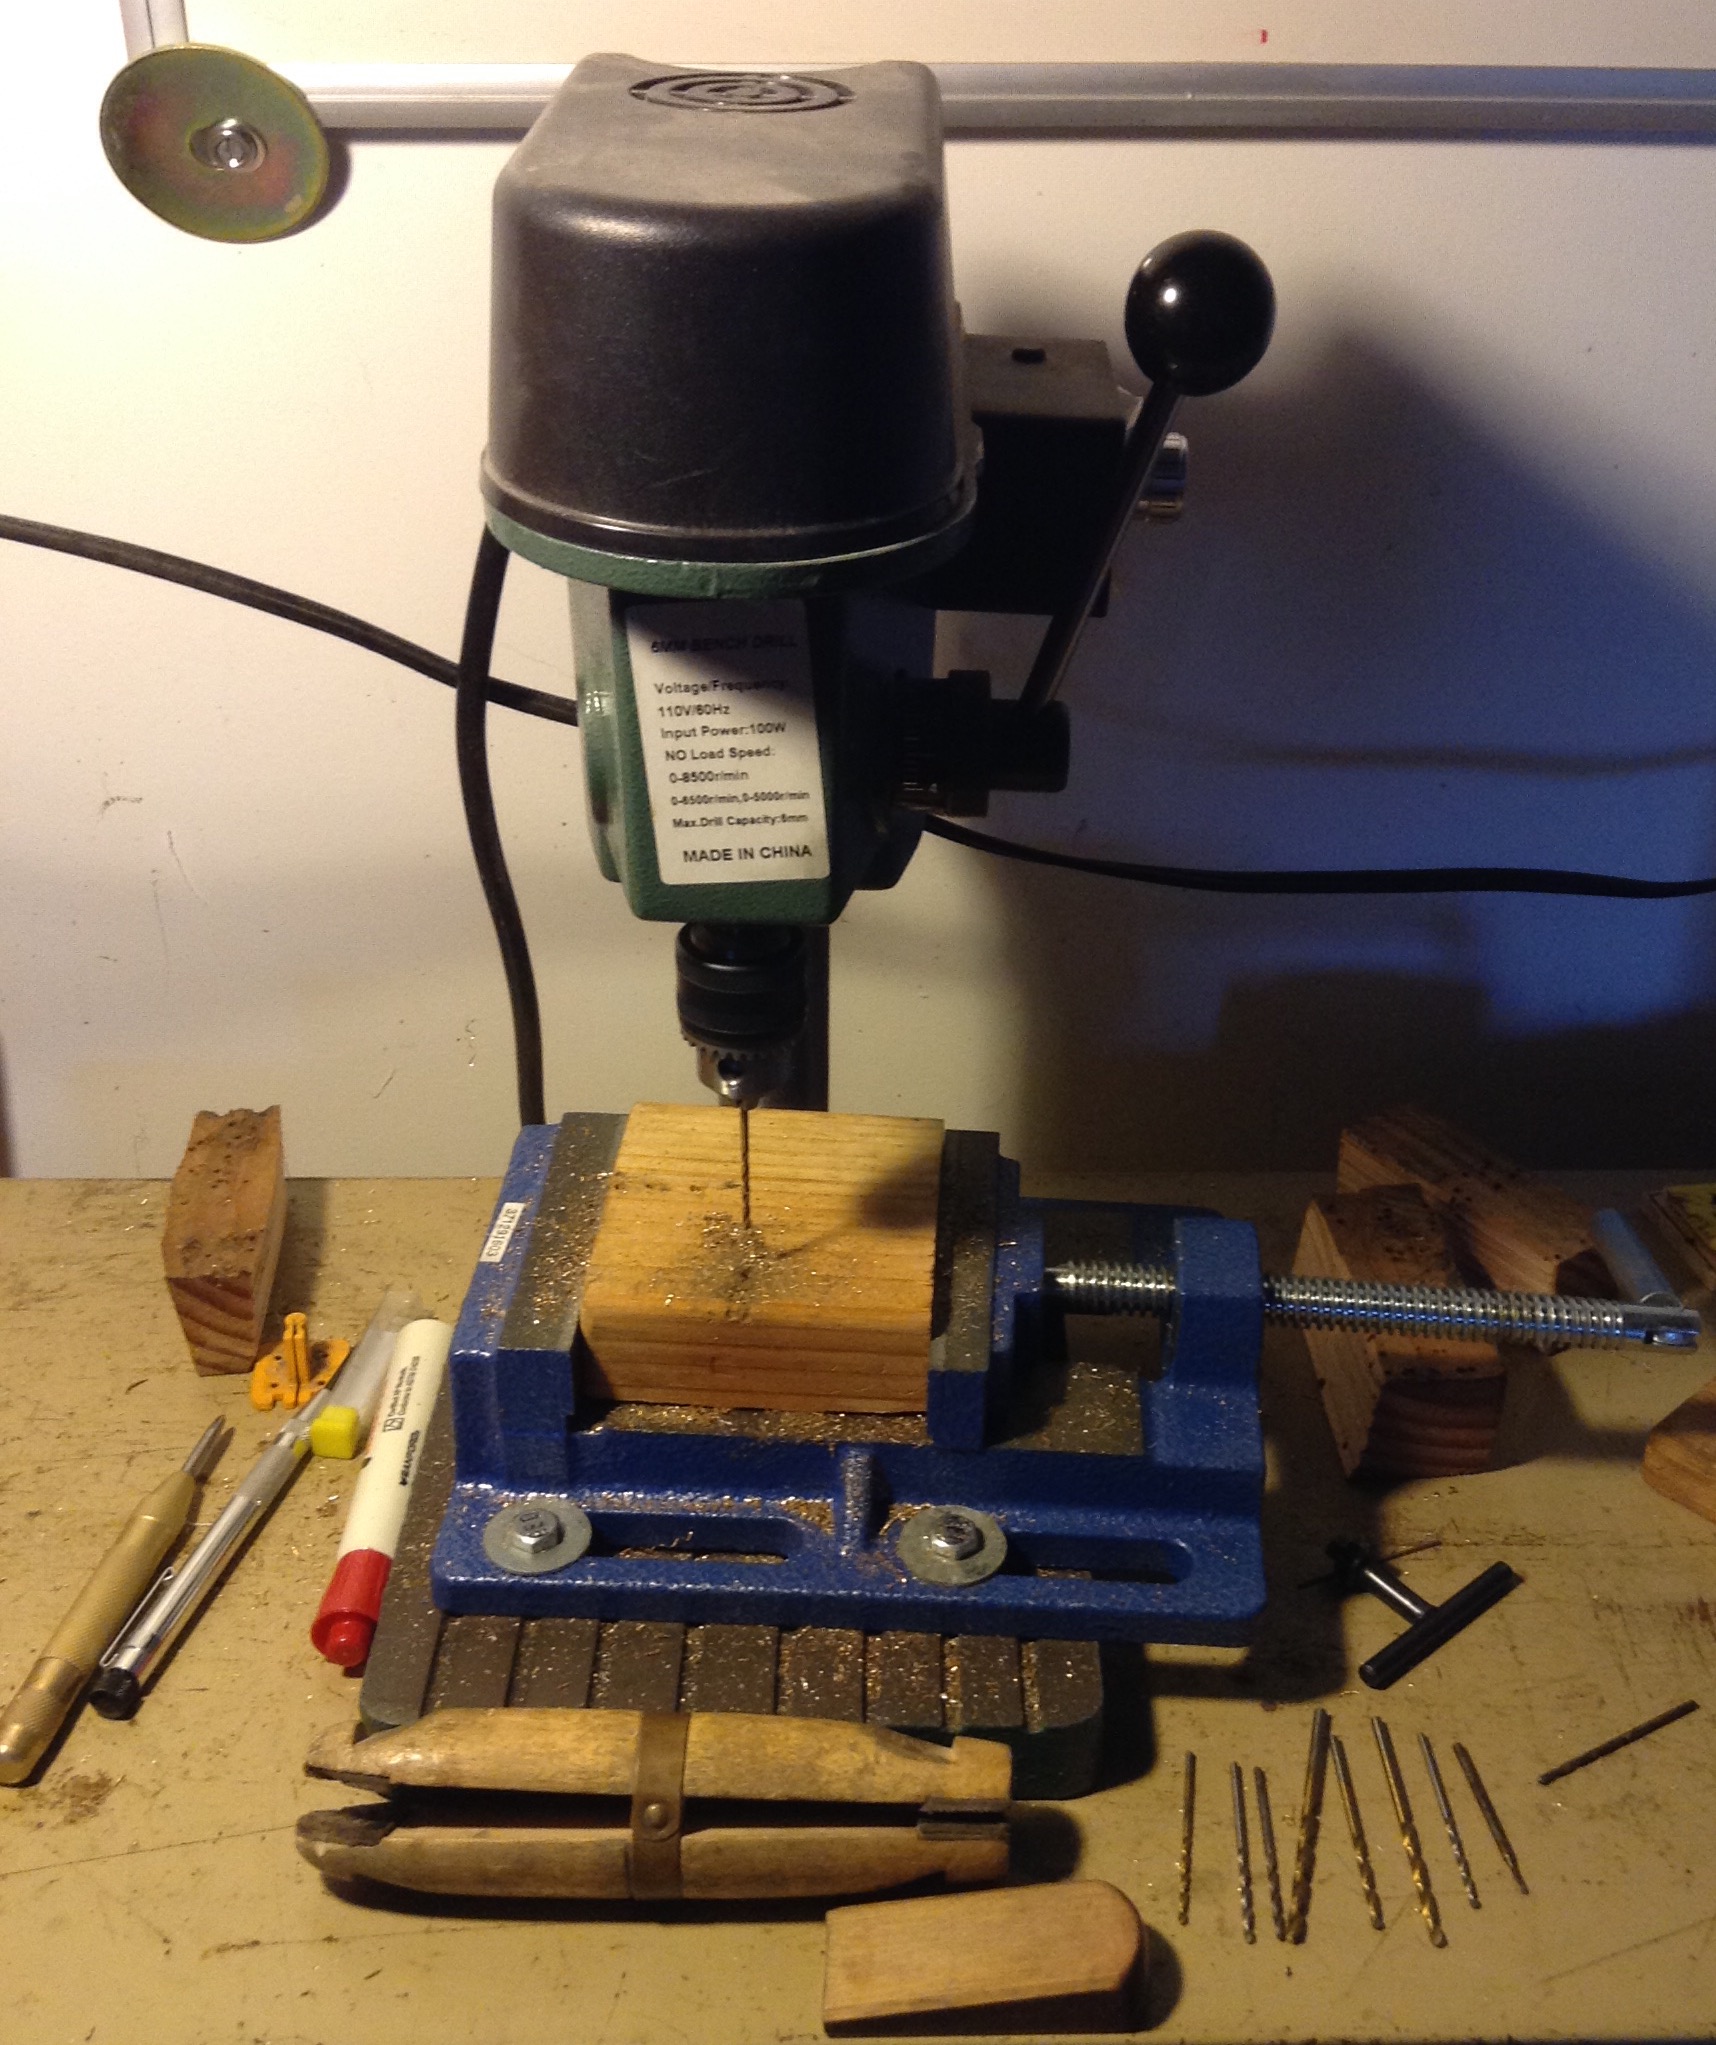
If the piece needs to be drilled, this is when it happens. I use my little drill press to drill holes in the regalia medals and make sure that any other holes, whether they are in dress hooks, pendants, or anything else, are the size that they are supposed to be.

drill press

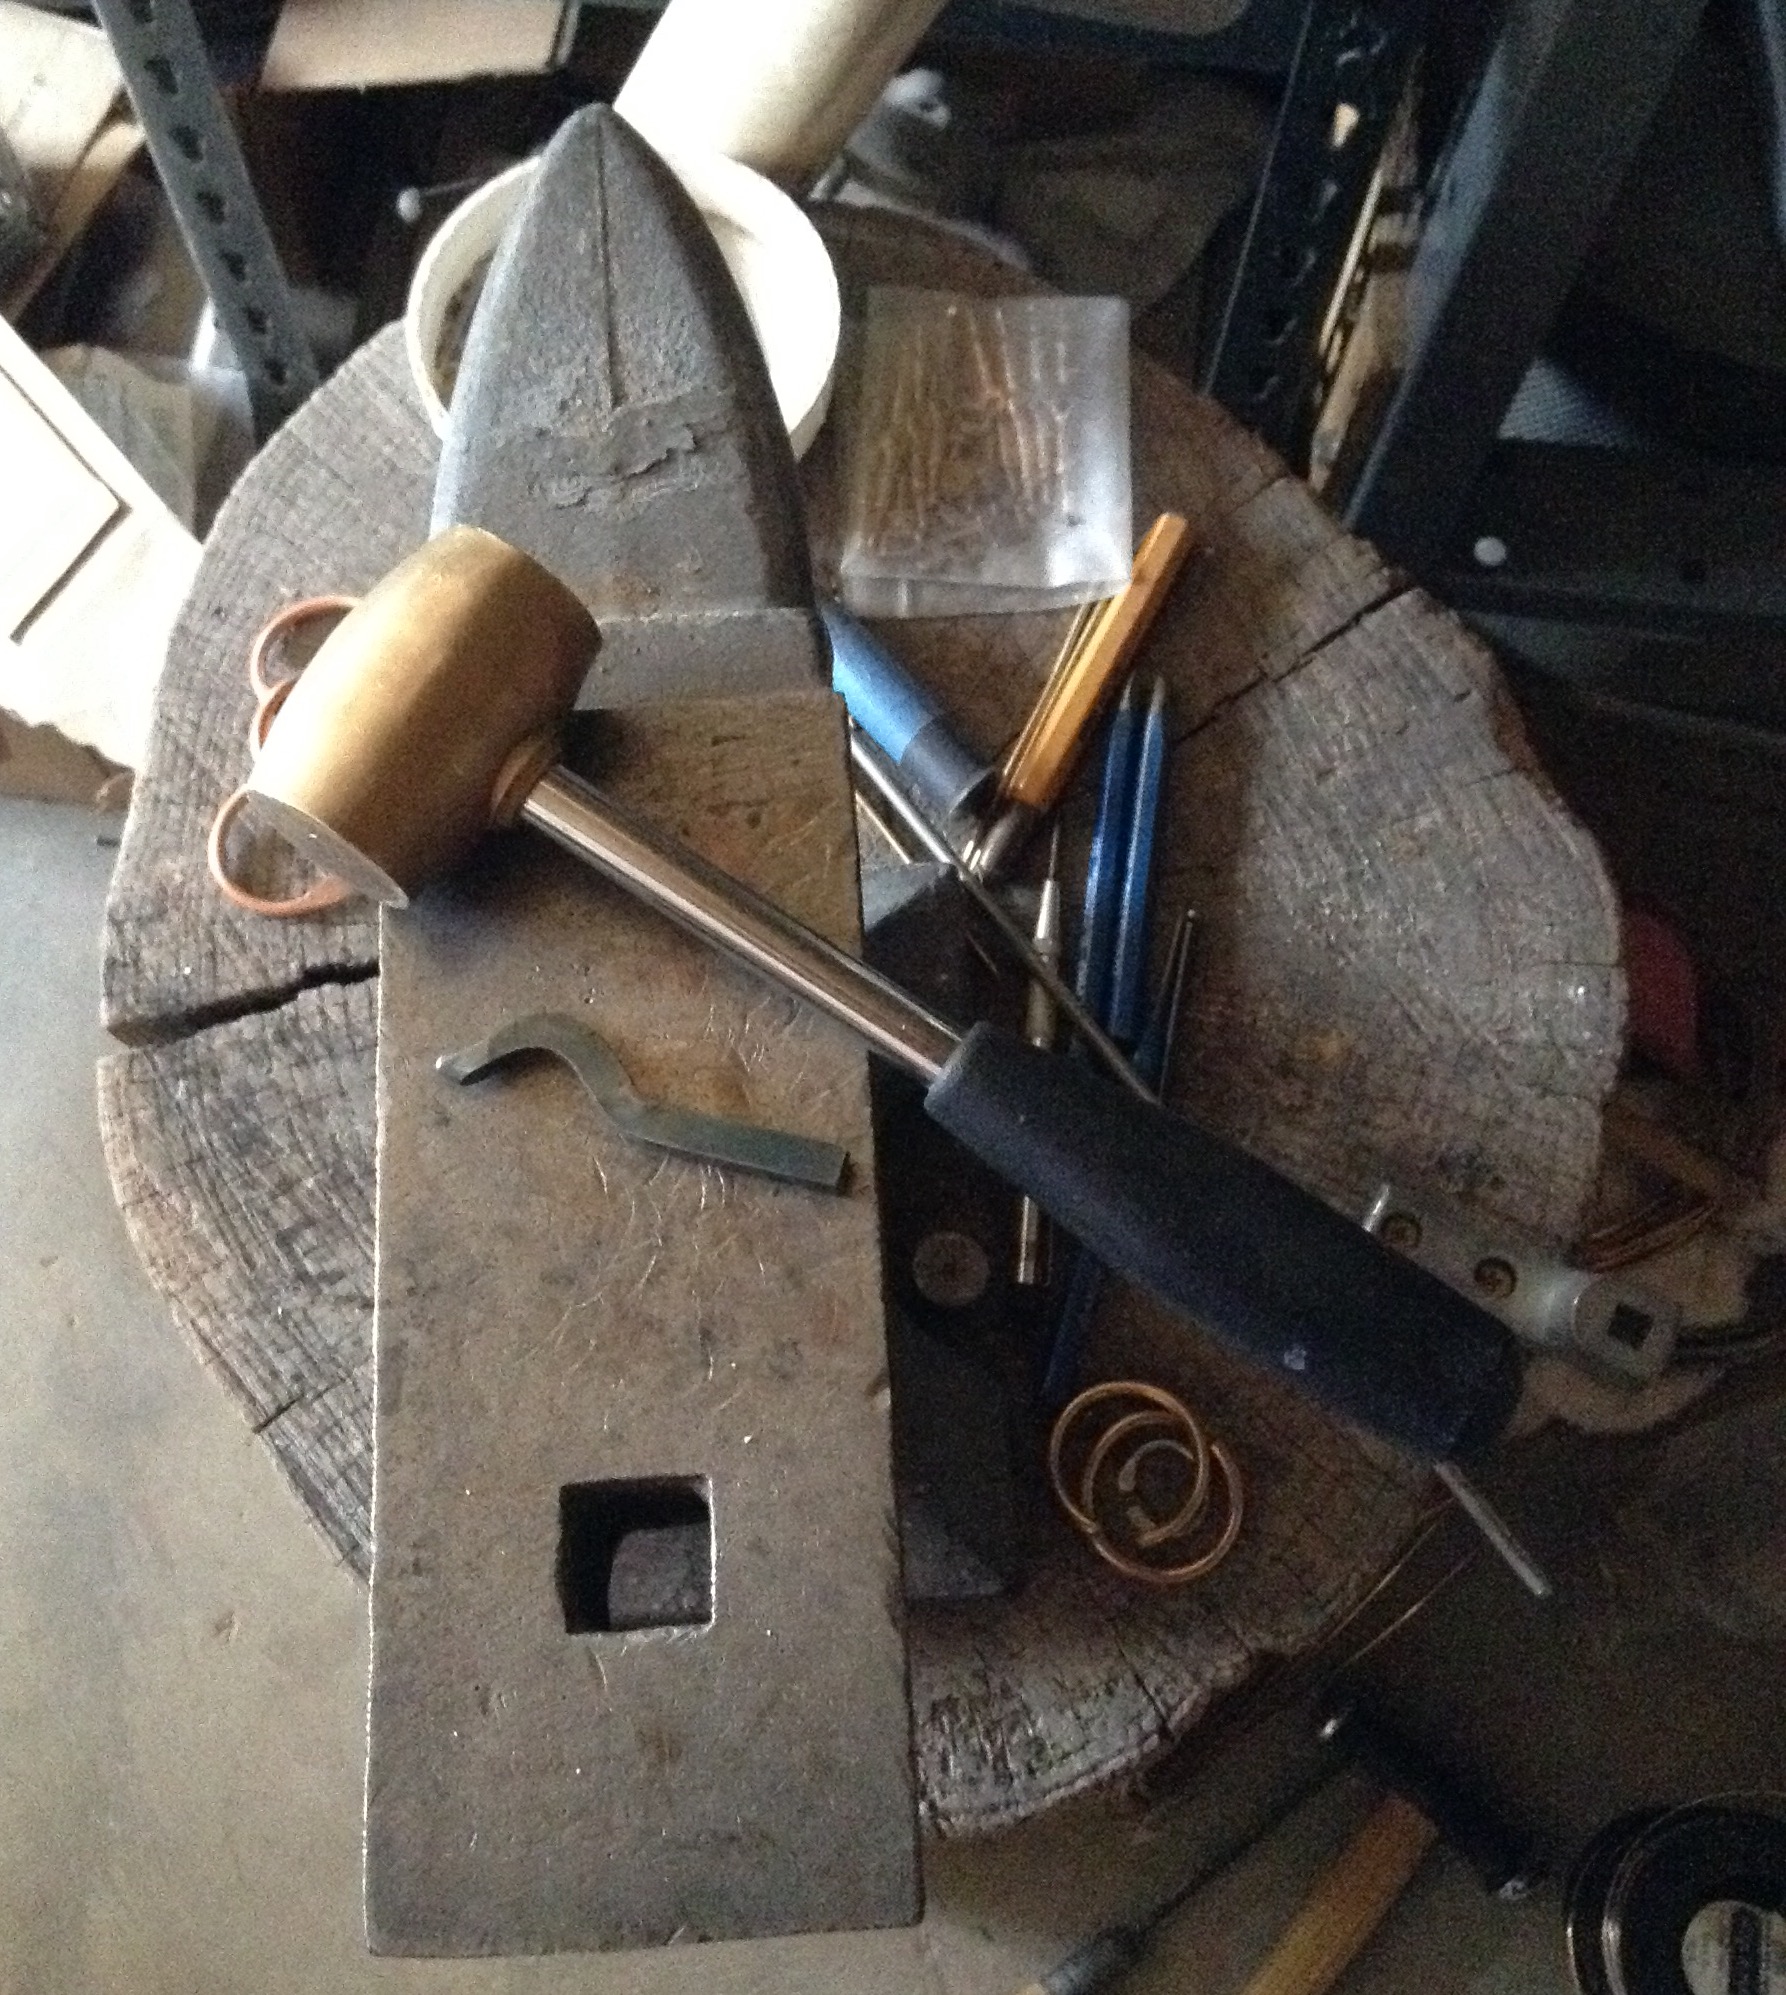
This is also when any pieces that do not have carved maker’s marks can acquire stamped marks, if appropriate.

makers mark

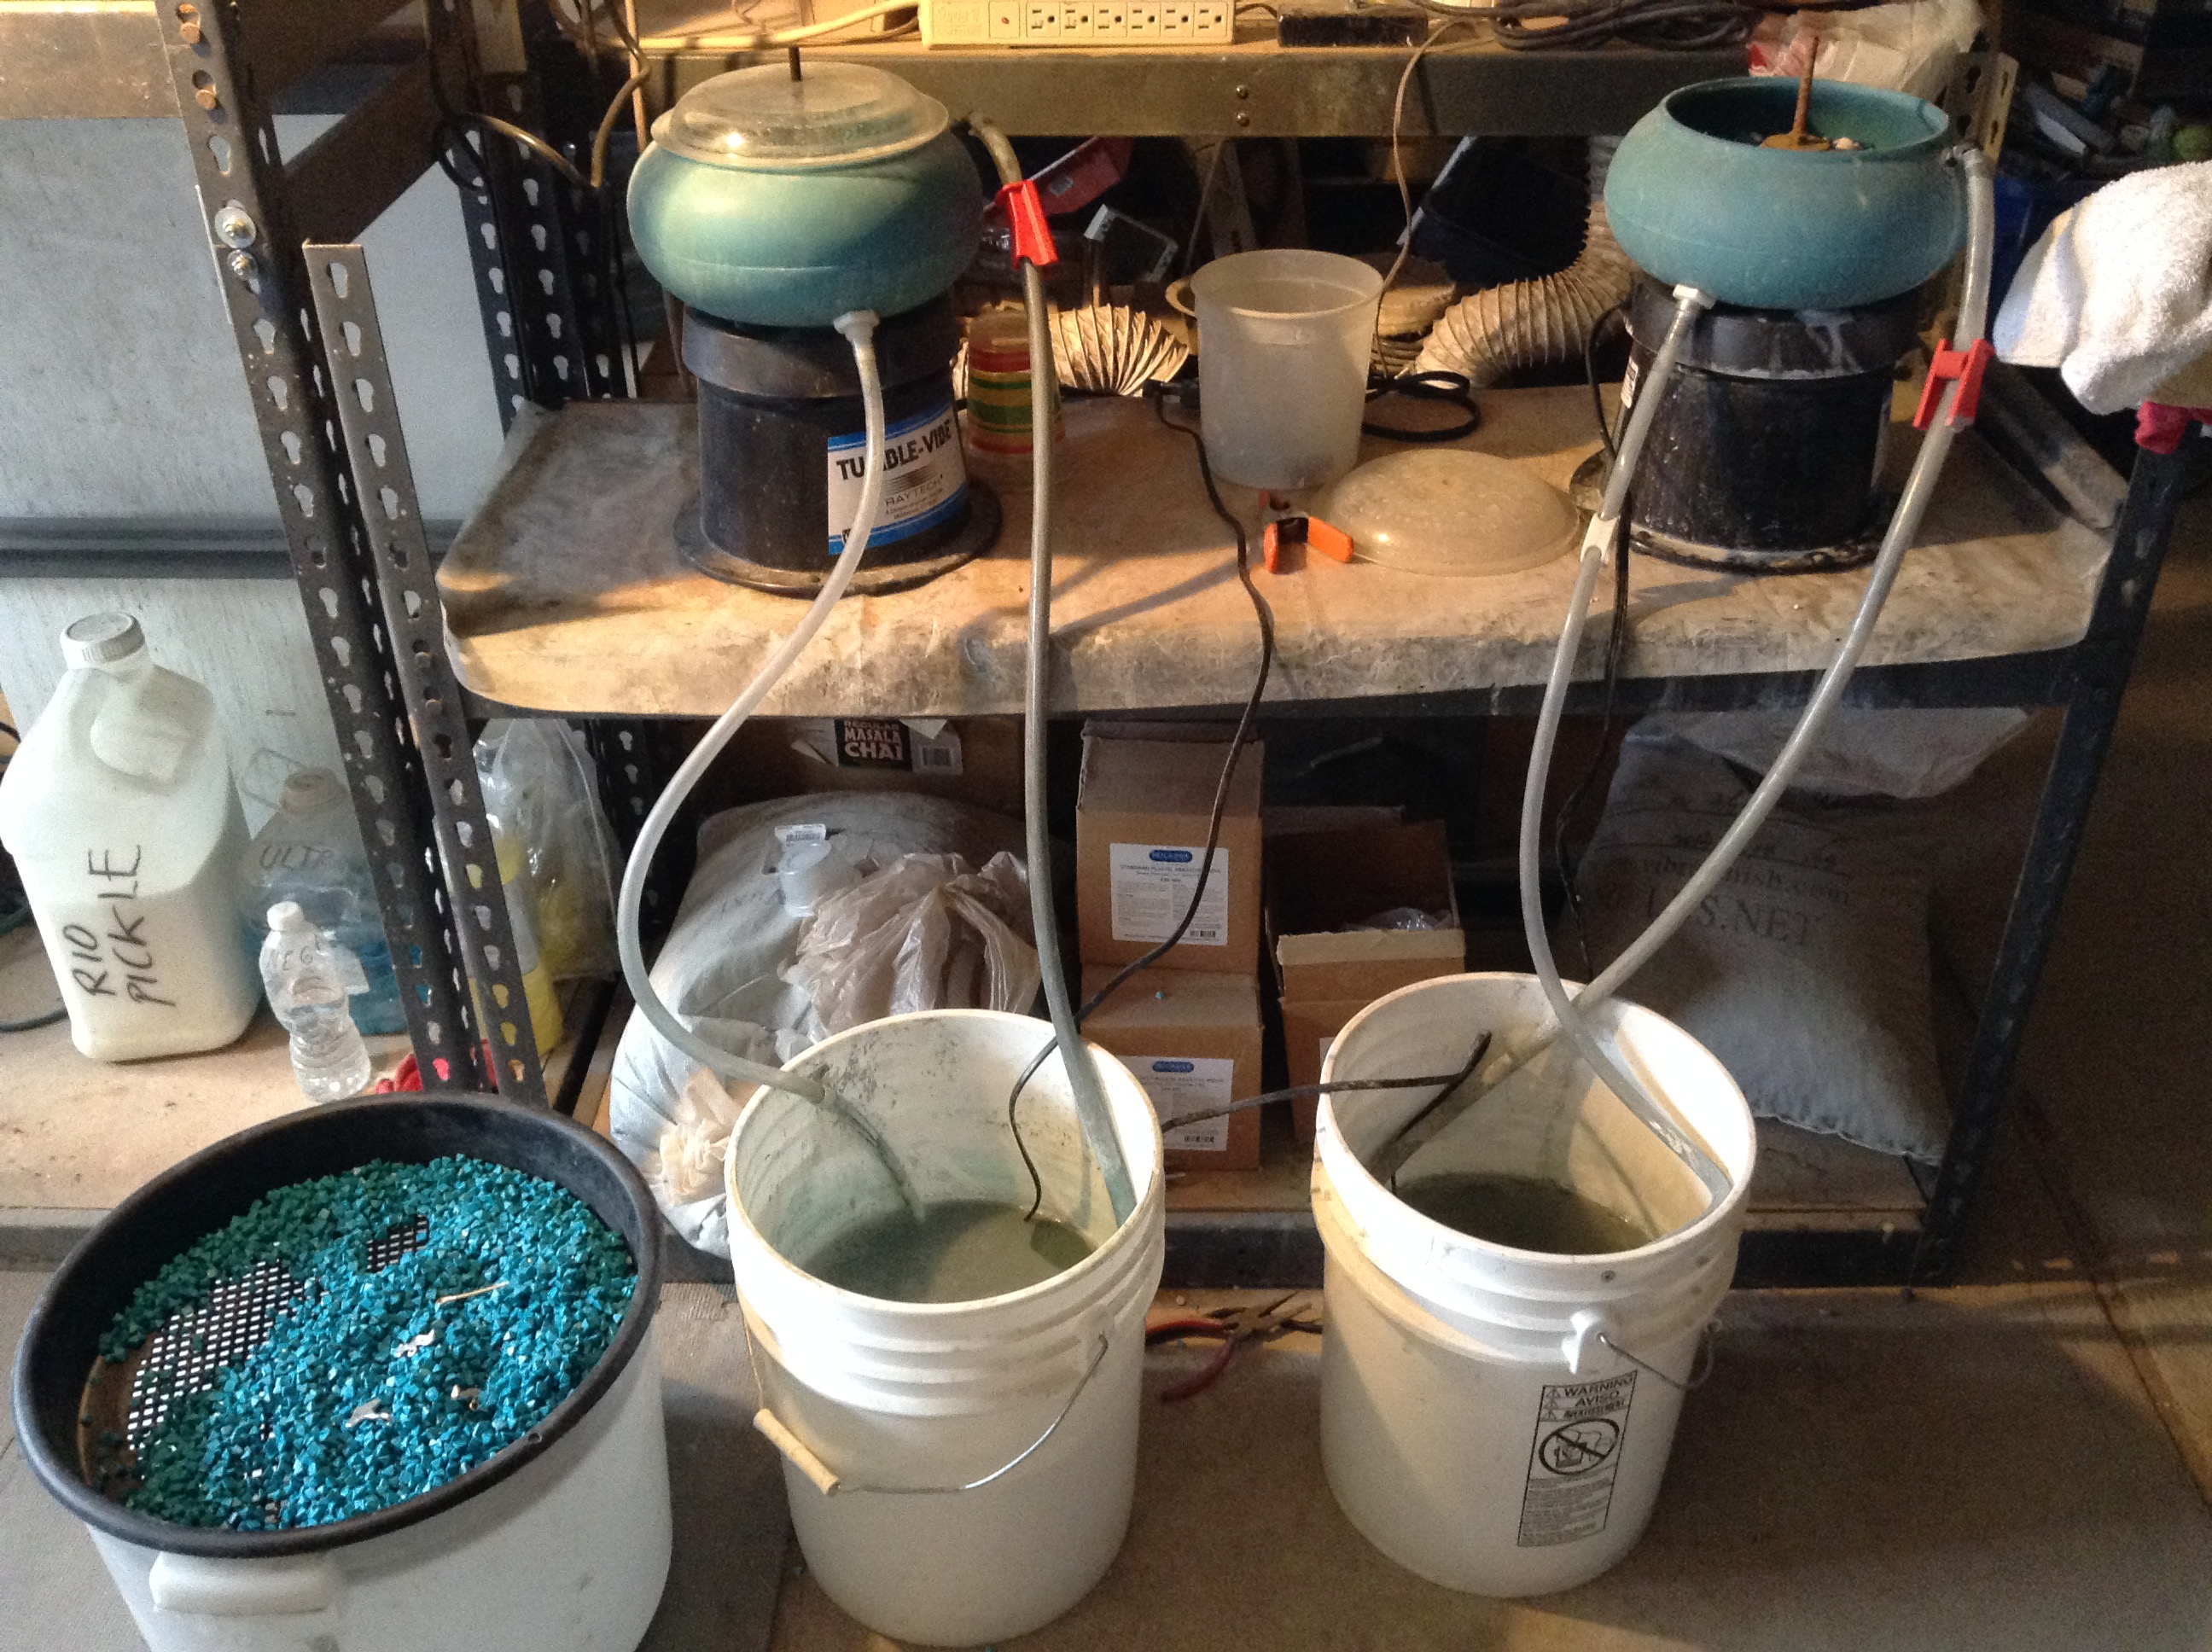
I then use the Cratex wheels to remove any rough spots from pieces that were drilled.  Assuming that everything has gone well up to this point, the pieces go into a rotary tumbler with stainless steel shot to burnish.

Jewlery in TUmbler

Here is a picture of the rotary tumbler barrel, with stainless steel shot and a collection of dress hooks. You can see how much cleaner the castings are. The stainless shot will make the pieces a lot shinier. After they have tumbled for about 20 minutes, a quick check will reveal if they need more cleaning or not. Some pieces just need a little more help. And that help usually comes from the magnetic tumbler.

Magnetic Tumbler

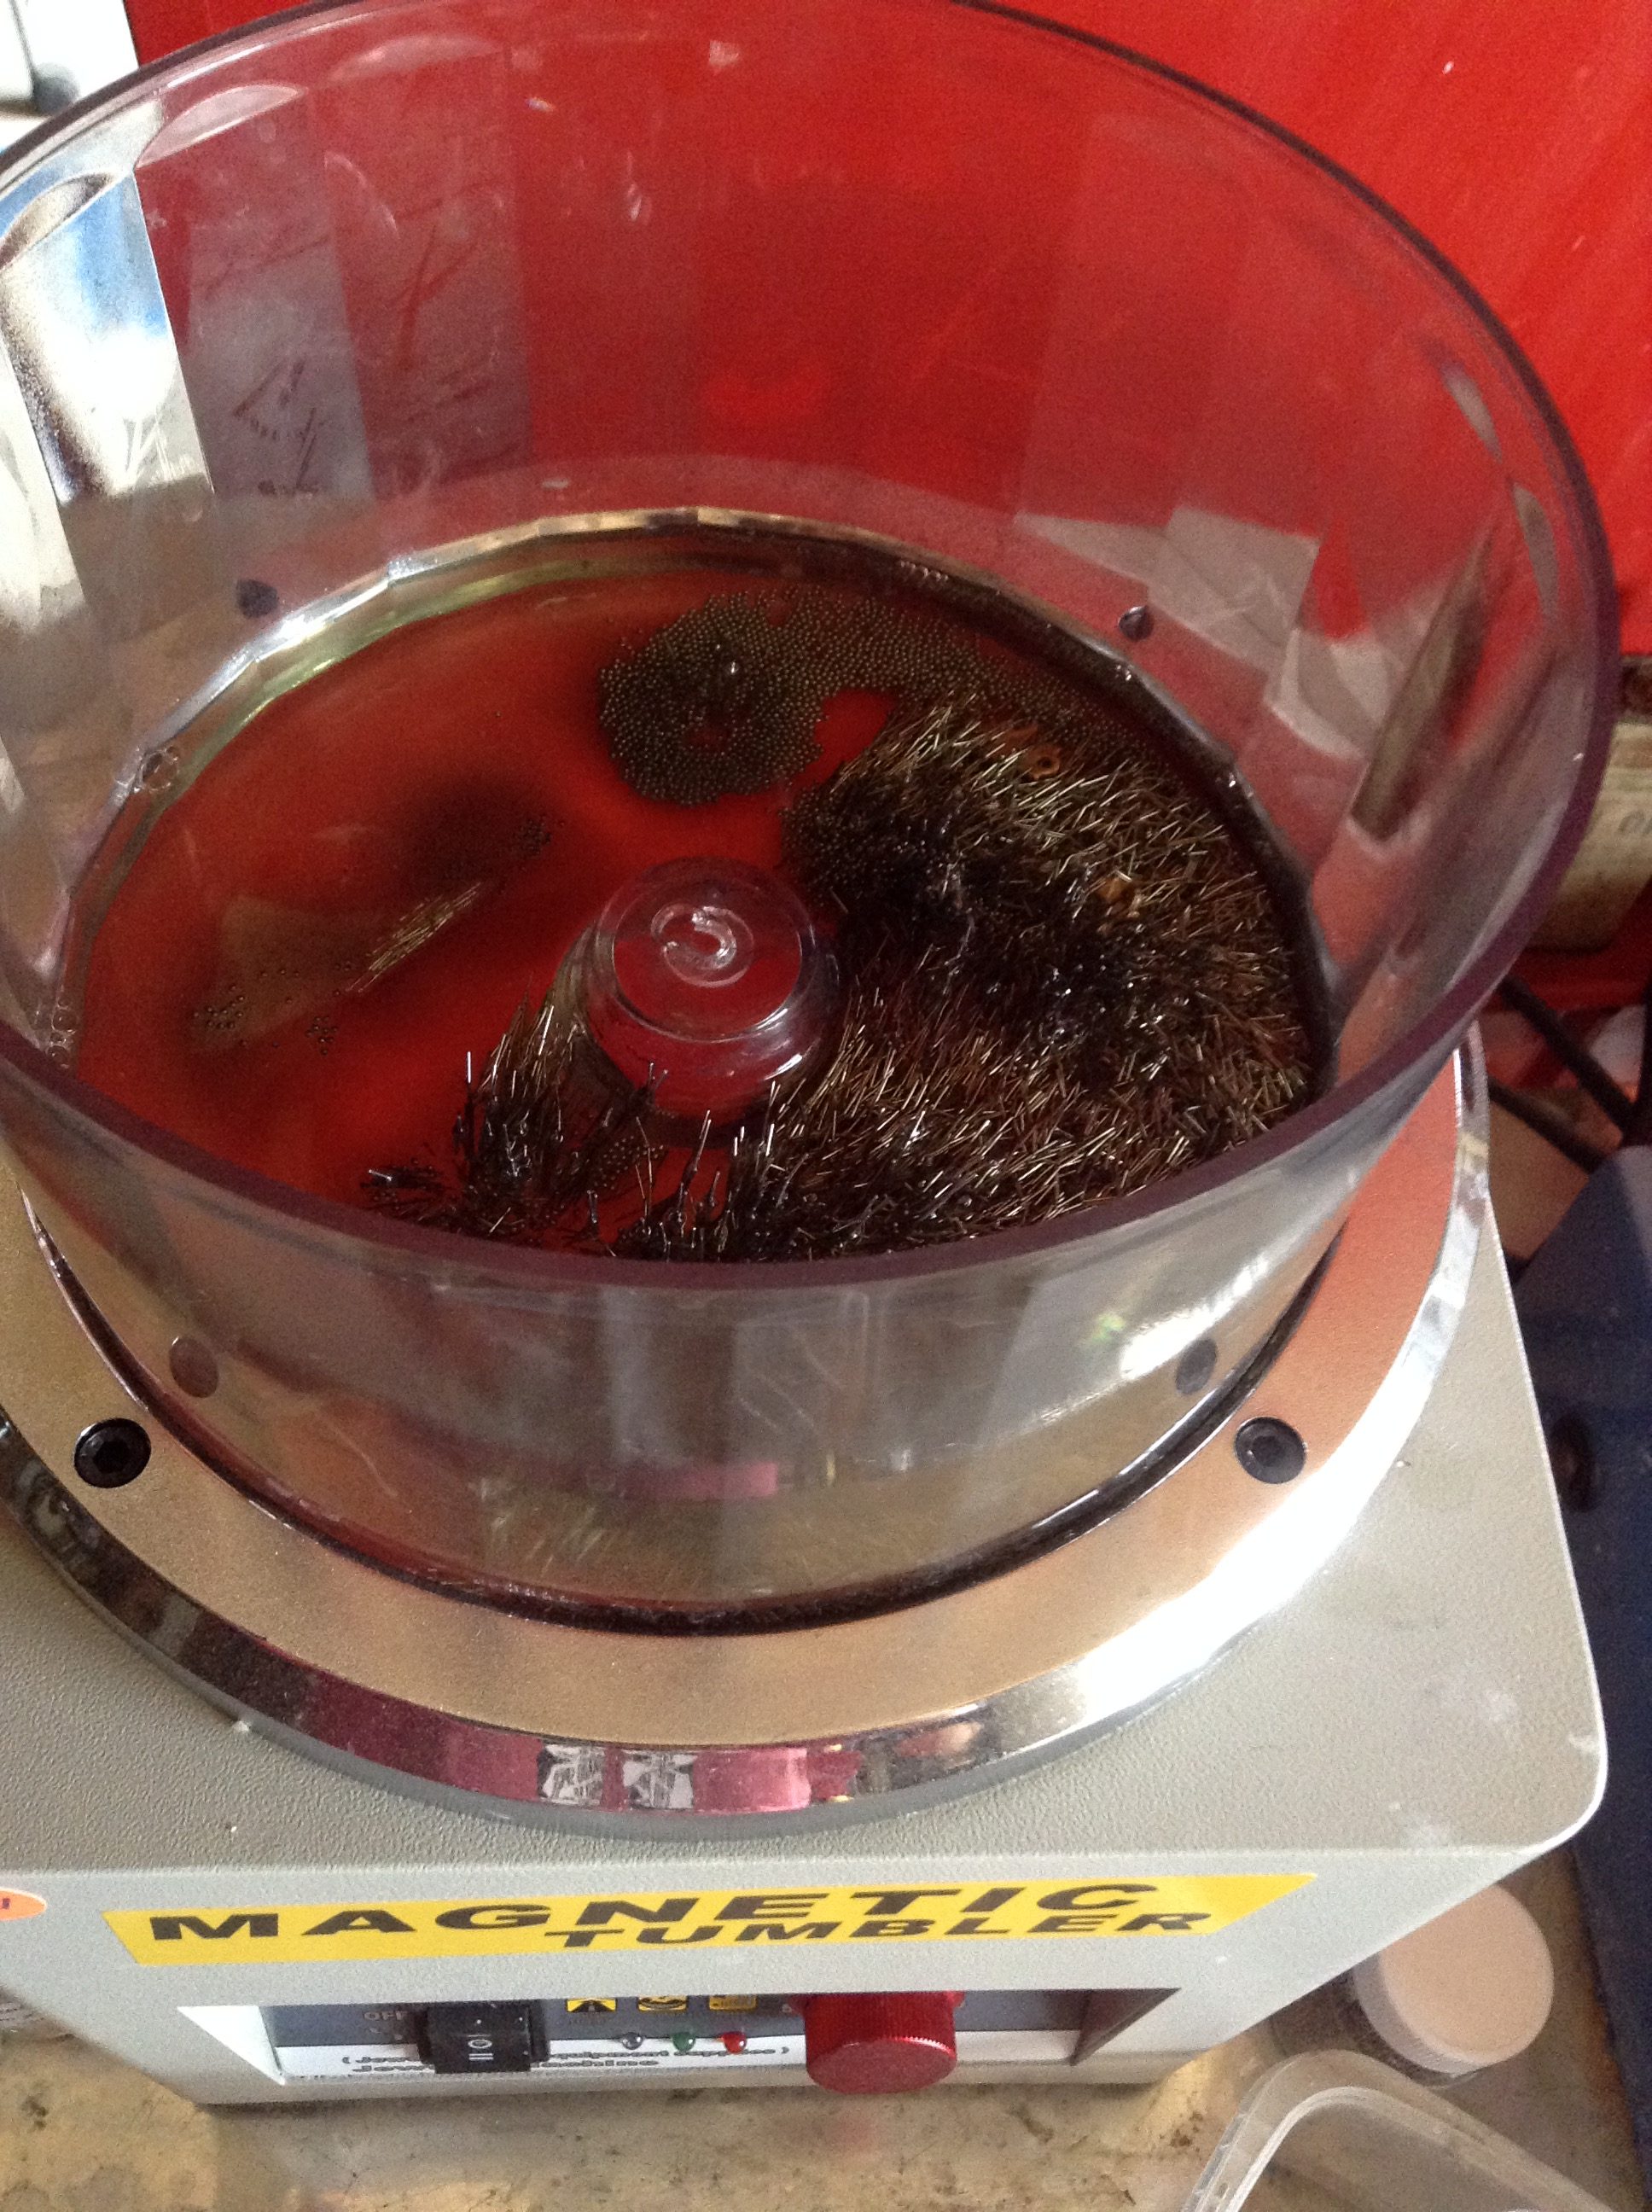
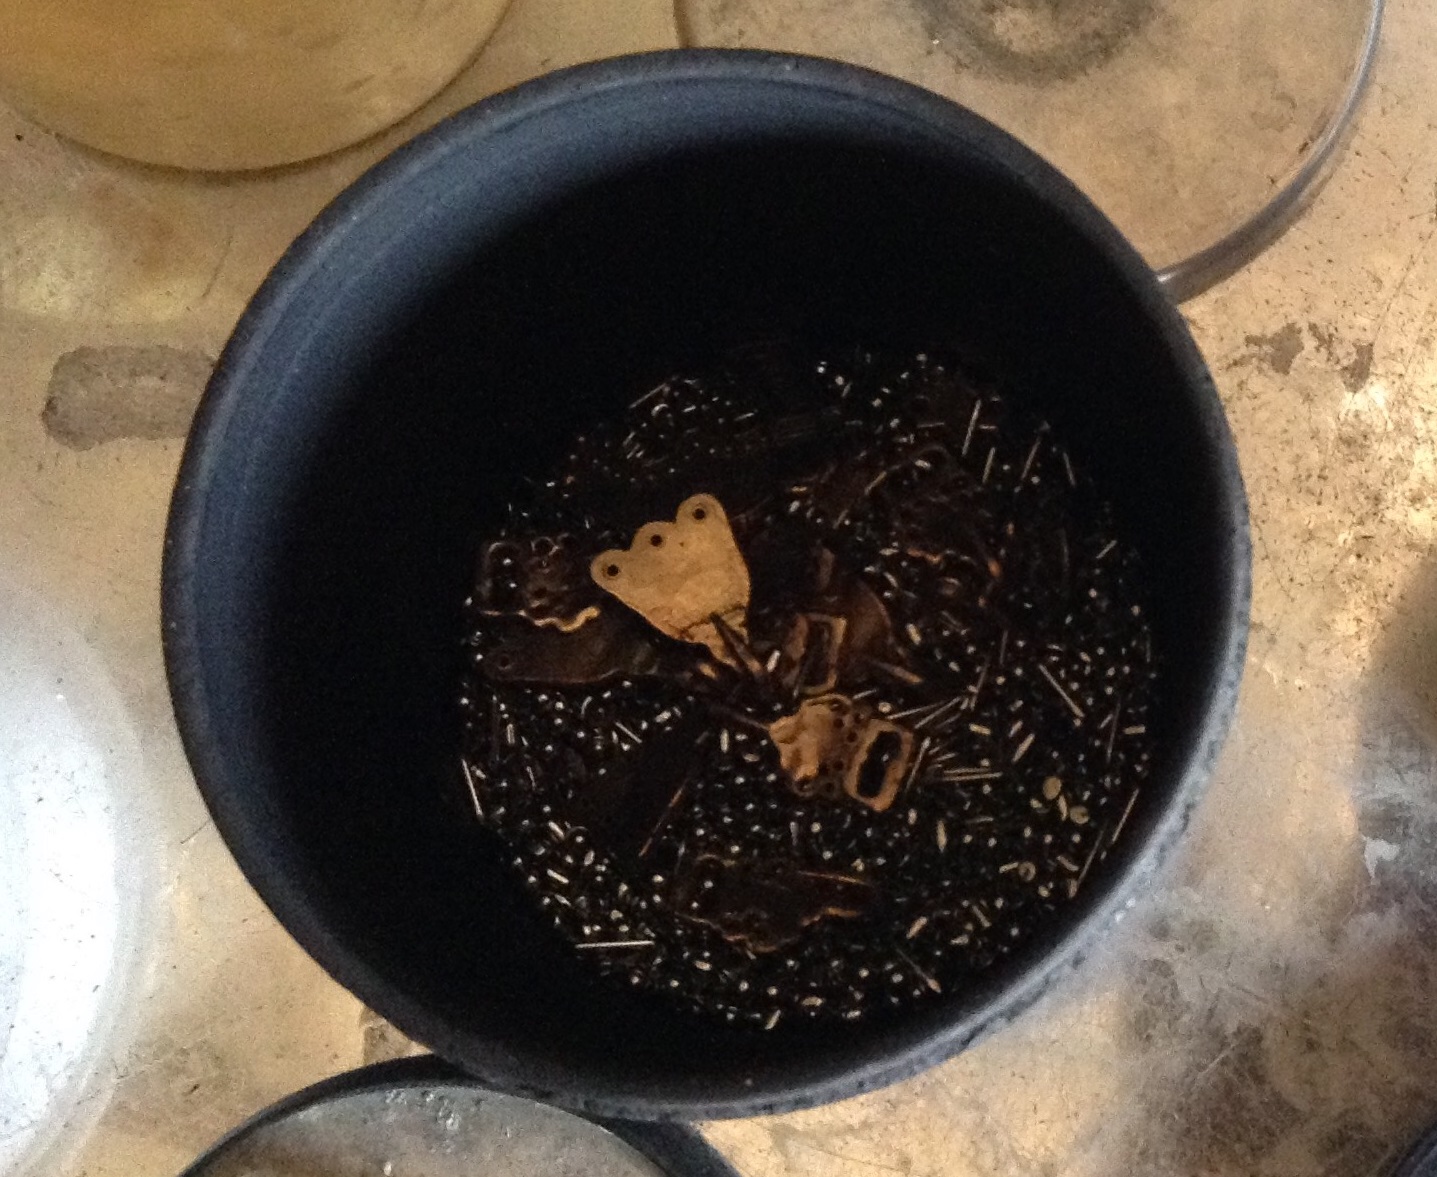
And this is a view inside of the magnetic tumbler. Those tiny little hairy things are pieces of stainless steel which are about 1.5 mm in diameter and 5 mm long. The machine uses magnetism to fling the tiny pieces of steel in a vortex at about a gazillion miles an hour. It is great for getting into nooks and crannies and cleaning them out.

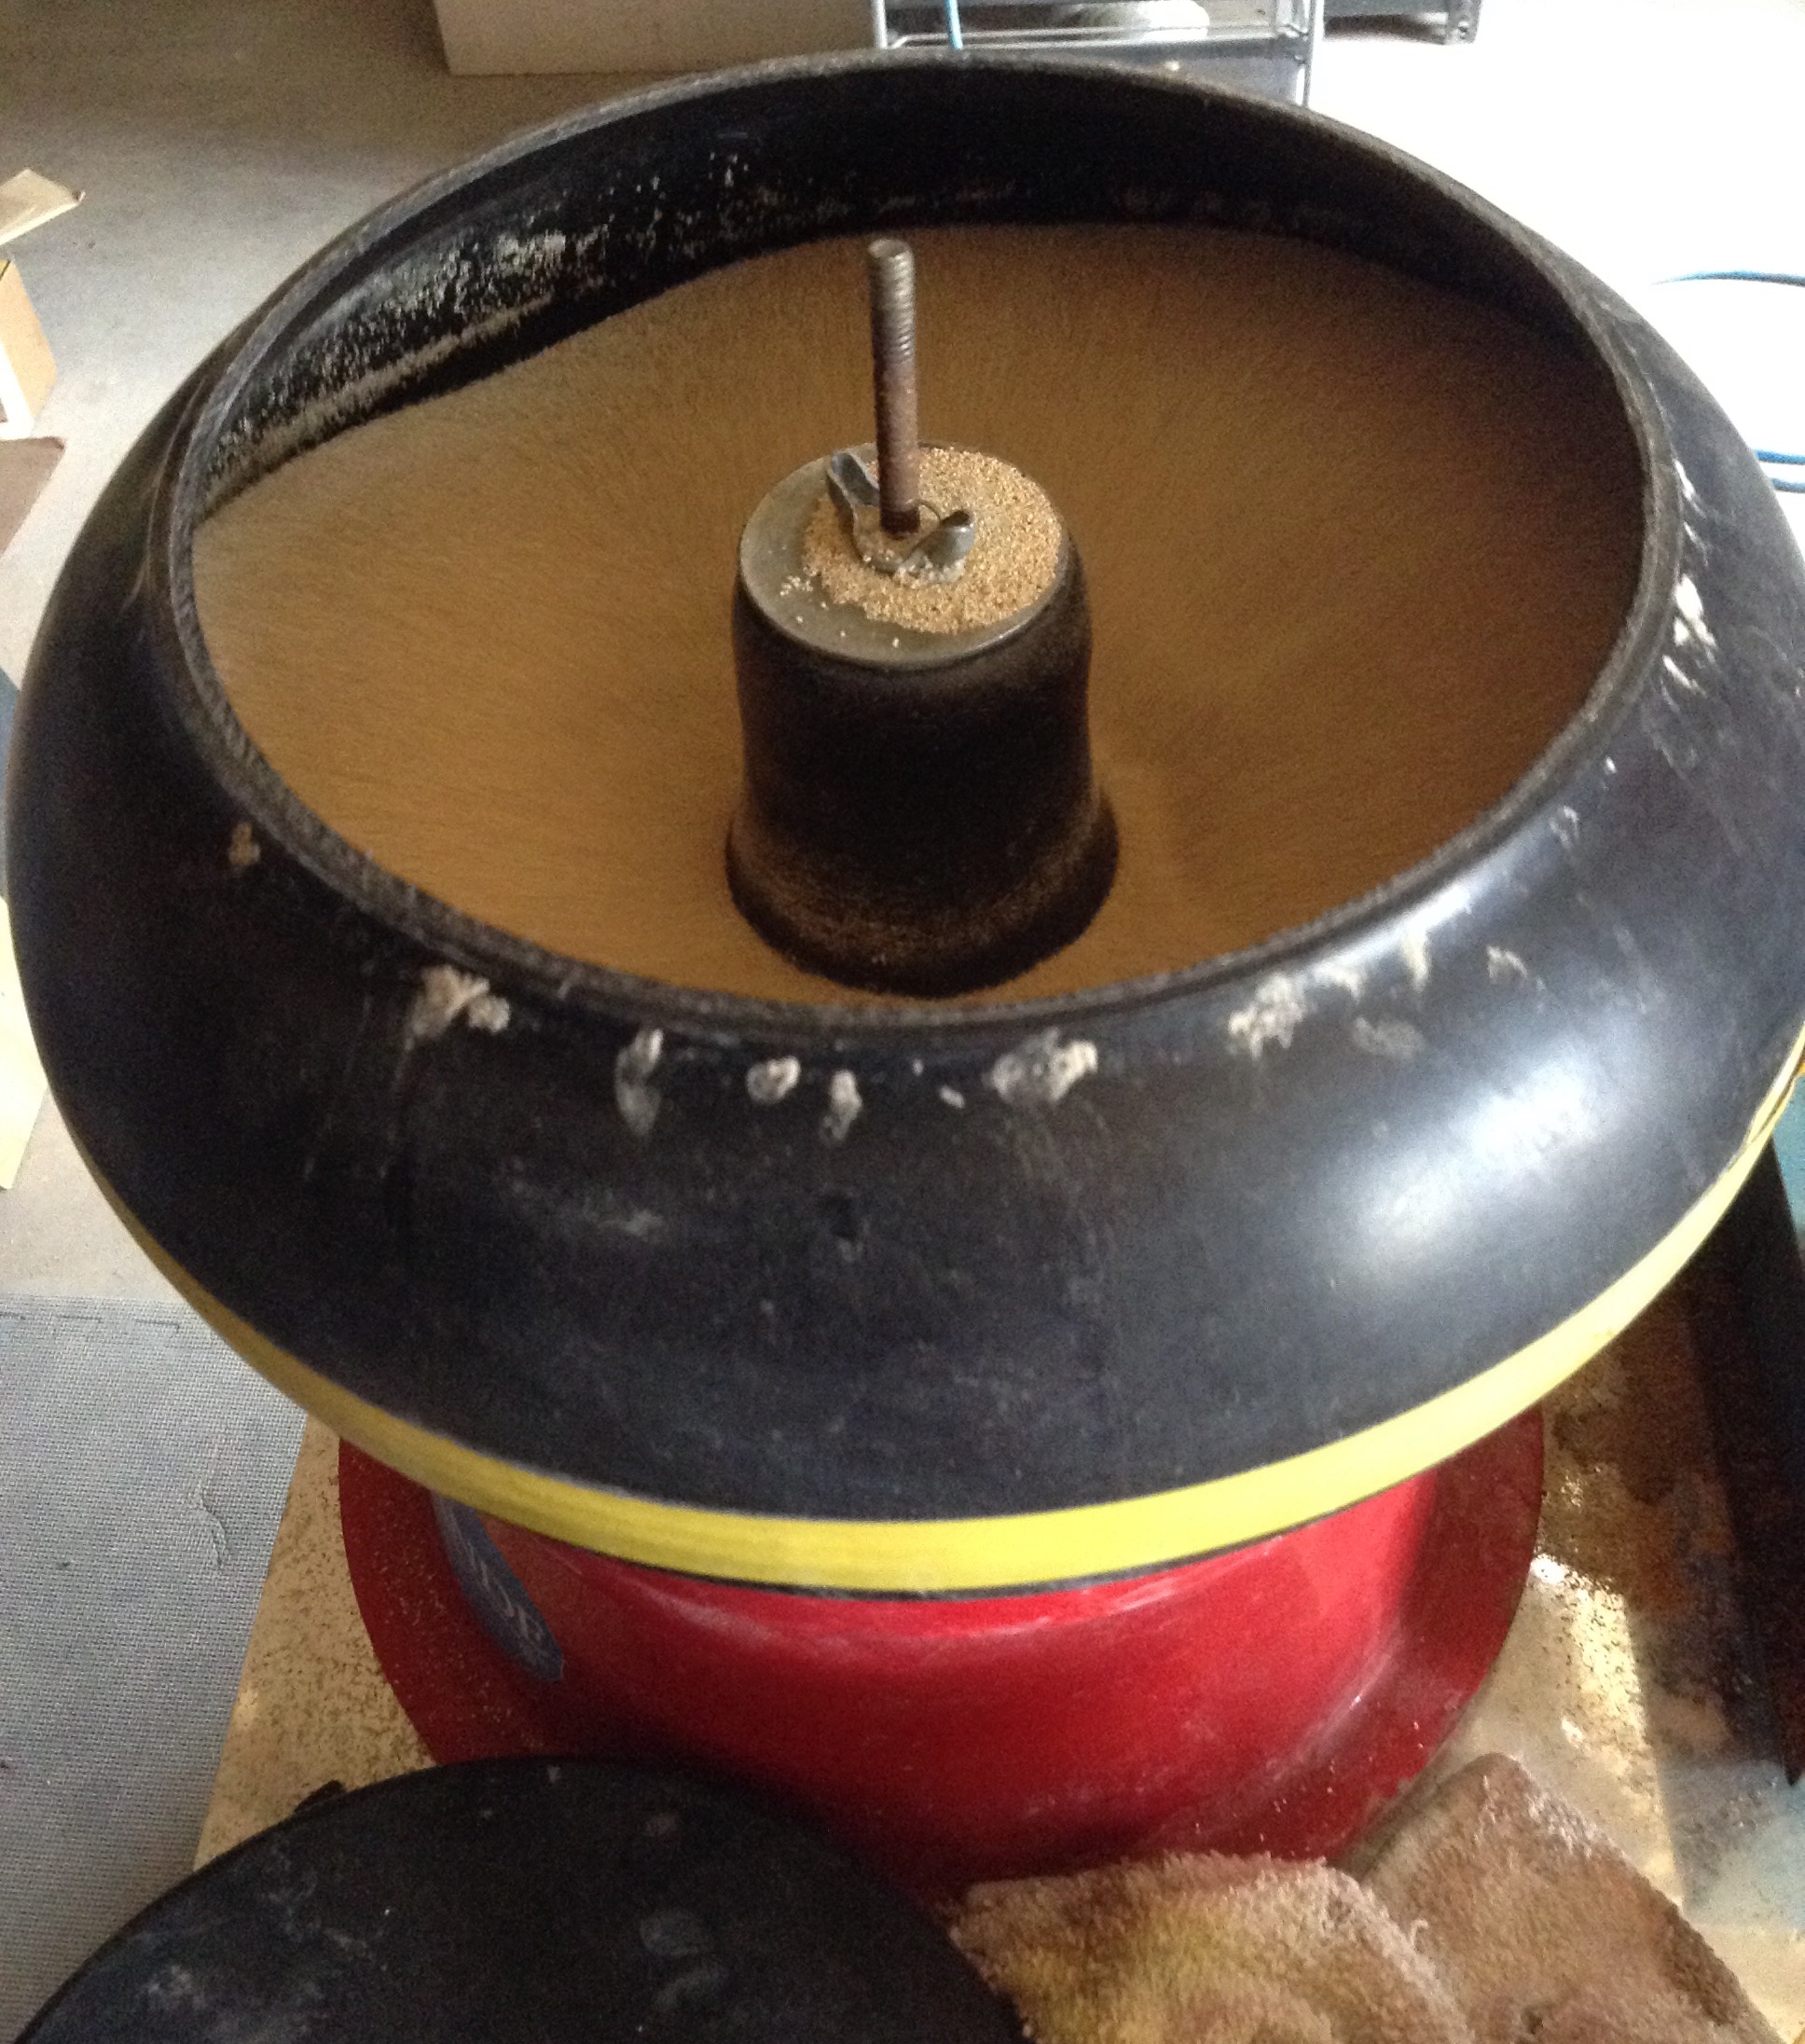
Once the piece is clean and polished enough, it is rinsed and then put in the dryer. The dryer? Yes. I have a vibratory tumbler filled with ground corn cob. The cob absorbs all of the moisture and prevents the piece from developing water spots.

vib tumbler dryer

And this is what a piece looks like after it comes out of the dryer.

Etsy 61 hand held

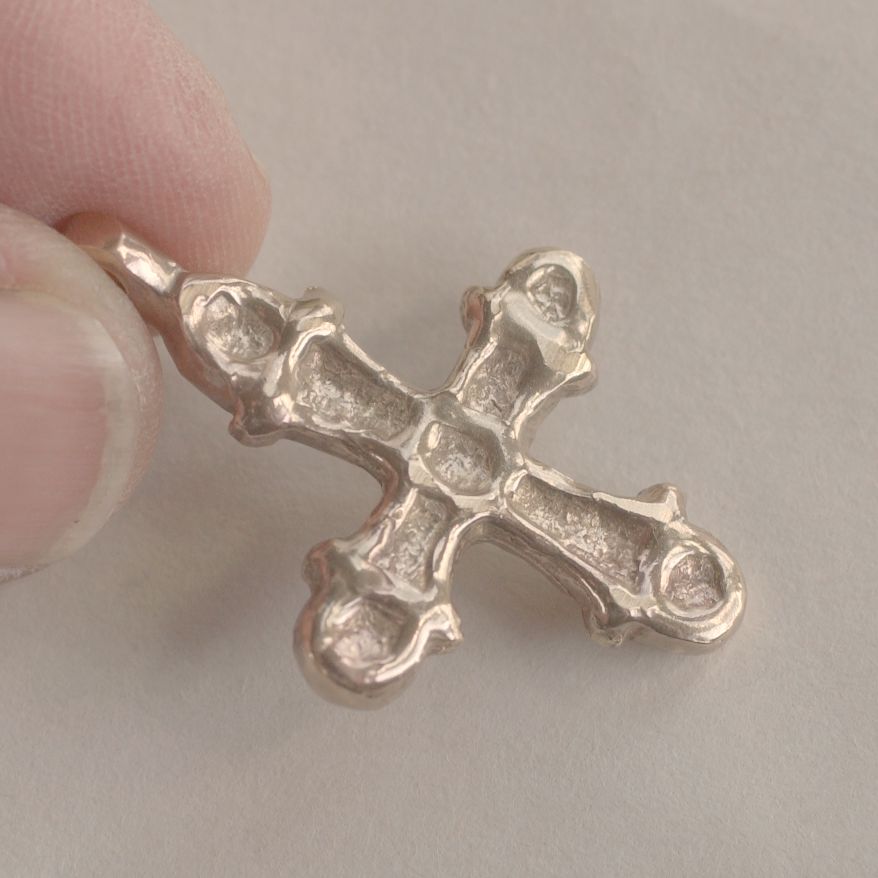
Shiny! Of course at this point the pieces are once again examined in a bright light and checked for imperfections.  Scuffs or dirty spots will send them back into the process for touch-up.

I hope that this picture-rich blog gives you at least an idea of the process that every single piece of cast metal goes through in my shop. There are lots of other systems and techniques that can be used to accomplish the same end results, but no matter what system is used, there is nothing instant about the process!


My Casting Process Up Close – No It Is Not Instant! Part 2

So last time we talked about casting pewter. Even though it is a fairly simple process it is definitely not instant. But what about casting bronze?

Casting pewter involves a simple mold, either soapstone or a modern material like silicone. But casting bronze is often done as a lost wax process. If you want to see more detail about the lost wax process itself I suggest that you read my six part blog series The Way That I Cast – Lost Wax.

But this blog is not about the casting process, it is about what happens when a cast piece comes out of the flask. This picture shows the beginning of the process.

Button Process

On the left we see a freshly cast set of buttons, still covered with investment (the white layer). The next piece has the investment cleaned off, by scrubbing it with a brush in water. And then a fan of individual buttons has been cut off of the sprue button with the hacksaw (shown at the bottom of the picture). Then the individual buttons are cut off of the fan with the sprue cutters (at the top of the picture). What is left is a pile of buttons and a pile of sprue pieces.

The buttons have been cut from the small branches of the fan, and now they need to have the spot where they were cut off rounded and smoothed out.

wet sander

And this is what I use to do that job, a wet sander. The sanding belts are made of wet-dry sandpaper. Water drips down onto the belts and cools the piece that is being sanded, while controlling the dust. Once the button sprue area has been shaped it is time to smooth it a bit more.

Cratex Wheel

This set of Cratex wheels does a more delicate job of smoothing the area and removing scratches. There is a small pile of bodkins, crosses, Thor’s hammers, and dress hooks in process on the bench.

And once the general smoothing has been accomplished, the pieces are put into the vibratory tumblers to remove the oxides and further smooth the surfaces.

wet vibratory tumblers

And this is what the vibratory tumbler bench looks like. There are two tumblers, each with their own source of circulating water. Each tumbler is filled with a different polishing material. The one on the right is the courser material and the one on the left is the finer material. The white bucket with the sieve on top shows the contents of the left tumbler being sorted to remove the pieces of cast metal. The cast pieces spend at least three hours in each of the tumblers, with a rinse in between to avoid transferring grit from one process to another.

And now what? Well, at this point I turn on a bright light, and check each piece to see how it is progressing. If it looks good I will set it aside for the next step in the process. If there are any issues, it will either be rejected if there are “fatal flaws” that can’t be cleaned up, or get a trip back to the Cratex wheels for some additional polishing.

Next Time: Are we done yet?