Papermaking: Making Paper at Home – The Cheater Version

Not everyone is willing to create their own rag pulp from scratch, or purchase flax fiber premade, but you can still make homemade paper by recycling existing paper.

First you need to collect non-shiny paper. Remember that if you use printed newsprint the ink will make your paper grey. Any color in the paper will affect the eventual color of your paper. Don’t be afraid to experiment. Adding a little white vinegar to the pulp may make it whiter.

You will also need a piece of window screen, stretched on a frame, to scoop up and drain the paper pulp. And a casserole or other pan that will hold your paper pulp and allow you to scoop it up with the screen. The pan MUST be large enough for the screen to fit inside it and deep enough for you to be able to get the screen down under the pulp.

In historic papermaking felt is placed between the layers of pulp and then the stacks of pulp and paper are pressed to squeeze out the excess water. You will need white felt, or muslin, or some other colorfast fabric with a smooth surface, to put between the layers of pulp if you wish to press them. Pressing is important in order to consolidate the pulp into paper and make the surface of the paper smooth enough to use.

Some people have used a rolling pin to consolidate the pulp into a sheet of paper and smooth the surface slightly. Decorative art paper can be made by placing small colored pieces of tissue paper and/or colored fiber onto the pulp and then consolidating it. A sturdy flower press or even two pieces of smooth plywood and a stack of bricks can be used to press the pulp. Remember that if the plywood is grainy the paper will acquire that texture. Using smooth sheets of plastic inside the plywood will eliminate that problem.

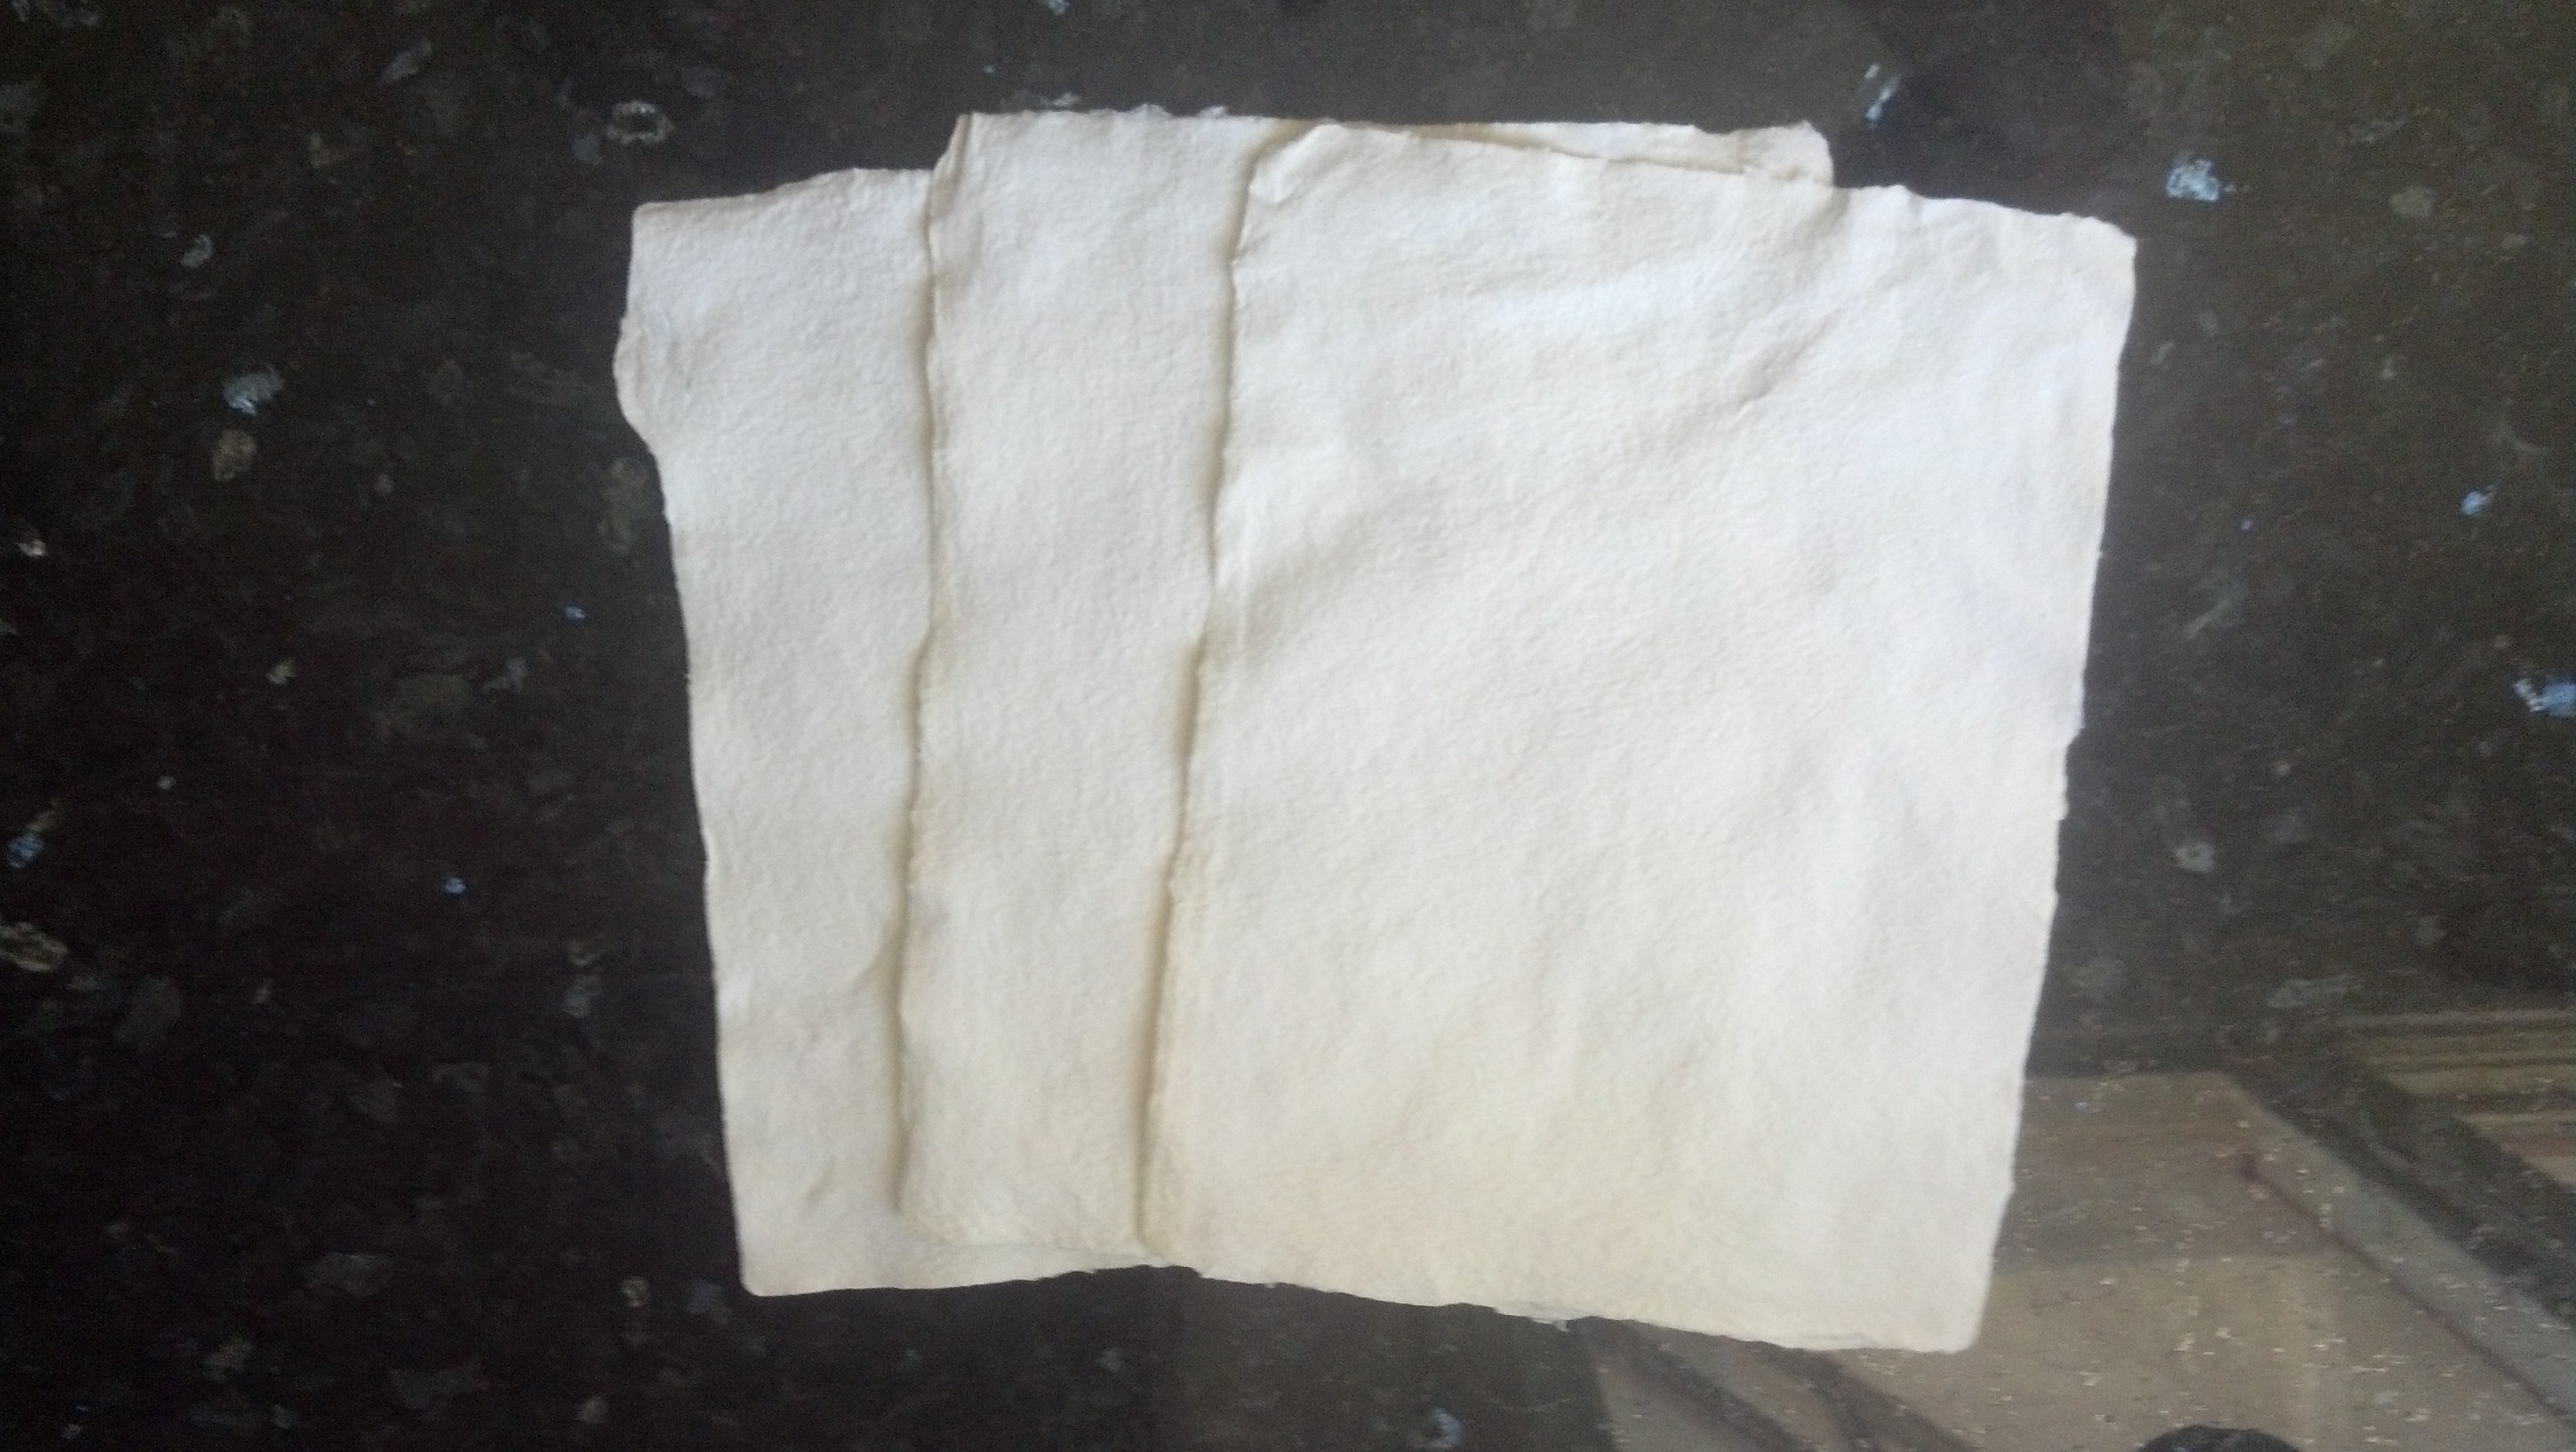
Once the paper is pressed to your satisfaction you will still need to finish the drying process. Damp paper is still fragile and susceptible to mold. The paper can be laid flat and turned periodically or hung on a line, depending on how dry and sturdy it is. The paper will tend to naturally wrinkle as it dries. Ironing before it is completely dry may help a little and you can also press the paper again once it is mostly dry.

Once you have all of your equipment assembled, tear the paper up into one inch pieces and soak them in warm water to cover for about 20 minutes. Then place the soggy paper into a blender, add a little warm water and blend. Pour the paper pulp into your pan. It may take some experimentation to determine how much pulp you need in the pan. There needs to be enough water and pulp so that you can put the screen into the pan, and gather pulp on the screen in a relatively even layer. I have seen some processes in which the screen is dipped more than once in a very thin slurry of paper pulp to build up the thickness of the paper, but this seems a bit too complicated for the beginning papermaker. Experiment! As long as you get the results that you want the exact technique that you use is not important. I suggest that you reread the article on historic papermaking. The description of the screen dipping technique is very good.

Allow the layer of pulp on the screen to sit until it is mostly done dripping, place a piece of fabric or felt over the pulp and then flip the screen over so that pulp stays on the fabric. You may find it easier to flip the screen if you back the fabric with something smooth and stiff like a piece of plastic or a pan. If it is your first piece of paper you can use whatever you are going to use to press the paper to help turn the pulp out. Continue to stack the layers of fabric with pulp on it until you are ready to press the stack. Then top your stack 0f protopaper with your other piece of plywood and SQUEEZE. Press the stack for at least half an hour and then check to see how consolidated the paper is. Press more if necessary. Allow you paper to dry thoroughly before storing.

I hope that these basic instructions will inspire you to try re-cycled papermaking at home.

Notebook with handmade paper

Notebook with handmade paper (Photo credit: Боби Димитров)

Papermaking: Making Paper at Home

This part of the blog can be divided into two sections: an experiment in papermaking that my hubby did and a modern “cheater” version of paper making.

The Experiment – in hubby’s words

I had never made paper before, so I read both modern and historic accounts of making paper, and talked to professional paper makers. I first experimented with making linen pulp. I bought some used handkerchiefs at a Goodwill store and cut them into pieces about 1 inch square, wetted them with water, and put them in a plastic bag on my back porch for a week. I made a small stamper by using a section of 2” pipe and putting a cap on one end. I then selected a wooden dowel large enough to fit loosely into the pipe. I added some of the very smelly and moldy cut up linen and water to the pipe. Next I started pounding the linen with the dowel. I checked the consistency of the fibers after 30 minutes. Hardly any change had happened, so I pounded the linen for another 4 hours. At the end of 4 hours some changes had started, but the fibers had not yet become untwisted. I decided that the speed of manufacture for the linen pulp was too slow and purchased some beaten flax fiber from a commercial supplier. I eventually made about ¼ cup of pulp suitable for making paper, but it took over 10 hours of pounding to do so.

I made a vat using a large plastic storage box with folding top. I filled the vat with water and added the purchased flax pulp and my ¼ cup of pounded rag. The whole amount of pulp was thoroughly stirred into the vat. Next I used a purchased mould to begin my paper making experiments. The basic dipping process is to lower the mould perpendicularly to the vat surface until it’s completely submerged. Then “roll” it so that it becomes horizontal and then raise it to the top of the vat. Paper pulp will have been retained on the screen surface. Next raise the mould clear of the pulp keeping it level and shake in all directions to consolidate the fibers.

My first few dozen tries at making a sheet of paper were failures. I either didn’t keep the mould level when shaking it (causing the paper sheet to have a wedge shape), shook it too hard causing the paper to tear before I’d even completed the moulding process, or created some other defect that ruined the sheet.

Once I could obtain an acceptable layer of pulp, I started couching the paper. I cut all of my undyed felt into 12×16 inch pieces, dampened the felts, and made a stack next to my couching area. I used a piece of plywood as the base and put one piece of felt on it. Then I dipped a mould, consolidated the pulp by shaking it and let it drip. Once the paper had stopped dripping excessively, I removed the deckle frame and inverted the mould over the felt. I used a sort of rocking motion to place the paper on the felt. Once the mould was flat on the felt, I pressed the paper firmly against the felt and again used a single smooth rocking motion to remove the mould leaving the paper behind on the felt. I continued making layers of felt and paper to make a post.

Once I had about 40 pieces of paper in the post, I put a top piece of plywood onto the post and used C-clamps to press the paper. The post compressed in height by a factor of 5 or 6, which surprised me.

I tried a variety of methods to dry the paper: I hung 4-5 sheets together on a rope, hung individual sheets on a rope, and placed individual sheets onto a piece of cloth to dry. The rope method failed except when I draped the sheet over the rope. The historical references mentioned pins used to fasten the sheets to the rope. The pins tore through the paper as it dried. I tried clothes pins which also failed on individual sheets. I was able to make multiple sheets dry together using pins, but they stuck together making the paper useless. The only method I’ve been able to make work consistently is to dry the paper on a piece of cloth. I believe that the problem with the other methods is that my paper is too wet because I can’t press enough water out using the C-clamp method.

Although I did not plan to make writing paper, I decided to try pressing one piece more than the C-clamps could by using my car. It’s obviously an imperfect solution to the pressing problem, but it was the only way I had to put more pressure on the paper. I took one of the pieces of paper, wet it with water until it had the same consistency as the semi-dried paper when I originally made it. I put the paper between two boards and drove my car onto the board and let it sit for 30 minutes. The pressure wasn’t even on the boards, but you can see on one edge that the paper can be made to be very flat and smooth. Other portions of the paper are rougher , due to uneven pressure. The plywood bent as the car went onto the boards and the car was on the most even part of my driveway, but it was still on an angle.

The biggest problem with my experiment was the press, any future papermaking projects will mean figuring out a more efficient way to squeeze out the water

The second problem was with the mould. Period “laid” moulds were made of wires that were parallel and closely spaced. Modern “wove” moulds are made from screen. I used a purchased wove mould to make this paper because of the cost for a laid mould. The wove mould cost about $30 while a laid mould was over $800. I built a laid mould, but the close spacing of the holes (about 18 to the inch) made the frame warp. I will use mahogany for the next frame since it has better working properties. I also need to experiment more with ways to make the tension consistent between the wires. The laid frame did not work because I could not maintain adequate and even tension on the brass wires. I used 16 gauge wire but the movement of the wood caused warpage of the wire spacing. Paper making attempts using this mould failed because holes formed in the paper during moulding and it tore very easily. It did not consolidate well due to the uneven wire surfaces.

Next Time: Papermaking – Making Paper at Home -The Cheater Version

homemade paper

Papermaking: The Process

Making paper in Europe used rags as a raw material. Rag pickers bought and sold used clothing and other fabric until it was no longer suitable for anything but making paper.

Paper pulp was made using rags. The mills would cut rags into small pieces, at the same time removing any buttons, hard seams, badly stained pieces etc… These little pieces would then be piled in a dark corner, soaked with water and allowed to rett (rot) for a couple of weeks. Fungus growing on them was a sign of good retting.

The next step was to take these retted rags and put them into a stamper. This was a series of very large wooden hammers powered by a water mill. It pounded the rags in water to pulverize the rags into individual fibers. The process essentially “unmade” fabric by separating the fibers from the spun yarn and thread.

The pulp was then added to a large vat and diluted so that the final concentration was probably about 95 percent water and 5 percent fiber. The vatman would then use a large frame with a large number of parallel wires strung across it, lower it into the pulp and pull out a screen load of what will become paper. The fiber in the pulp lays flat upon the screen creating a thin layer of pulp.

After pulling the screen the vatman shook it to consolidate the fibers in the pulp and passed the frame to a coucher who then flipped the frame onto a layer of damp wool or felt. The coucher then placed another piece of felt on top of the very fragile sheet and passed the frame back to the vatman who repeated the process. This continued until a stack of alternating pulp and felts as large as could fit into the press was made. This stack is called a post.

Paper in the post was extremely fragile until it was pressed. An apprentice would move the post to the press and apply pressure to the stack using a long wooden handle in a paper press. Once the excess water was pressed out of the post, the individual sheets of paper could be hung to dry on ropes, hung in groups on ropes, or placed on drying cloths.

English: Papermaking by hand. Woodcut.

English: Papermaking by hand. Woodcut. (Photo credit: Wikipedia)

16th Century Vatman image courtesy of British Association of Paper Historians (ca. 1588). The stamper or hammer mill used to pulp rags can be seen in the upper left of the image. The paper press is located in the upper right of the image. Note the holes in the wooden screw through which a wooden handle was placed to press the wet paper. Other images show this handle to be about 3-4 feet long enabling substantial pressure to be applied to the paper. The vatman can be seen lifting a mould from the pulp vat. The mould includes a deckle frame which is set on top of the mould to consolidate the paper edge. In the lower left an apprentice is carrying a pressed stack of paper to be dried. If you look out the windows you can see the water wheels that are used to drive the automated processes, like the stampers.

Next Time: Making Paper at Home