Last time we created the actual molds that are used for casting, and we poured the molten metal into them. But what happens now? Well, they need to be quenched.
Quenched? Yes. The metal needs to be cooled down the rest of the way so that it can be handled, and it needs to be removed from the plaster in the flask. Quenching accomplishes both of these things at the same time. Here is a picture of my high tech quenching arrangement. I have a bucket of water sitting up on a metal stool. The still hot flask (in the tongs) is lowered into the bucket of water. Sizzle, spit, steam and it all happens. The forceps in my other hand are used to remove the still warm metal from the flask. I set it aside into another smaller container of water while I clean the flask.

There is always some plaster left in the flask, so I scrape it out with a putty knife and throw it into the other bucket that you can see next to me on the floor. The flask is then scrubbed with a wire brush, rinsed and put on the floor to dry.

And here they are drying! Meanwhile the newly cast piece is sitting in a small container (an old cooking pot) full of water. It is now cool to the touch, and this is what a typical one looks like.

Once I am done casting it is time to begin making these messy looking blobs into something worthy of being put in my shop. This picture shows the basic process. First the pieces, in this case buttons, are cut off of their sprues. This process often requires that the metal has to be cut apart in stages so that none of the buttons are damaged. Then the sprues are set aside to be cleaned and the buttons are given an initial tumble to remove any remaining investment and reveal any surface imperfections. Any flawed buttons go into the sprue pile to be recycled later. The remaining buttons are sanded, polished, inspected, and touched up until they look like this.

The sprues are then cleaned and polished to remove all traces of investment and metal oxides. They are then dried and put away for later use.
I thought it was important to include a lovely picture of me in all of my pouring safety gear. Quite the fashion statement!
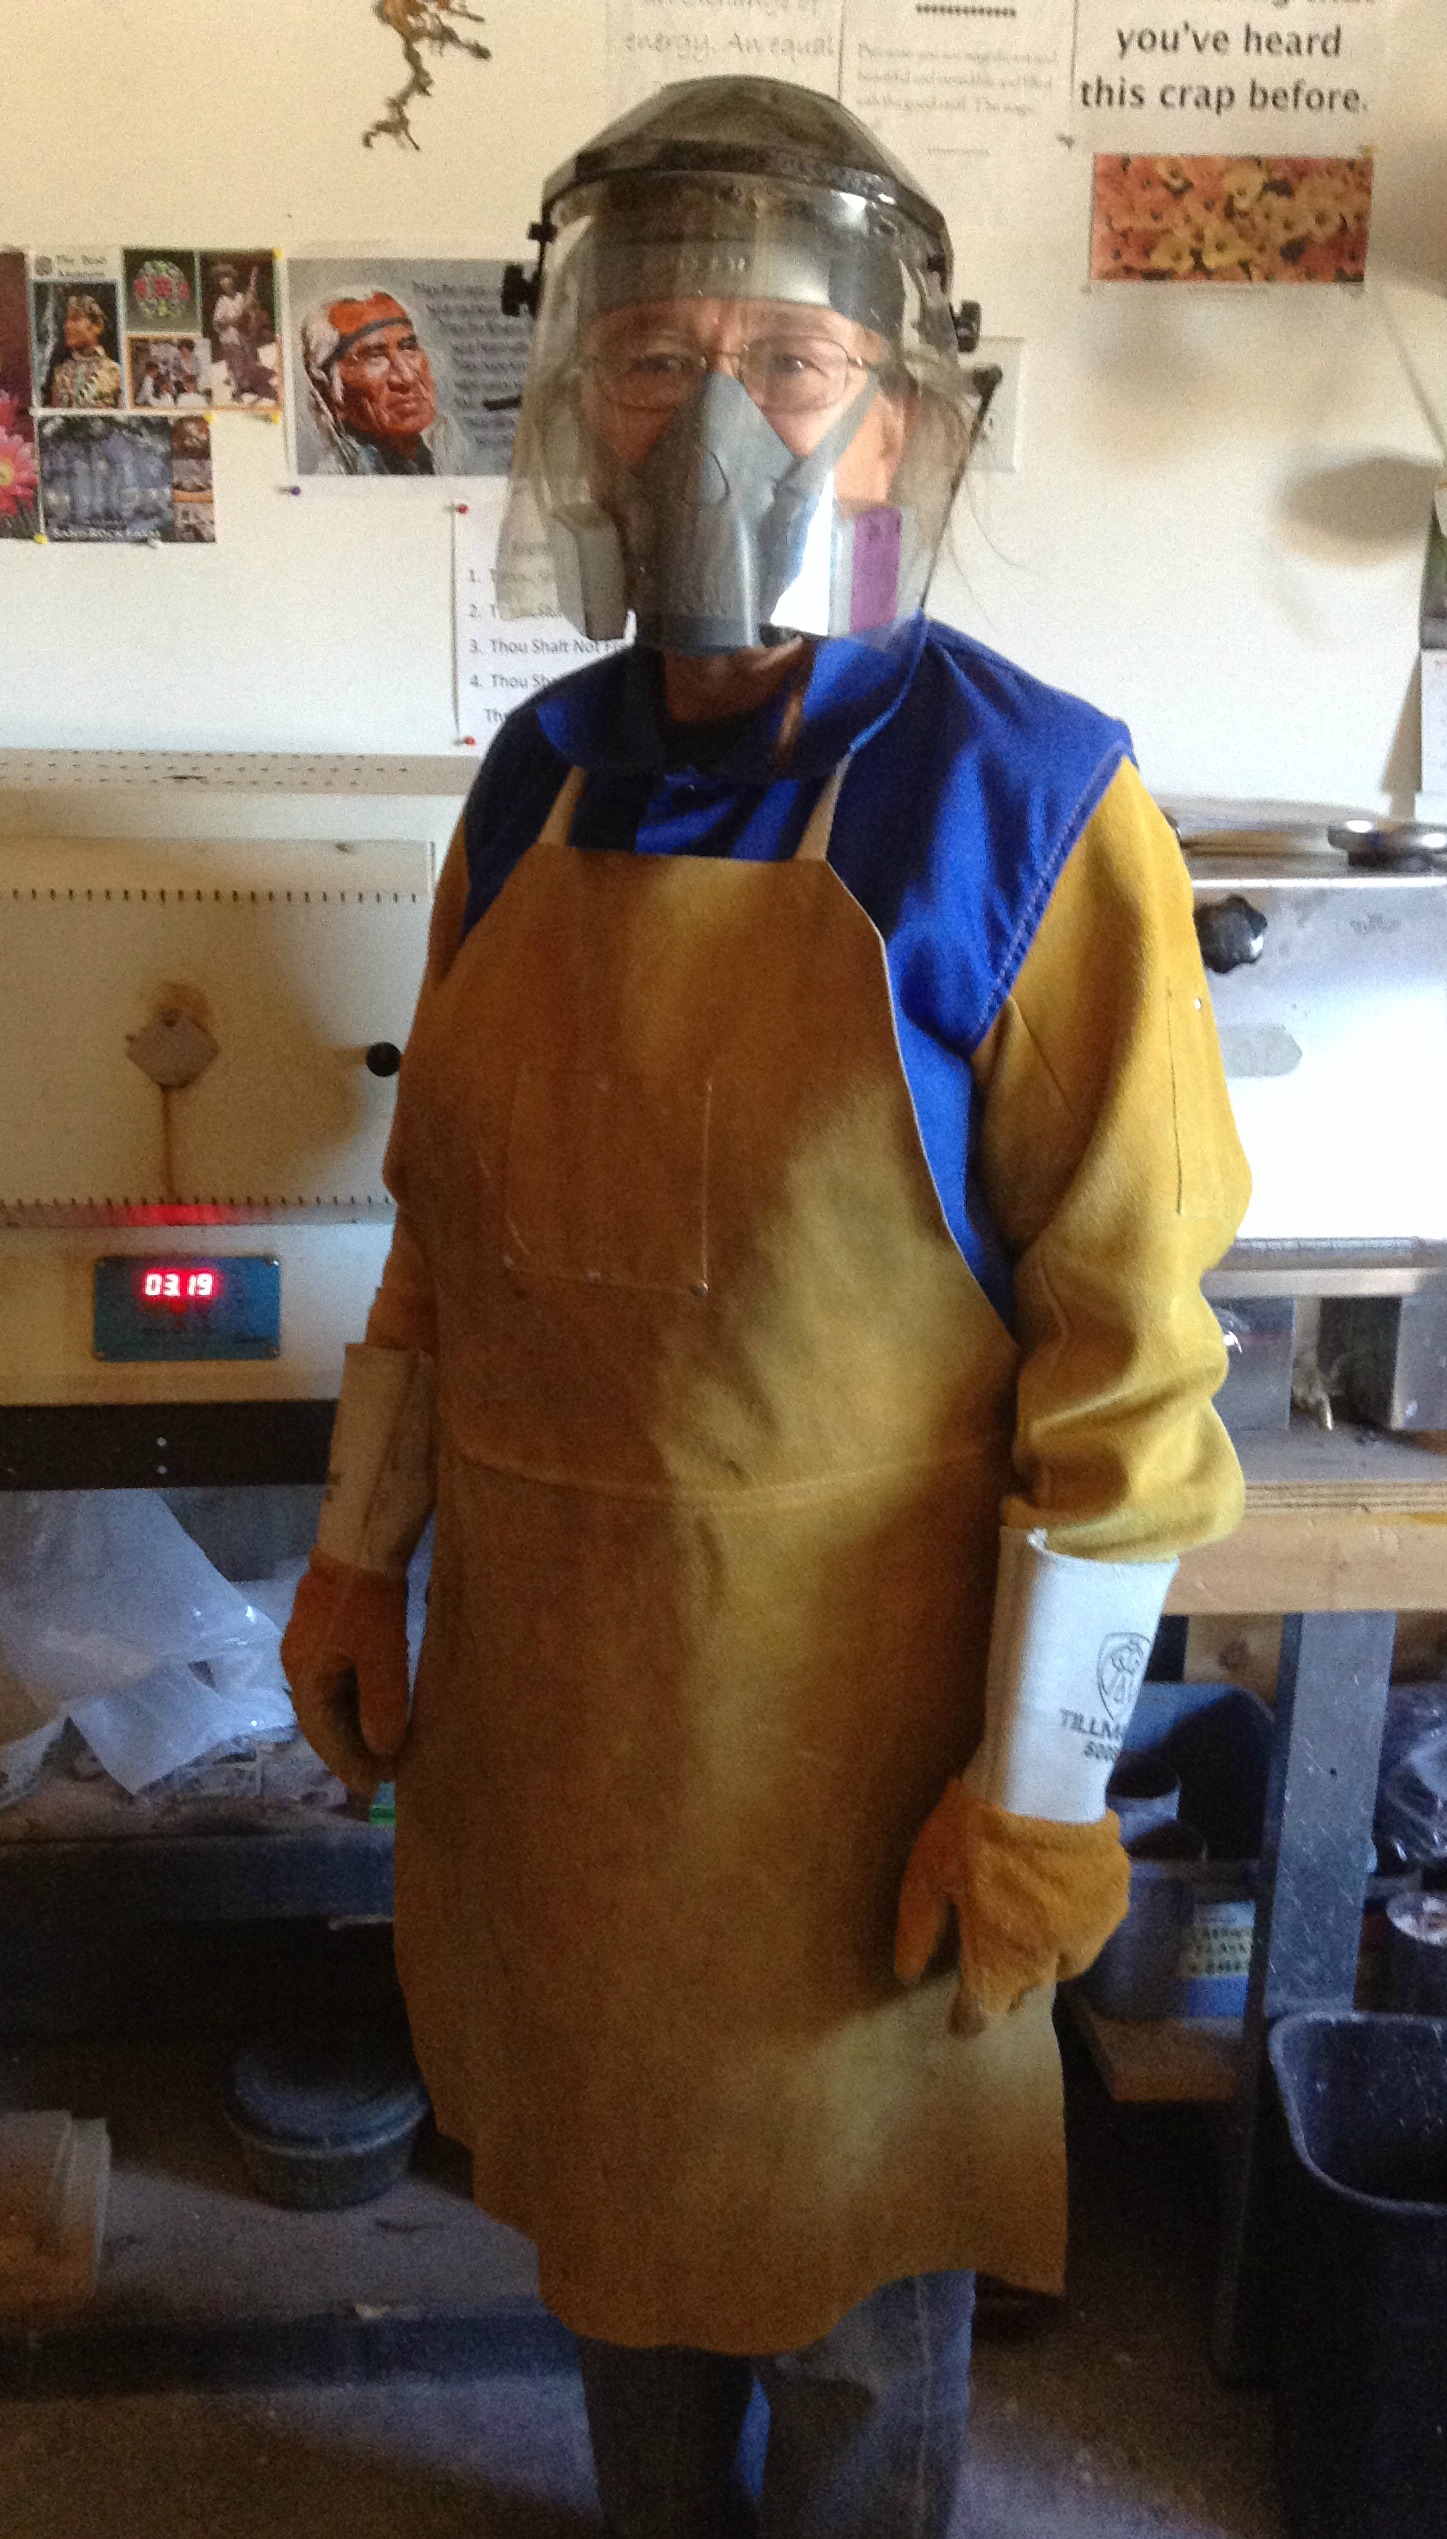
So for those wishing to replicate this major fashion statement…Starting at the top we have a full face shield to prevent burns from splashing molten metal and boiling water. Under that shield we have a high quality particle dust mask. The process of quenching the flasks can put quite a bit of fine particulate silicon into the air, which is very bad for your lungs. The blue jacket with leather sleeves is a welding jacket – doesn’t catch on fire easily and protects from an assortment of hot things. Leather welding apron and gloves complete the ensemble. What you can’t see is loose fit cotton jeans and high top leather boots.
Next time: How I Got Started Casting