Planning Your Garden – Garbage in Garbage out! Part 1

No, this blog post is not about compost! I became aware of the phrase many, many years ago in reference to computer code. The idea was that if your code was garbage, your results would be garbage too. Well, like it or not, the same thing often goes for our gardens. Now that the main garden season is over, it is time to plan what we are going to do next year to make our garden better. We can’t necessarily control what Mother Nature throws at us, but we can try to moderate the effects enough so that we can feel good about our gardens.

DROID3Try2 203

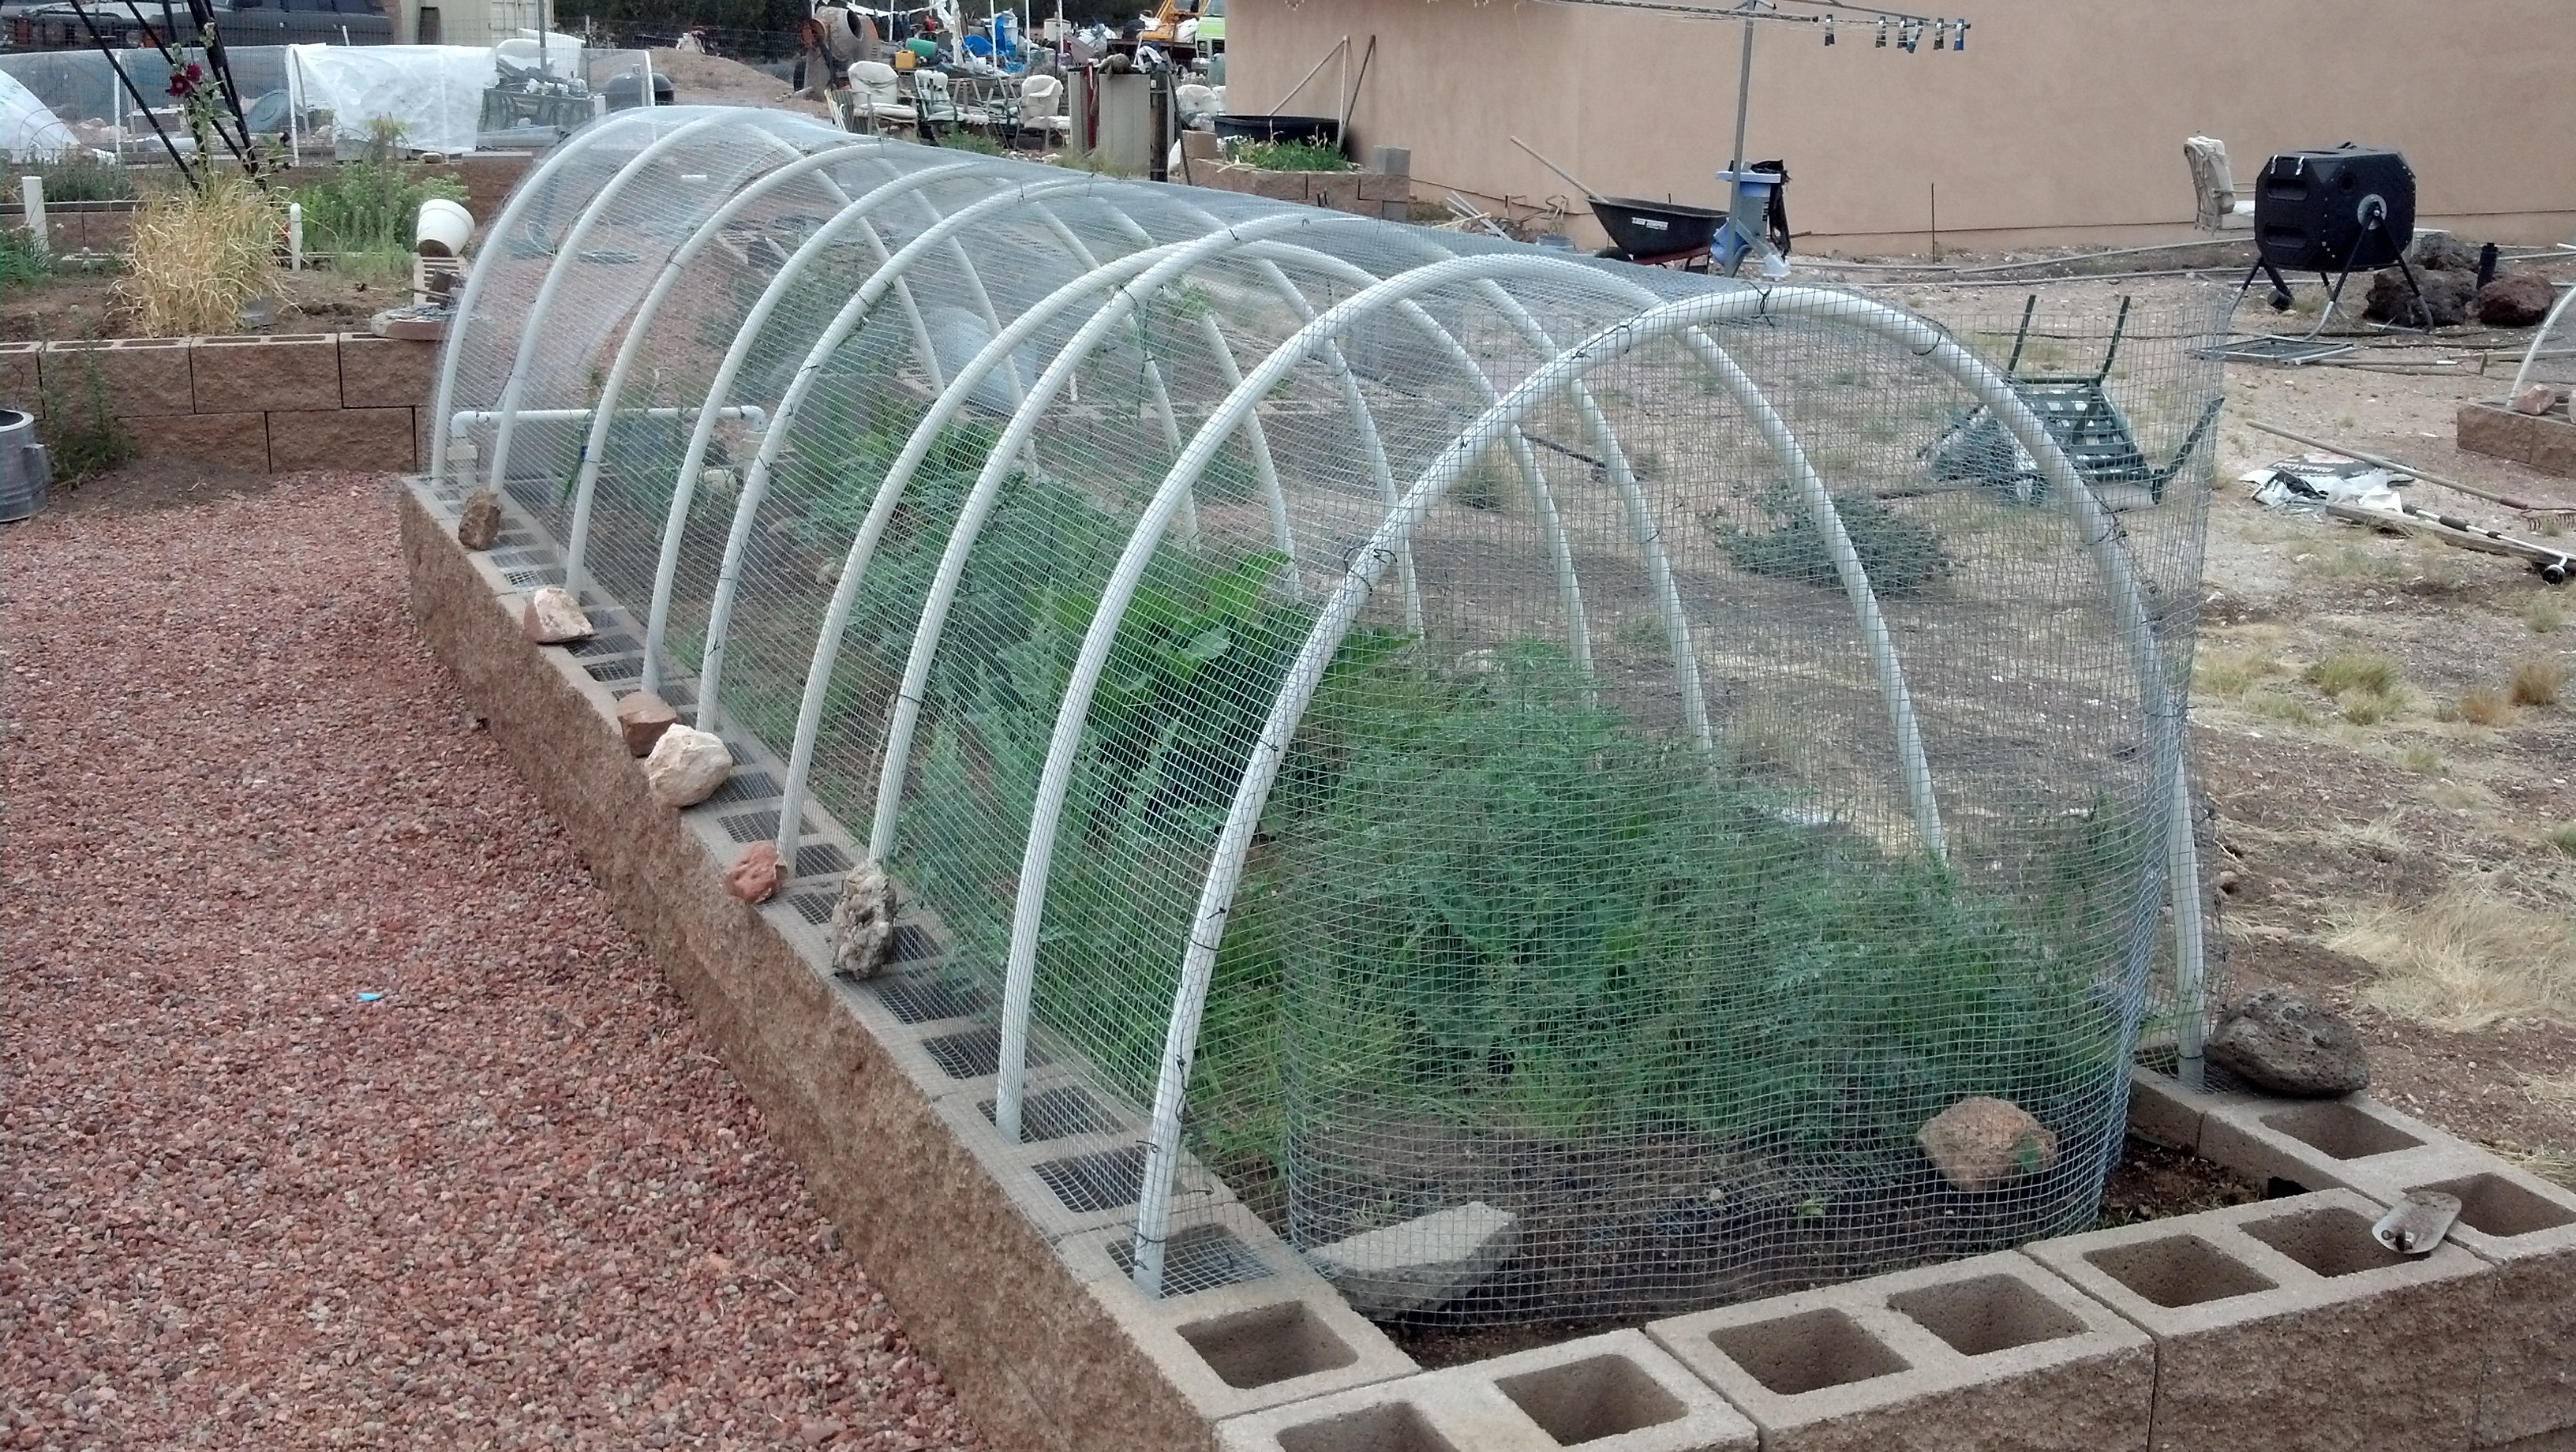
I live in northern Arizona, in one of the most difficult locations that I have ever gardened. Our soil is an interesting collection of ash falls from various volcanic eruptions, along with rock dust and almost no organic material. The soil is so alkaline that a natural, mostly impermeable layer of calcium carbonate forms below the surface of the soil (caliche), usually one to two feet down – sometimes as much as 6 inches thick. The alkalinity of the soil prevents the plants from absorbing calcium (ironic huh?) so we have to supplement our tomatoes or they will have poor crop yield because of blossom end rot.

So what can we do about these issues? Well, one of the most important steps that we can take is to be extremely careful in our seed choices. I have several friends who insist on using random seeds that they save from store bought vegetables and fruit. That’s an admirable approach in many parts of the country, but here my friends are often not happy with the results. Why are the store bought vegetables or fruit so yummy and the next year’s result so disappointing? Simple, there is an excellent chance that the plant used to produce the vegetables was a hybrid.

So what exactly is a hybrid? It is when the breeder takes two or more plant varieties and purposefully combines the pollen from one with the flower from another to create a genetic combination of the two plants. Mankind has been manipulating plants in this manner for a very long time, and there is nothing dangerous about it. This does not involve any genetic manipulation other than what Mother Nature sometimes does herself. Ancient man chose and kept the seeds from the best plant and in that way gradually improved the quality of the plants that he could grow. Modern traditional hybrids (non-GMO) are created for many reasons, including flower colors and forms, flavor profiles in fruits and vegetables, disease resistance, plant height and form, and fruit longevity (how fast does it rot), just to name a few.

So how do we learn about the seeds that we are using and locate quality seeds to buy? Read. Read everything that you can find about seed varieties and their characteristics. If a company won’t tell you if the seeds are hybrids, or not, you need to consider whether you want to do business with them. I also strictly avoid all GMO seeds and deal only with companies that provide a non-GMO promise.

So how do we pick our seed varieties? We’ll talk about that next time!

Garden Defenses: Making Large Covers for your Garden – Part 2

Last time we ran through the basics of building a cage for your veggie bed using PVC pipe and chicken wire or hardware cloth. The bed cages that I built this year fell into two categories – beds that would essentially be left alone until next year and beds that would be harvested within a few weeks.

This year I wanted to add some more perennials to the garden, and I chose asparagus and rhubarb. I decided to create a new bed for the asparagus and convert an existing bed into a rhubarb patch. The asparagus bed would not require anything except occasional weeding until next year, and the rhubarb bed, which was actually rhubarb at one end and Swiss chard, onions and herbs at the other, would require weeding and the ability to harvest vegetables and herbs when needed.

Initially both beds were treated the same. A PVC frame was put in place and hardware cloth was wired into place on the frames. The irrigation for these beds was carefully put into place before the wire was closed up. In the case of the asparagus bed I used drip irrigation and the rhubarb bed is a wicking bed (think self watering planter with the reservoir underneath). Once the “arch” frame of the bed is completed you will need to close up both ends of the “cage”. I usually just measure a length of wire fencing that is about 6 inches longer than the widest portion of the “arch” and about 3 to 4 inches taller than the arch. The “end” of the cage is then trimmed to match the arch of the PVC pipe.

cage end


The “extra” wire is bent down to meet the wire fencing on the arch and then wired in place.

corner of cage

When you put the ends on the cage I recommend leaving extra wire at the bottom so that you can anchor it, either on the surface of the soil, or on the edge of the bed.

asparagus bed with bricks

This picture shows how I bend the hardware cloth or chicken wire down and weigh it down on the top of the cement blocks that make up my beds. I leave at least an extra 4 to six inches of wire on all pieces of the wire, all around the bed.

OK, so now we have a closed cage. How do we get back in to weed and harvest? Doors! It is possible to open the actual pieces of wire fencing by unwiring them from the PVC pipes, and I have done that before for weeding, but for easy everyday access, you need to make doors.

cage with door open

This picture shows the simple doors that I cut into the cages. I choose locations that will allow me to reach the most important areas easily. I cut the wire so that there are as few sharp points sticking out as possible. The hole must be big enough for good access. I cut a piece of wire, in this case hardware cloth, that is at least two inches larger, on each side, than the hole. The hinges are simple loops of wire at the top of the hole that allow the wire door to open and close. To keep the door closed when you are not using it, you can use binding wire or twist ties. Simple!

I hope that this series of blogs inspires you to develop your own custom cages to protect your plants.


Garden Defenses: Making Large Covers for Your Garden – Part 1

I have always loved the pictures of English Country gardens, complete with the occasional cute little bunny, nibbling contentedly on some random grass or weed. A lovely vision, but unfortunately nothing like where I live. With drought even worse than usual this year the rabbits have become voracious predators, eating everything that they can get their self-sharpening teeth on.

I have considered building enclosures for my beds for several years. I loved the pictures of neatly constructed cedar or redwood frames, with hinges for easy access and latches to keep the covers from blowing open. But have you priced quality wood lately? I have, and it just wasn’t going to happen. So I took my old standby PVC pipe, and went to work. My larger enclosures use 10 foot sticks of 1 inch PVC and my smaller ones use 3/4 inch PVC. I do not recommend using anything smaller than 3/4 inch PVC – it just won’t have the structural stability that you need.

In previous years I have used these PVC pipe arches to support row covers over my garden beds. The row covers allowed me to set my vegetable seedlings out before all danger of frost was gone, protected them from bugs, protected them from hail storms, and allowed me to extend the summer season solidly into the edge of winter.

So first let’s take a look at my garden beds. Because the quality of the soil where I live is very poor, and water is something that rarely arrives from the sky, I used raised beds that are made of dry laid cement blocks. Adding the PVC arches is very simple. I just buy 10 foot sticks of PVC pipe, bend it and stick the ends in the concrete blocks that make up my raised beds.

garden bedsThis picture shows some of the beds in my garden. The closest bed has a small chicken wire cage on one end and the bed to the right has a row cover on the PVC hoops.

If you do not have raised beds, or you have raised beds that are made from boards, railroad ties, or dry laid stone, you will need to put something into the ground to hold the ends of the PVC pipe. The most efficient, sturdy, and available “something” is a piece of rebar. Large home stores sell rebar precut to different lengths. They are not cheap, but they will last a lifetime and more. I would not buy anything shorter than a foot. You want to have several inches to drive into the ground and about six above ground. If your ground is particularly friable (not structurally stable) you may need to buy 18 inch pieces in order to have sturdy supports for your “cage”. The stakes and/or PVC pipes are placed so that they line up with the middle or the edge of a piece of wire. For instance, if I was using five foot tall chicken wire, which does not have much structural stability, I would plan to use a PVC hoop at each end and one in the middle to support the wire and keep it from crushing easily. On the other hand, if I was using two foot tall 1/2 inch hardware cloth I would place one hoop on each edge of the hardware cloth, and that would be more than enough support.

But how do I keep my wire on the hoops? Simple – cut pieces of baling wire that are long enough to wrap around the PVC pipe, stick through the wire, and wrap into a twist to hold everything together. I usually just cut my wire, form a U shape, push the wire U through the wire fencing and twist the ends together the same way that that you would twist a twist tie. I often use a pair of pliers to do the actual twisting – saves the fingers a bit and makes for a tighter twist.

And this is what you wind up when you are done – a complete cage over and around the vegetable bed. This particular bed also has a “c shaped” piece of hardware cloth attached to the end to protect the pole beans from rabbits and crows (they sometimes pull newly sprouted beans). I did not put the pole beans inside the cage because I want to allow the beans to climb on the top of the cage.

Rhubarb bed

But, you say, how do I get to my veggies to harvest them and pull weeds? We will discuss creating access next time.