Making silk banners and flags can be exciting, rewarding and fun. In part II, we’ll continue information about how to make silk banners and flags.
Your silk fabric is prepared, your artwork has been traced with gutta, and your gutta has dried. I realized, after I had published the previous edition of the Silk Banner workshop that I may not have placed enough emphasis on how important it is to make sure that your gutta is PERFECT. What exactly do I mean by perfect? If the gutta lines are too thin the silk fabric dye may be able to “sneak out” of the area inside the gutta. Remember, this system works like a coloring book. If you want crisp lines and edges you have to stay inside the lines.
The gutta lines should generally be about 1/8 inch wide. Slight unevenness is not a problem, but any spots that are thin or any gaps MUST be repaired and allowed to dry BEFORE you use your dyes.
COLOR! – Now it’s time for color for your silk banner! I recommend small disposable plastic cups to hold small quantities of dye while you are painting. You can wash them if you want, but if they aren’t cleaning up well enough, you can always throw them away.
You can use regular paint brushes or disposable foam paint brushes to apply the dye. Have a selection of brush sizes to make it easier to control the application of the dye. The disposable foam brushes are really good for painting large open areas of color. Be sure to rinse the brushes thoroughly before you resuse them. I always check my brush by squeezing it gently with a WHITE paper towel. If there is any dye left in the brush it will show up on the paper towel.
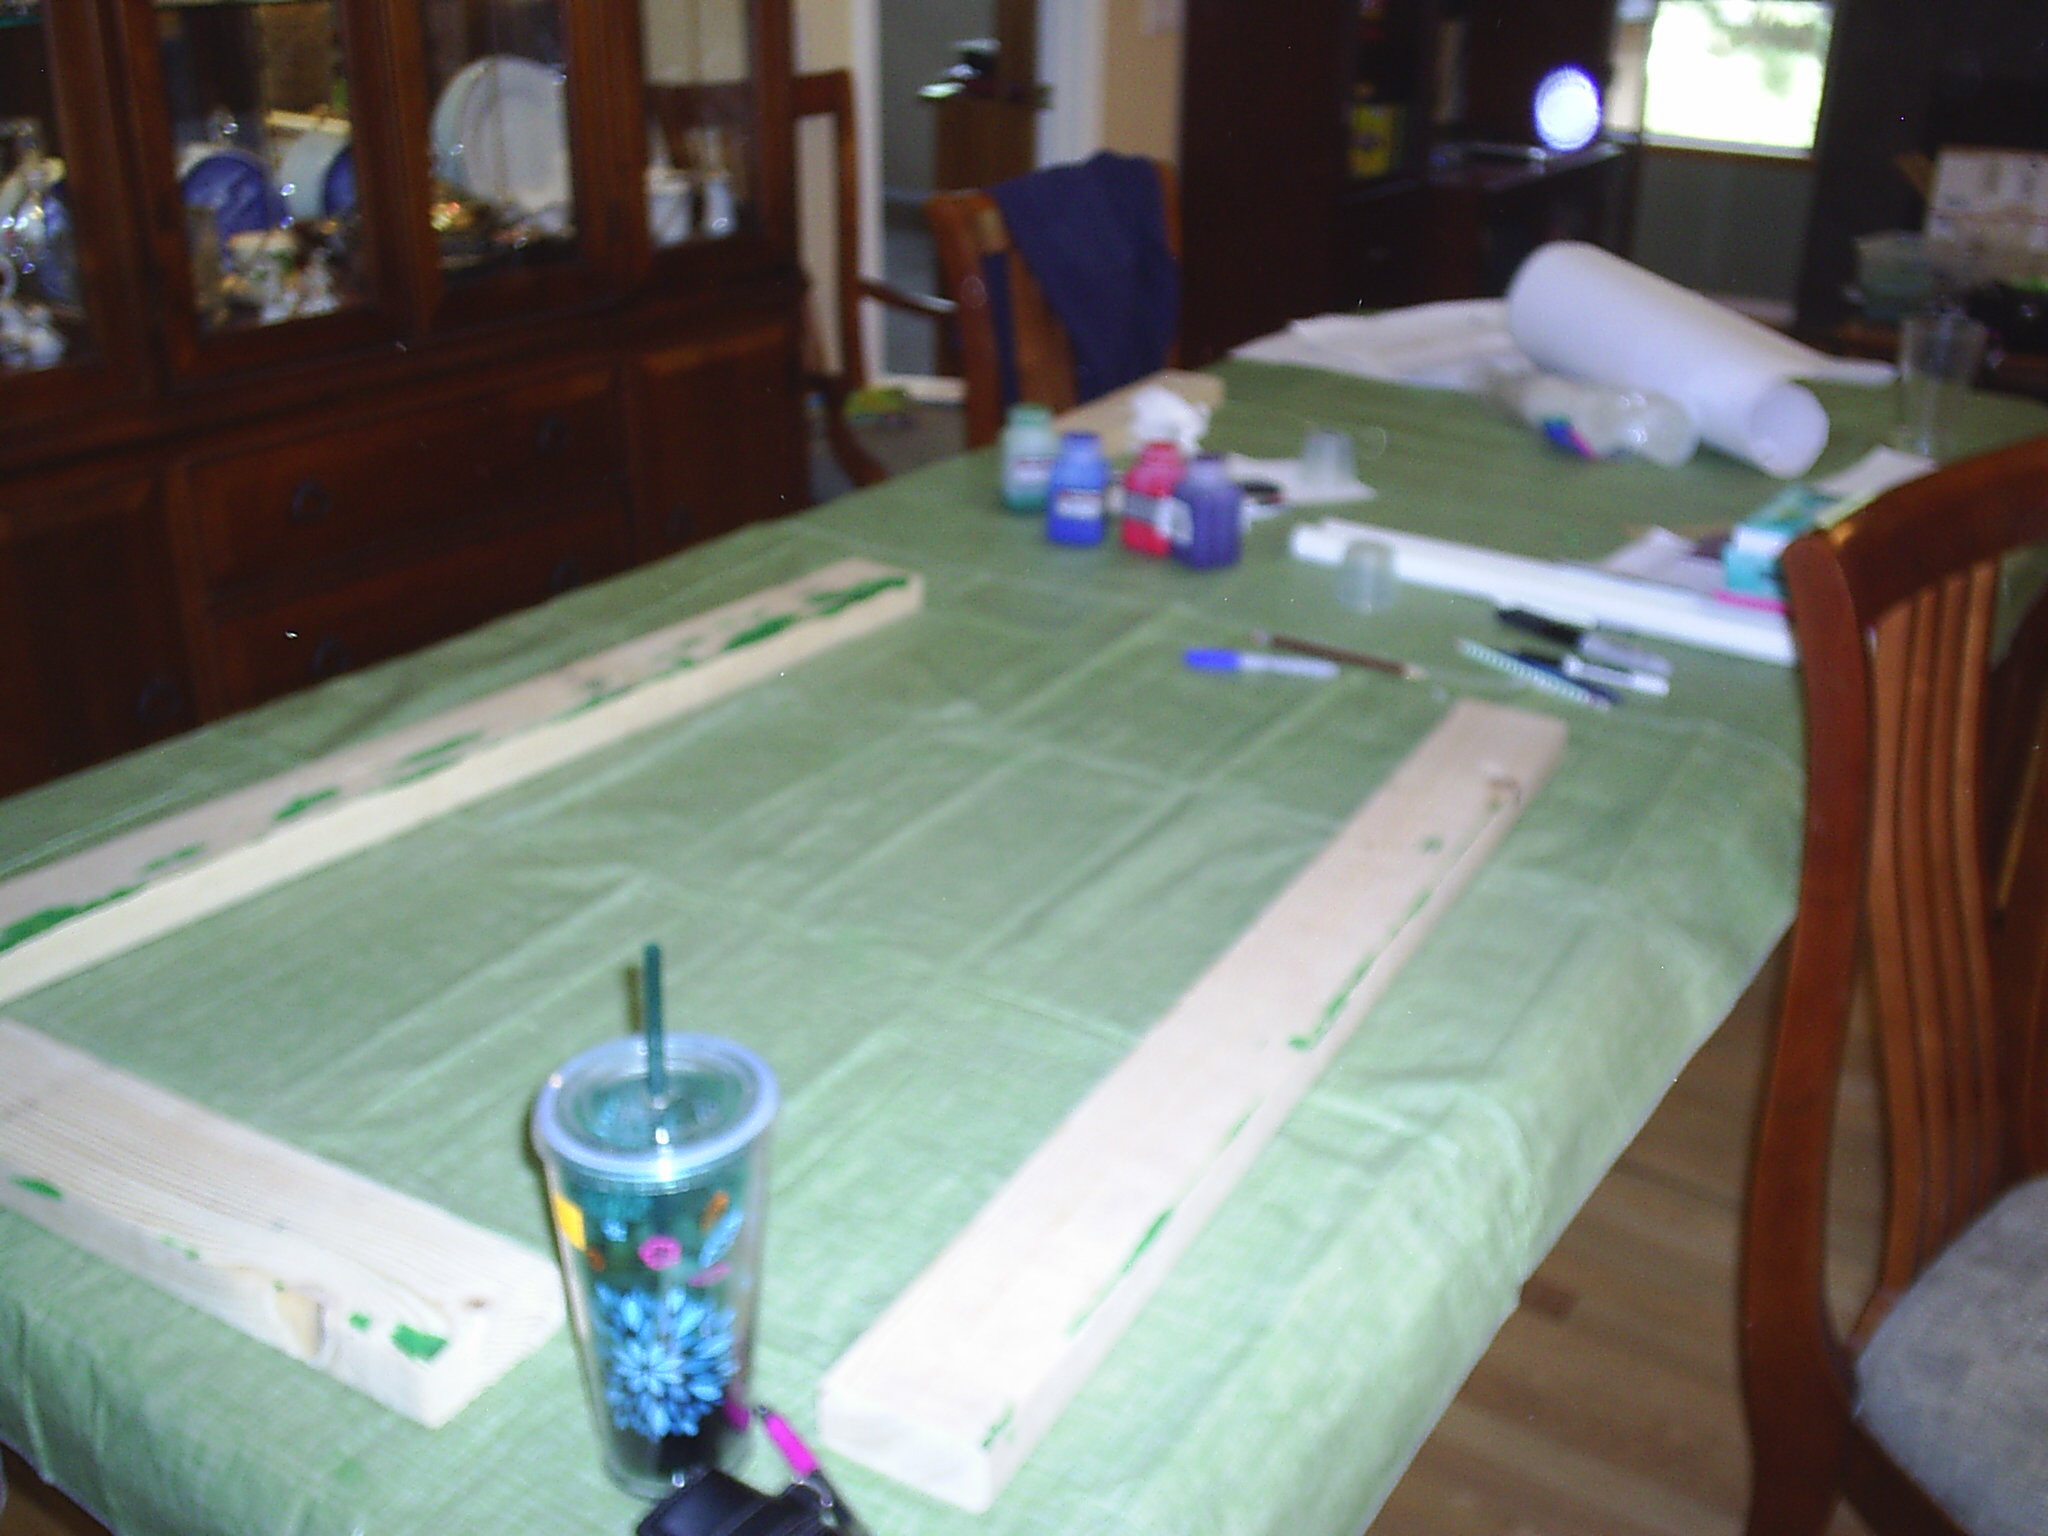
This picture shows our work table in between uses. Note the two by fours on the table. They are NOT used while the artwork is being traced onto the silk fabric, but they are critical during the painting process. The dye will go through the fabric. If the silk banner is in contact with the table surface, the dye will run along the table and “escape” from the areas where you want it to be. This will cause blotches of color where you don’t want them. Note that the surface of the table is covered with a vinyl table cloth. Whenever a banner is removed from the work space, you need to lift it straight up so that any dye that is on the table top will not be smeared on to the banner where you don’t want it. You need to check to make sure that no dye is left behind on the table surface. Wash the table and dry it if you need to. Paper towels are your friend! Dye from the table will transfer to the next banner that you work on there.

Patience is a virtue! Take your time and plan which area of the banner you will paint first. DO NOT RUSH! Do NOT overload your brush – a drip becomes a permanent “feature” on your banner. It is better to walk around the table or move the banner frame to give better access to all areas of the banner than it is to do a lot of reaching. Remember that if you move the banner frame for better access you need to lift it straight up and make sure the table surface is clean before you put it back in place on the table. If you want to you can cover portions of the banner that you must reach across with a piece of paper or plastic. Just remember that the dye underneath the paper or plastic MUST be dry, or you may transfer dye where you don’t want it.
Make sure your hands are always clean – hand lotion can add oils to the silk and prevent absorption of dye. Spots of dye on your hands can transfer to the silk where you don’t want it.
If you are painting a large area of color on your silk banner, it is preferable to keep a “wet edge” on your dye. That means try to keep all of the edge of the area where you are adding the dye damp with dye. If your environment is particularly dry, or hot, or both, this may not be possible. The result will be a slightly blotchy colored area. DO NOT FREAK OUT! Once the entire area is painted with dye, you can add a second coat. This coat will even out the intensity of the color and eliminate most of the variations. Remember, if you are making a silk banner or flag that is designed to be hung on a pole and blow in the wind, most mistakes will be “invisible” because the banner will be moving most of the time!
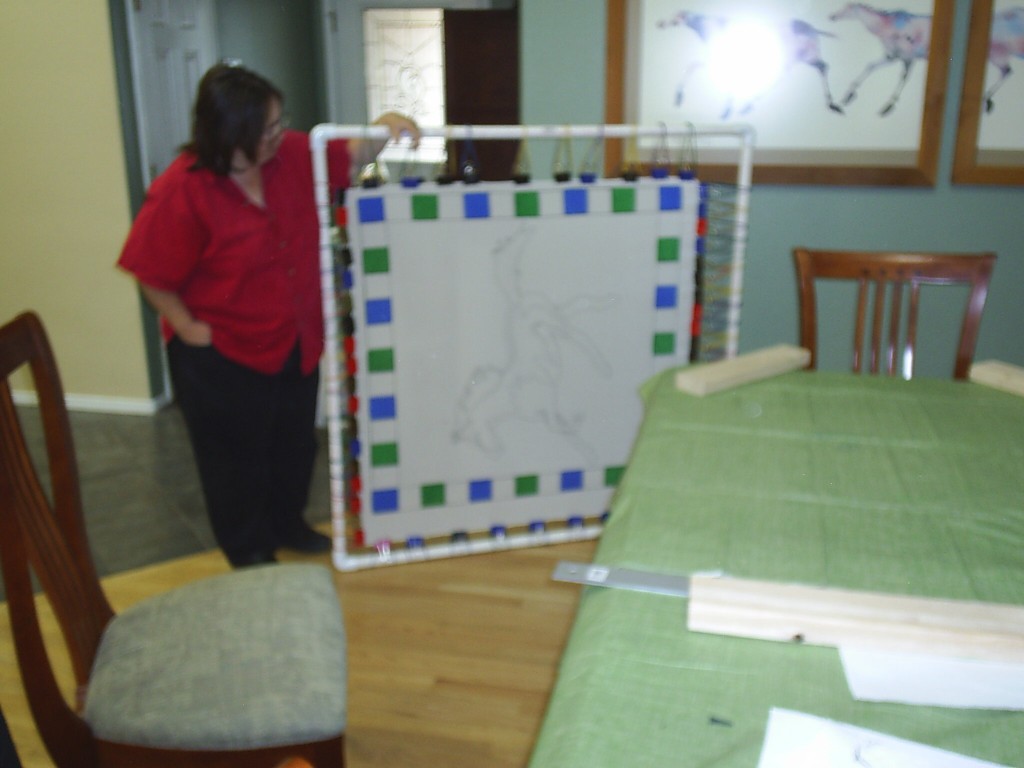
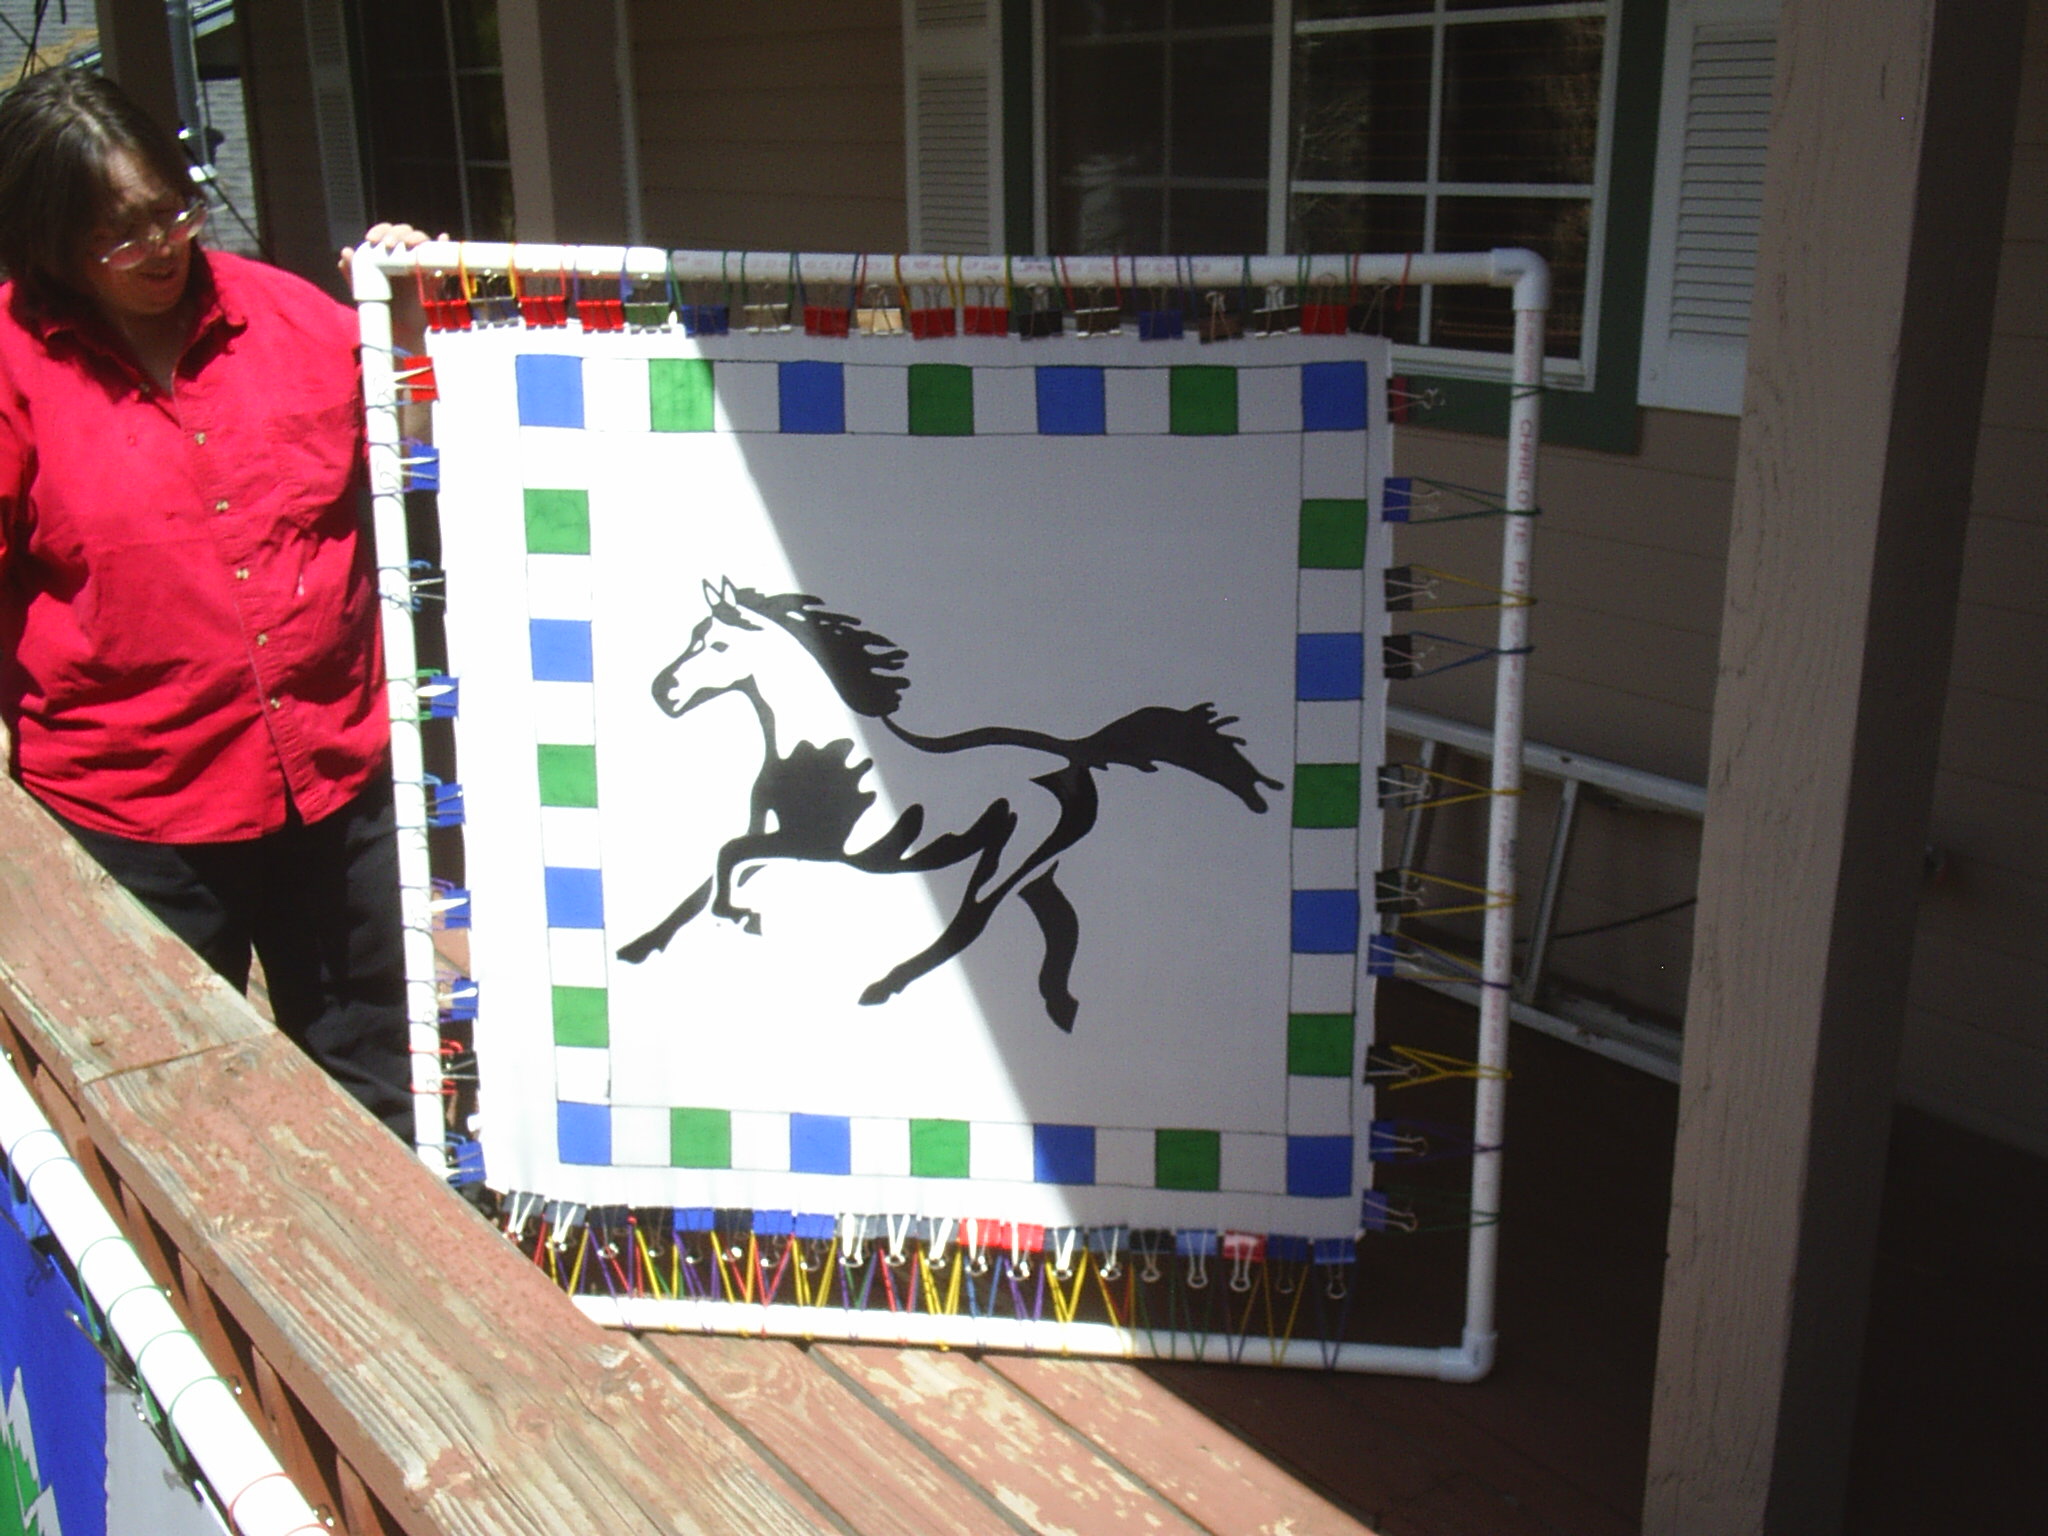
Here is a silk banner in process at our last workshop. Note the white PVC frame, the rubber bands with binder clips, and how nice and straight the edges of the fabric appear. Remember, having the silk fabric under even tension is a key to making a great looking silk banner. When the designs were particularly complex, or large, we found that we got better results if we allowed the banners to dry in between painting the different sections. In this case we knew that we were going to put our baronial colors around the outside of the silk banner (white, blue and green squares). This area of the banner was allowed to dry before the center design was painted onto the banner. In general, it is best to wait until an area of color is dry before you paint the area next to it. If you drip a drop of dye on a dry area it will generally NOT spread very far, and you may even be able to reduce the “damage” by blotting it gently with a paper towel. If the new dye is dripped onto an area of color that is still wet the drip with “run” quickly through wet dye and make a much bigger mess.
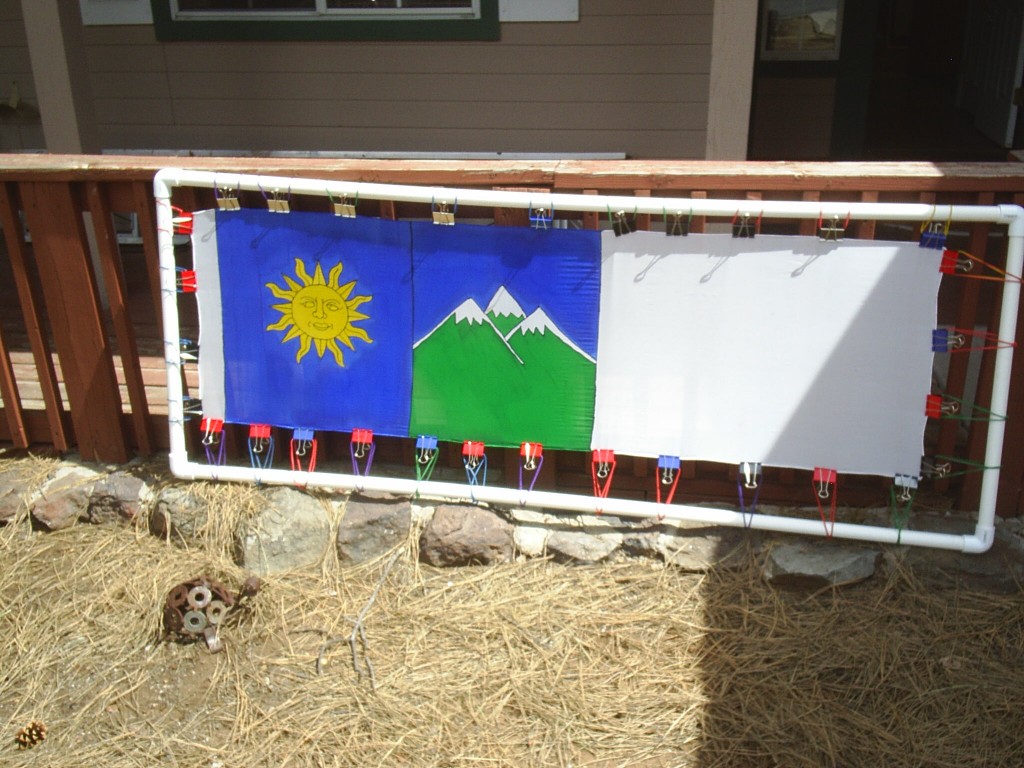
This picture shows a long banner in process. Each section of color was allowed to dry individually before the next area was painted. Note the frame and how the rubber bands and binder clips were used to hold the edges of the fabric in a nice straight line. Painting one section at a time also allowed us to make design decisions as the banner progressed.
Setting the Dye – Once the dyeing of the silk banner is complete, the dyes have to be set. Setting the dyes makes then “water proof. If you don’t set the dyes, they will wash out the first time that they get wet. I actually know some folks who spent a considerable amount of time painting some truly lovely silk banners, which they did not set. They took them to an event and hung them on poles. It rained. They watched in dismay as all of their beautiful handiwork “melted” off of the banners. You don’t want to do that!
Each type of dye will have specific setting requirements. Be sure to read your instructions THOROUGHLY before you use a dye or paint. The products that we used, Dye-na-flow silk dye and Seta-silk silk paint, both need to be heat set with an iron. I have friends who have heat set dyes successfully in a clothes dryer, but I also have friends who have had problems with the dryer overheating the gutta. This caused the gutta to transfer to random locations leaving a black or silver mark.
I always use an iron to set the dyes on silk banners. The instructions for our products suggest that you let the dye dry for 24 hours and then iron each section of the silk banner for 2 to 3 minutes. The banner is placed face down on the ironing board. I prefer to place a piece of fabric, like an old sheet, under the banner. Use a pressing cloth – another piece of clean disposable fabric on the top of the banner. You should work in small areas, moving in a circular motion so that you don’t scorch the silk. The idea is to have each section of silk stay hot for a full 3 minutes to ensure that the dye sets correctly.

Once the dye has been heat set, you should wash the banner in hot water with Synthrapol. This special detergent will lift away any dye that has not bonded properly to the fibers. I usually air dry my banner.
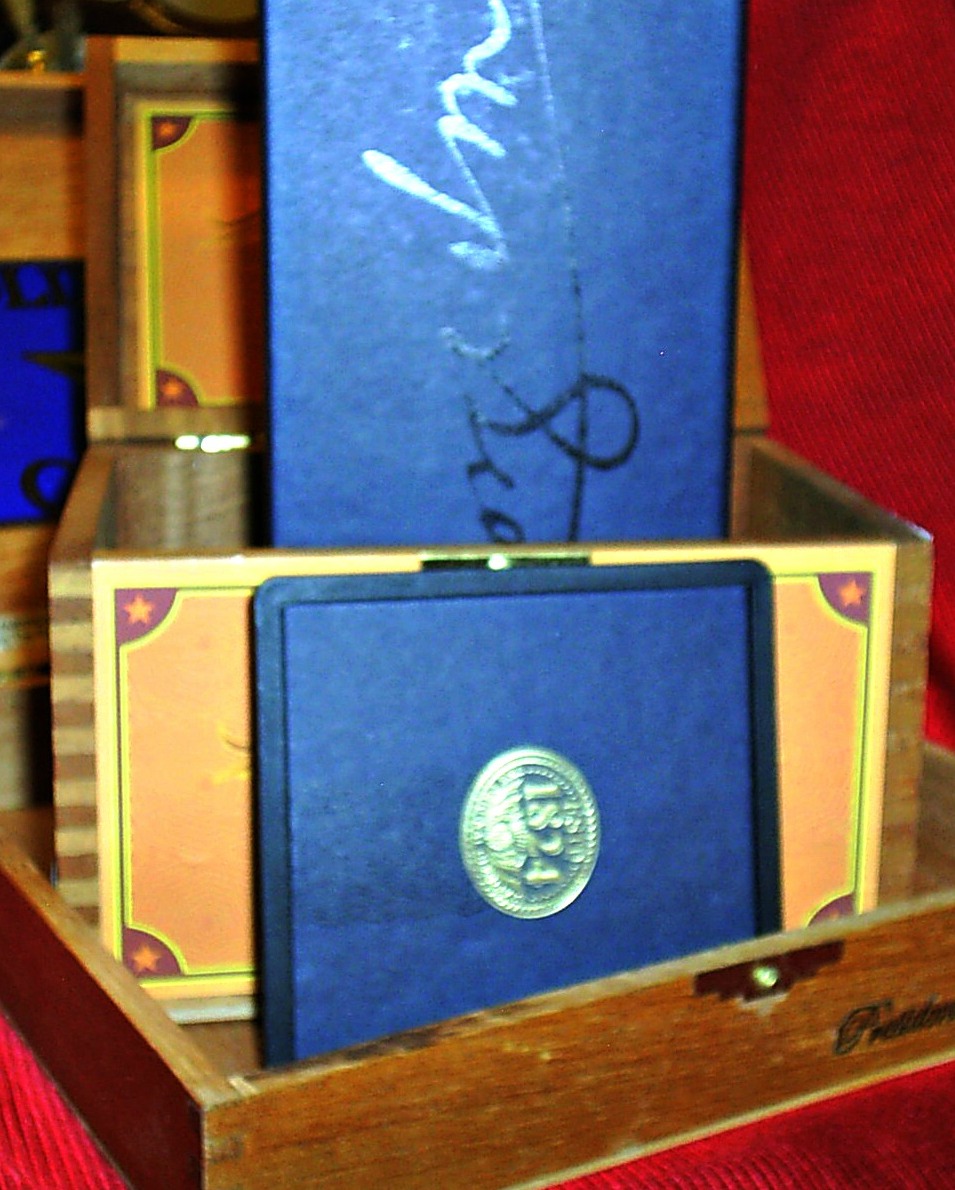
Now all you need to do is attach ties to the edge of the silk banner and put the banner on a pole. There are many ways to hang a banner, and as we discussed in Part 1 of this article, how you are going to hang the banner should be a part of your design. The banners that we made were all designed to have ties put on an edge and then the ties were tied to a banner pole. This diagram shows just a few of the options that you have for hanging your banner.

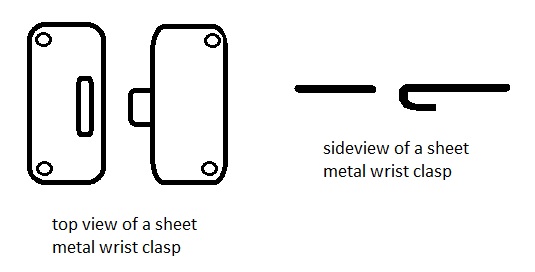
Random tip. Say that you want to have a silk banner that is not a square or rectangle, or you have a piece of silk that is not hemmed. You want to have the freedom to do creative things, but you DON’T want to have to hand hem the edge of the silk. What can you do to keep the silk from fraying and have it look good? Gutta! This simple diagram shows the process.
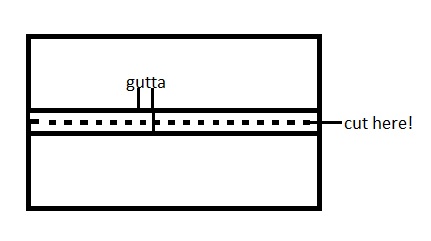
In this case I am simply creating two long thin banners.Draw two lines of gutta and cut between them! Obviously you need to let the gutta dry before you do any cutting. I also recommend doing all of your painting of dyes before you cut the banners apart. If you are simply putting an edge on a single piece, then just trace as close as you can to the edge of the fabric with the gutta. The gutta acts like a super Fray Check!
I hope that this blog inspires you to make a silk banner of your own. The Dharma Trading Co. website has plenty of ideas, tips, and tutorials, especially if you are looking for something beyond the basic “how to”. I have included a couple of other pictures that I hope may clarify some of the previously mentioned processes.
This picture shows the square banner with the center area design painted in.

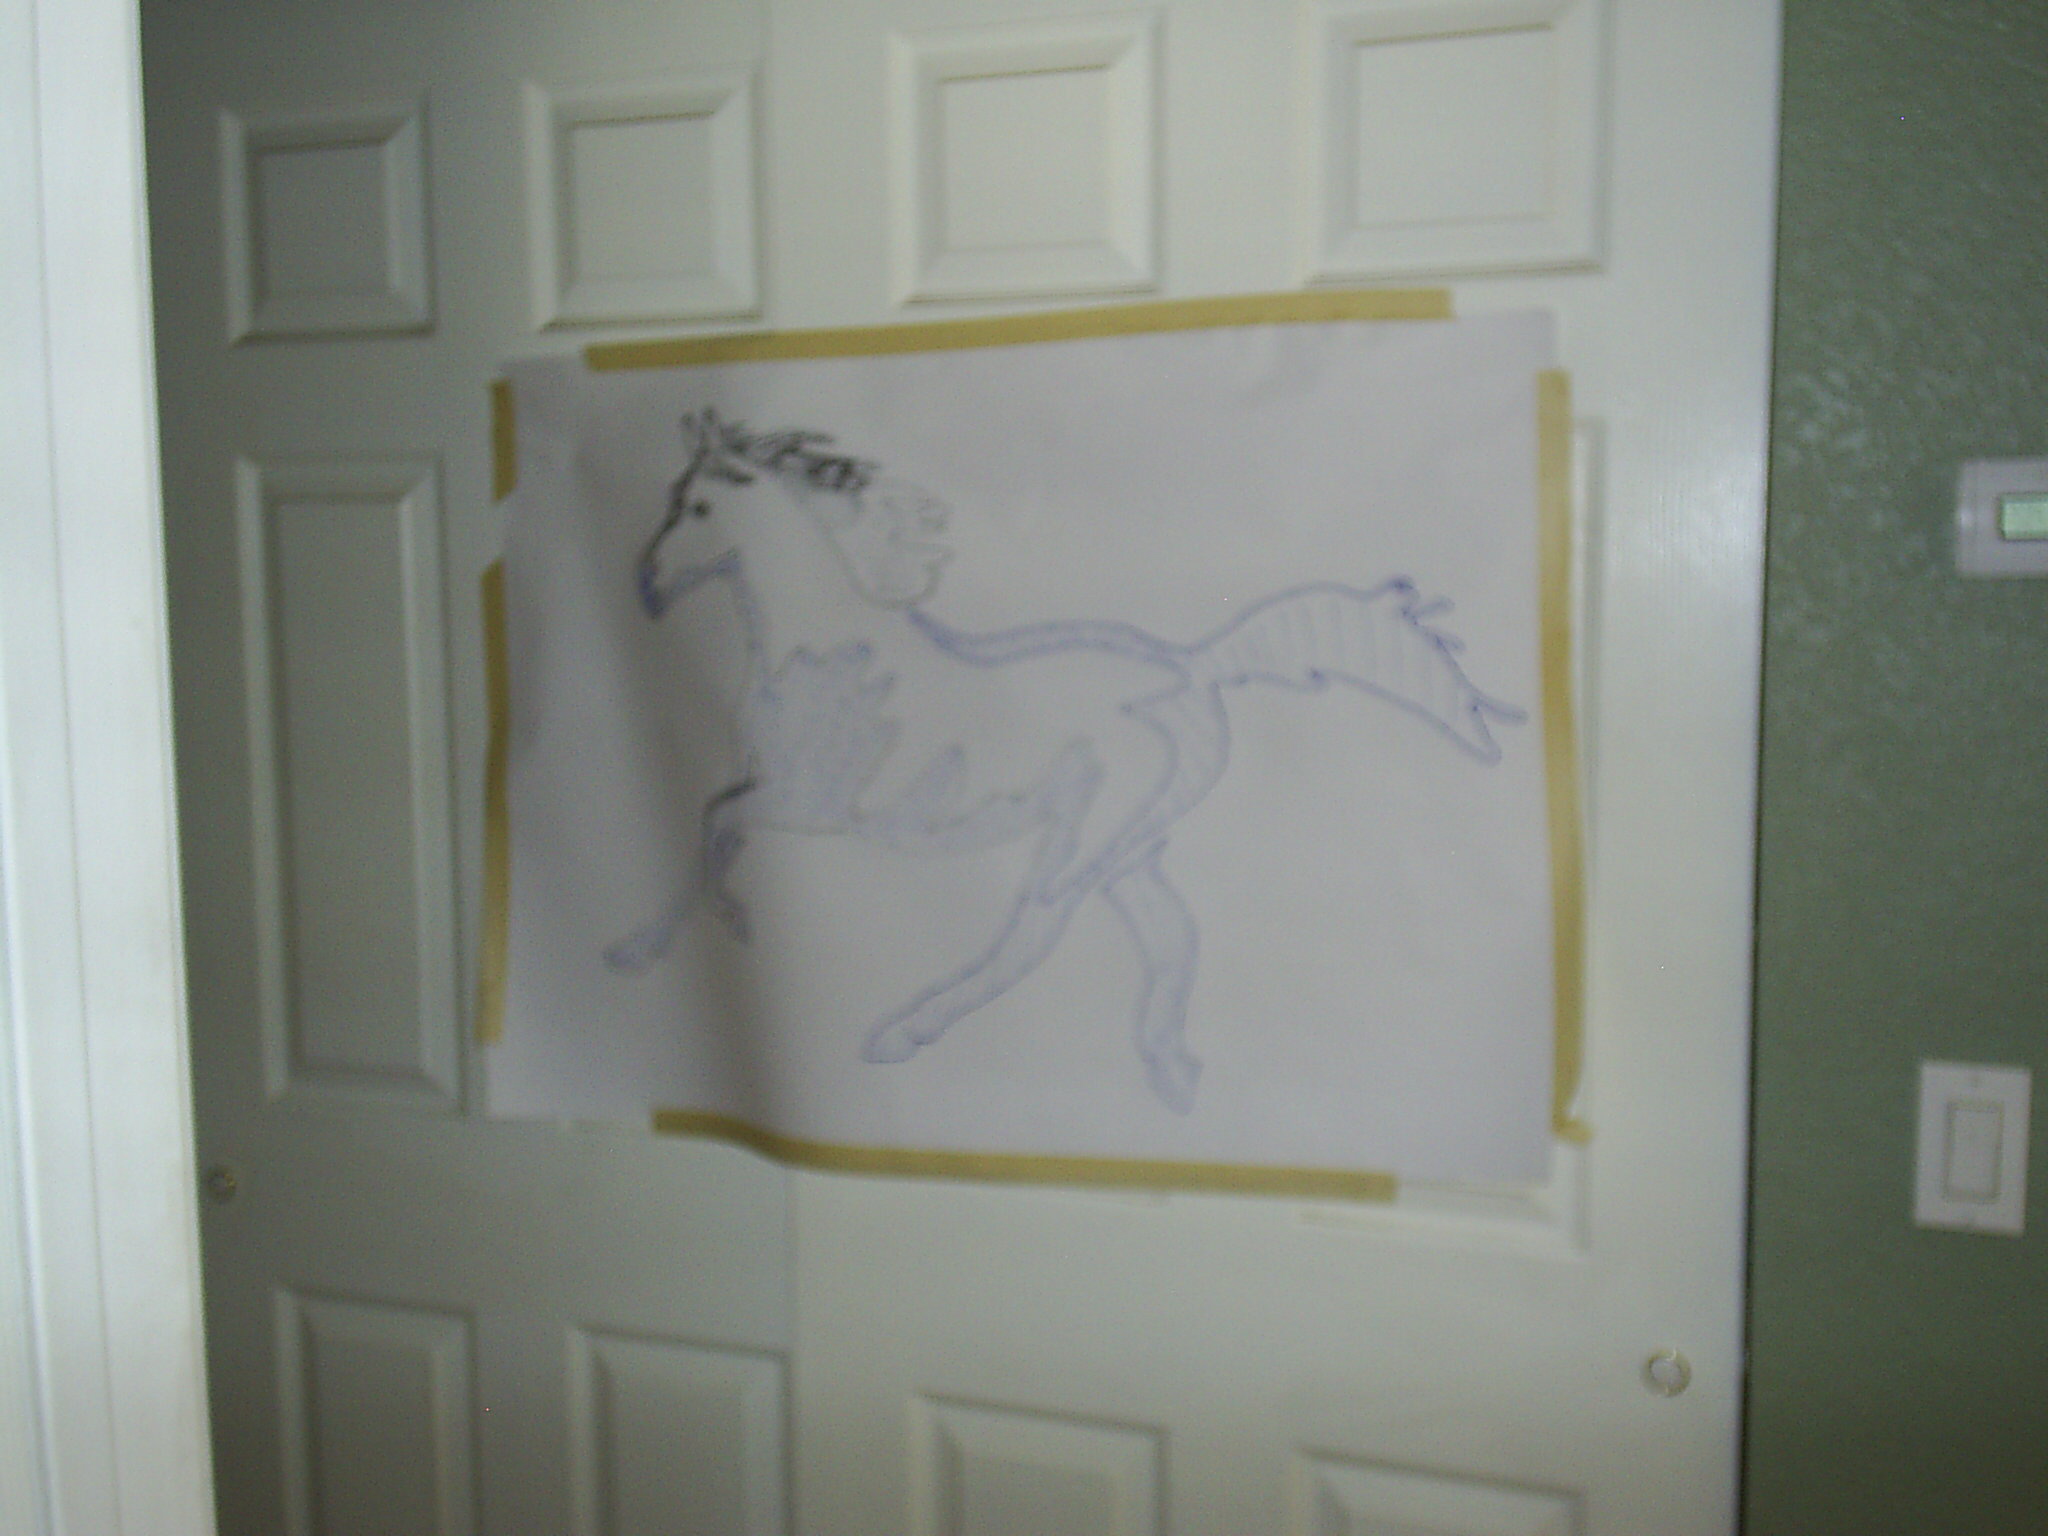
Here is an example of a piece of art that we used for a banner. You can see that the artwork is simple with clear lines that have been traced with a magic marker. This was the art for the horse banner in the previous picture.