
Last time you saw the molds for making wax replicas of the purse pieces. Well the next obvious step is to turn those wax replicas into metal.
I cast metal (bronze, sterling silver, and pewter) on a fairly regular basis. Bronze and Sterling are what I think of as “hot” metals – they require temperatures of over 1700 degrees Fahrenheit in order to melt and become liquid. Pewter, on the other hand can be melted on a camp stove (500 to 600 degrees depending on the alloy).
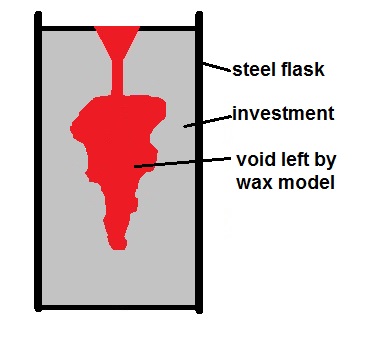
The technique that I use for casting most of my “hot” metal is called Lost Wax Casting. A basic summary of how this works is that the waxes are anchored into a stainless steel flask, a plaster like substance, called investment, is poured into the flask and allowed to harden. The flask is then turned upside down and heated. The wax flows out, and in the later stages of heating (over 700 degrees), burns away completely. The investment is now the mold into which the molten metal will be poured. The image below shows the basic layout of the stainless steel flask, wax and investment. This flask is ready for the molten metal to be poured in.
So, I put my waxes into flasks, invested, heated, and poured my metal. And the result? This picture shows the original artifact, and the newly cast, and cleaned up, bronze replicas.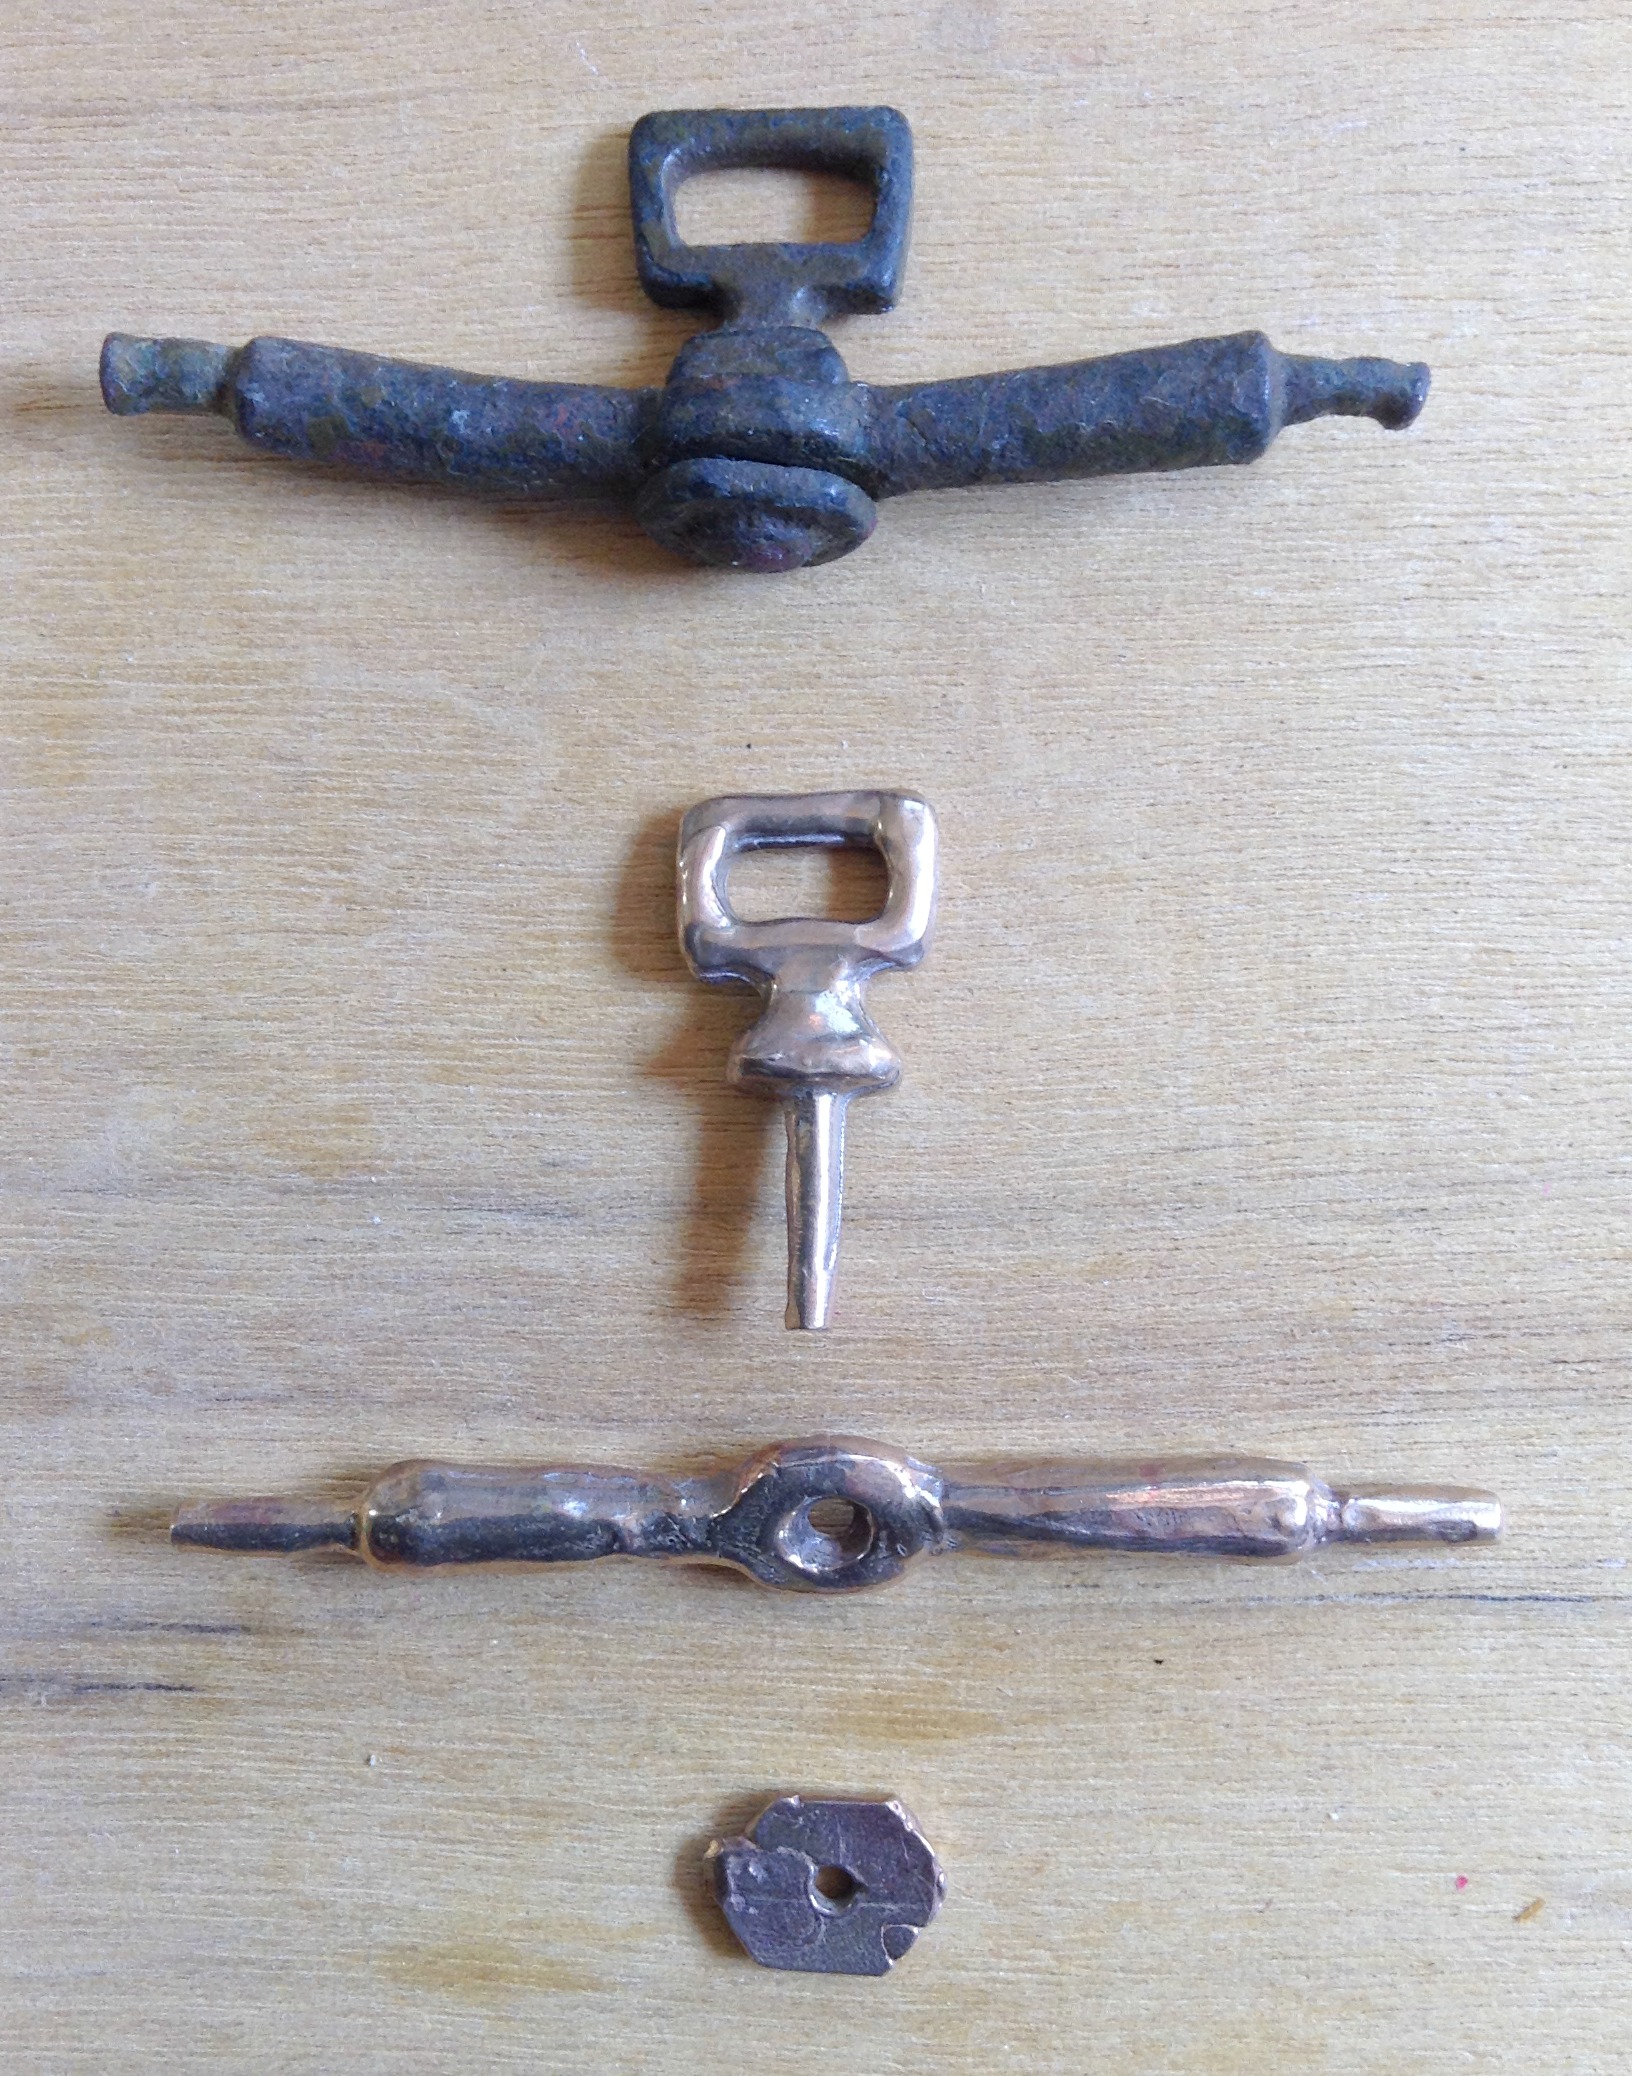
So what happens now? Well, I spent a bit of time filing and fitting the pieces together, and removing any rough spots. I wanted the pivot to spin easily, just like the original artifact does.
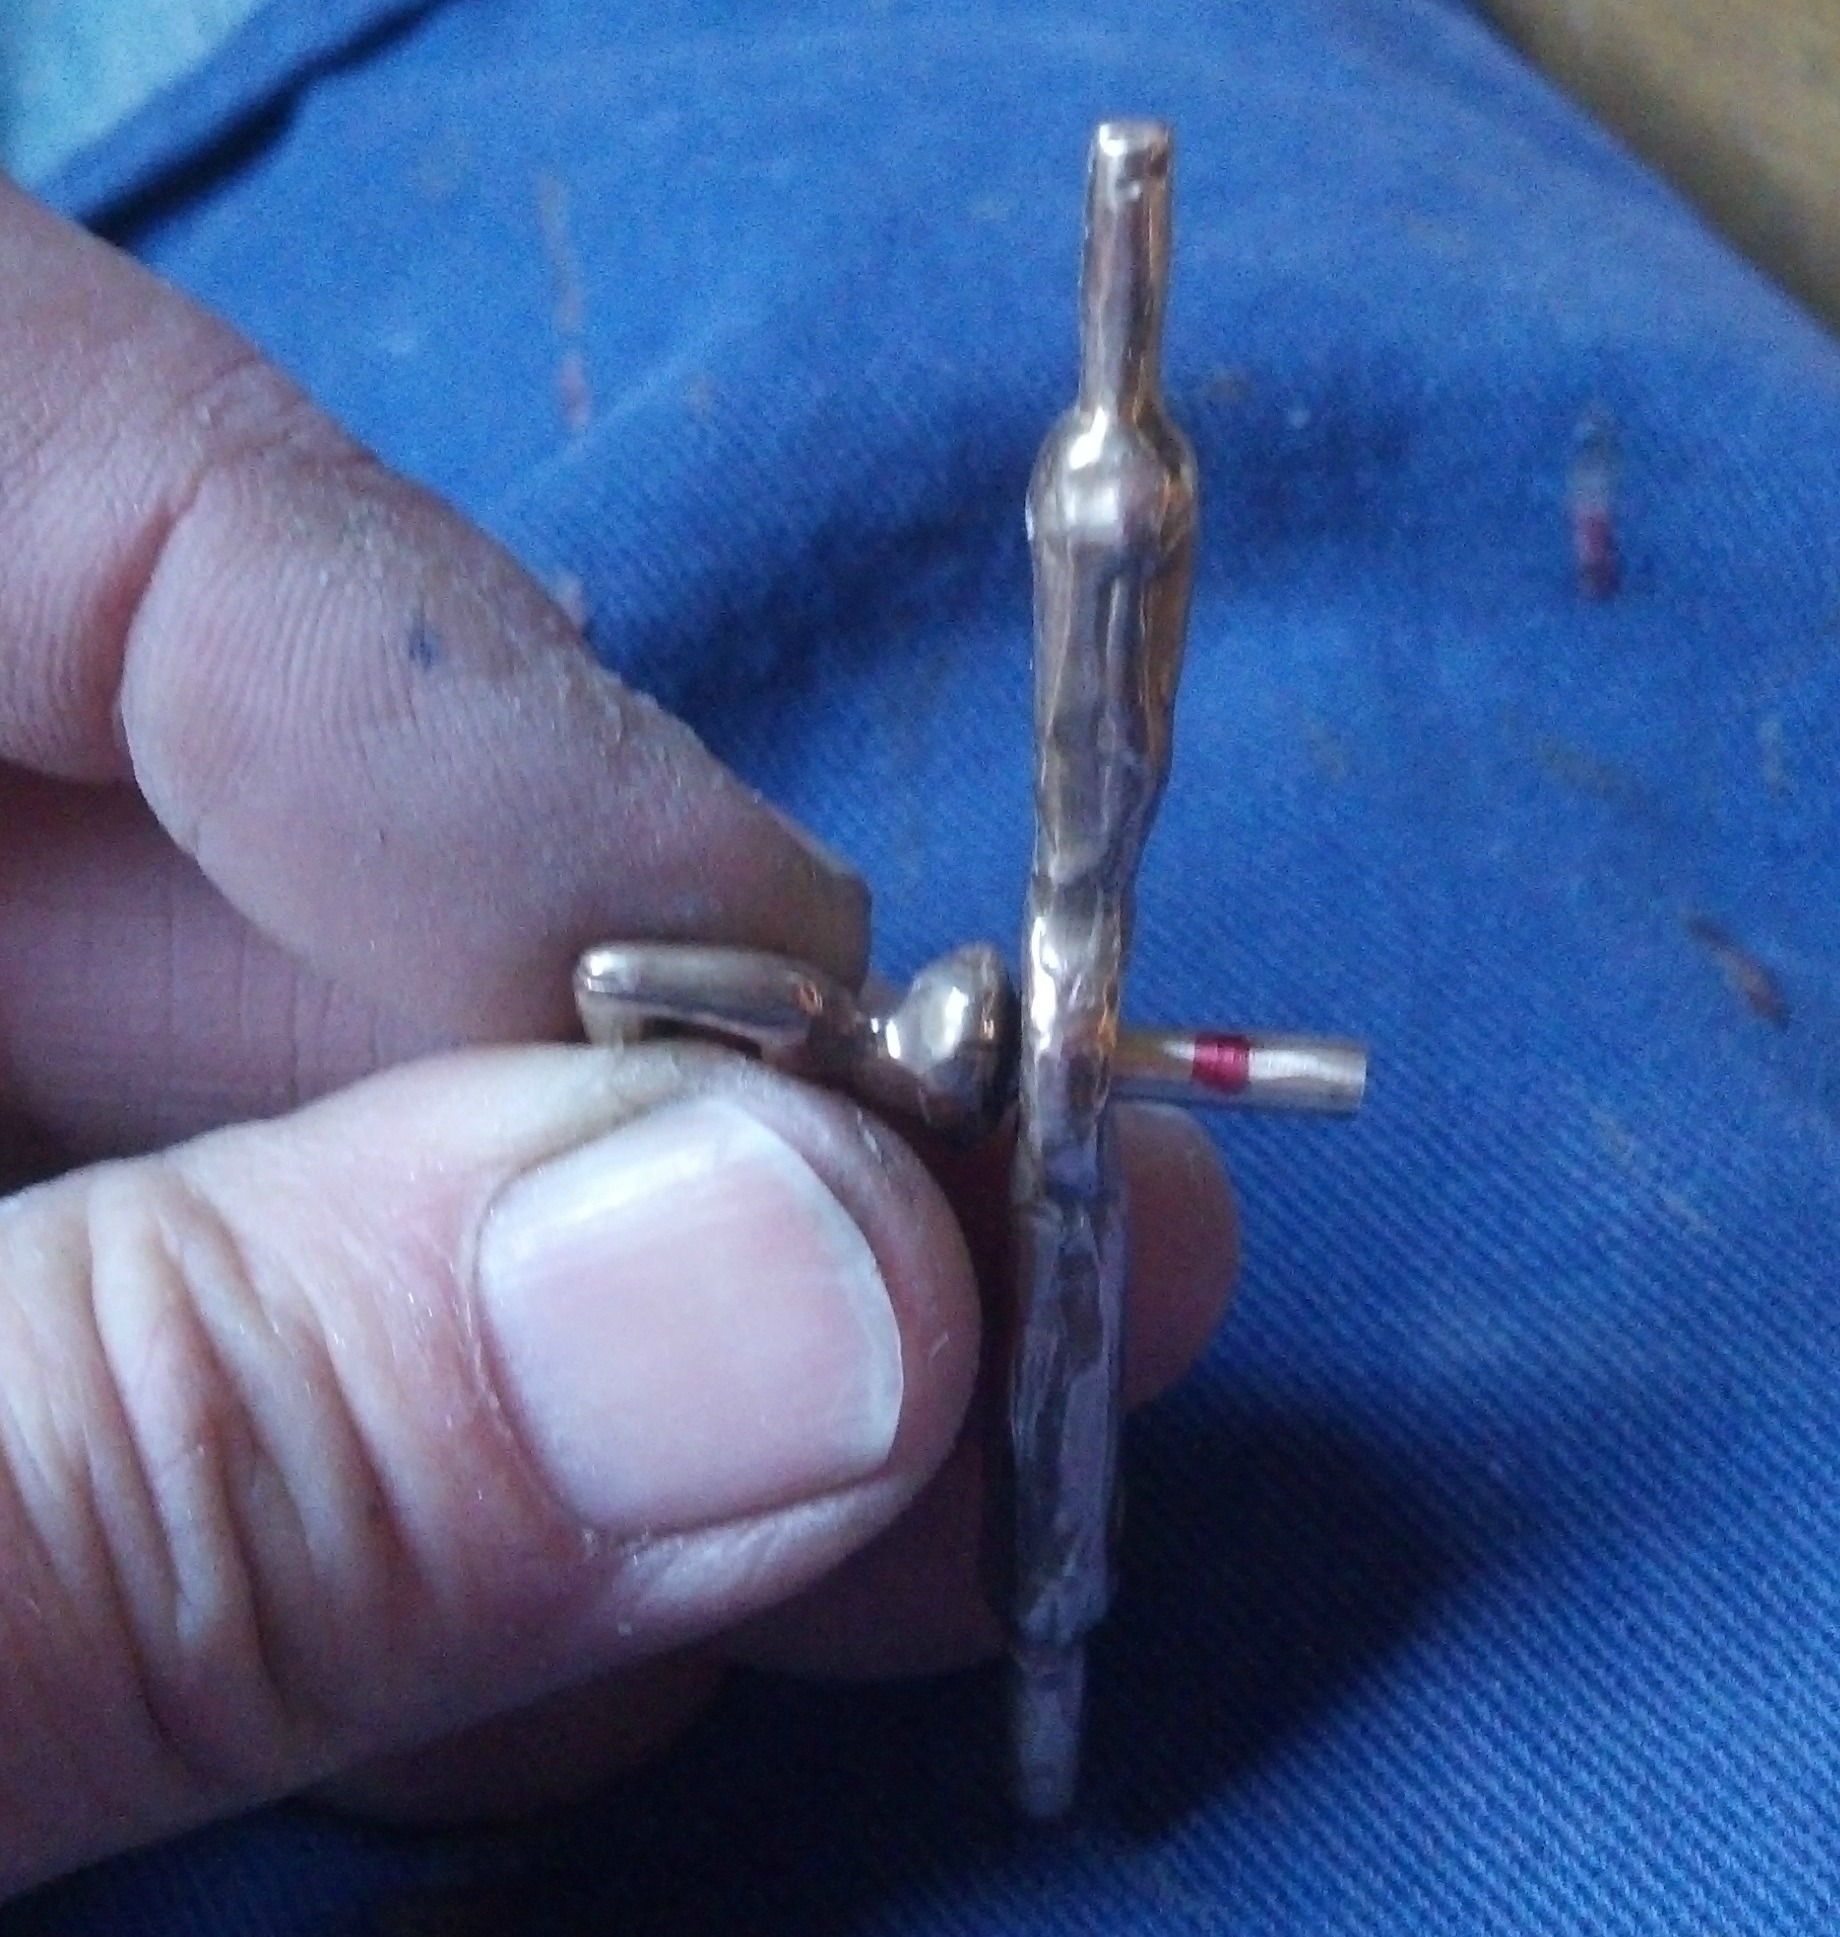
Once I had the pieces fitting together well, I needed to measure exactly how long the pin on the bottom of the pivot needed to be. If I cut it too short there will not be enough metal to peen over to hold the frame together, and if I cut it too long the fit of the frame will be super loose, and probably bend when I try to rivet the end. The fit on all of the period frames that I have seen is always fairly snug. So I marked the pin with a magic marker with the washer in place. This picture shows the marked pin with the washer off. I couldn’t find a smaller tipped marker (the Studio elves must have borrowed it again), so I knew that I needed to make the cut about half way across the ink mark.
I cut off the bottom of the pivot pin, smoothed the end, made sure that the end was at a right angle to the pivot pin, and reassembled the purse frame. The assembled purse frame was then put into a machinists’ vice and the end of the pivot pin was peened over with a hammer. And here is a picture of the result!

Next Time: Time for Purse Frame Rings