If you are a fan of lemon, natural lemon, not any of those strange fake chemical lemon flavors, I have the perfect Medieval palate cleanser and treat for you – succades. A couple of years ago we were involved in the presentation of a Medieval feast as part of our SCA (Society for Creative Anachronism) Yule celebration. It was a Tudor feast, with a fairly large number of dishes and LOTs of meat. We were searching for something yummy, that could be made ahead of time, and be something of a sweeter, lighter, palate cleanser. And there it was in the cookbooks – succades.
Now to the modern individual the concept of eating the peels from lemons may seem a little strange, even yucky. But, if you can imagine this issue from the prospective of a Medieval cook you may begin to understand. The Master of the house has procured a barrel of lemons for the use of the household. Now a barrel is not always the giant size of the metal oil drums that we think of today, but regardless of its size this is a valuable commodity! You use the insides of the fruit as flavoring or ingredients for making lemonade and now you have the skins left. Do you throw them away? Not on your life! They smell great – there must be a way to make them taste great, too! So what do you do to remove bitterness? Boil them! Now one of our modern mavens of domesticity has a recipe for succades that is much quicker and uses an oven for at least a portion of the process. Her recipe will keep for a week or two – the original will keep for months. The original purpose of creating the succades was to use and preserve a precious commodity.
The Original Recipe : Succade of Lemon Peels from The Treasurie of Commodius Conceites and Hidden Secrets by John Partridge, 1573
To make sucade of peeles of Lemmons First take off your peeles by quarters and seeth them in faire water, from three quartes to three pintes, them take them out, and put to as much more water and seeth them likewise, and doo againe, till the water wherein they are sodden have no bitterness at all of the peeles, then you are ready, now prepare a Sirop [of] the same liquor . . . one pint of rosewater, and for every quart of liquor one half pound of sugar; seethe them againe together on a soft fire of coles till the Sugar bee incorporated with the liquor, then put in your peeles, let them seeth softly till you percieve that your sirop is as thicke as lite honey. Put them in a pot of stone.
Modern Recipe: Cut the lemons into quarters and use the juice for another purpose. It can be frozen for later use. Most of the pulp of the lemons and the bitter white layer on the inside of the lemon peals needs to be removed. The simplest way to do this is by using a spoon. With a little practice you should be able to remove the pulp and a good bit of the white layer in one piece. Start at one of the points of the peel, hook the spoon under the white layer and peel the white layer and pulp away from the peel.
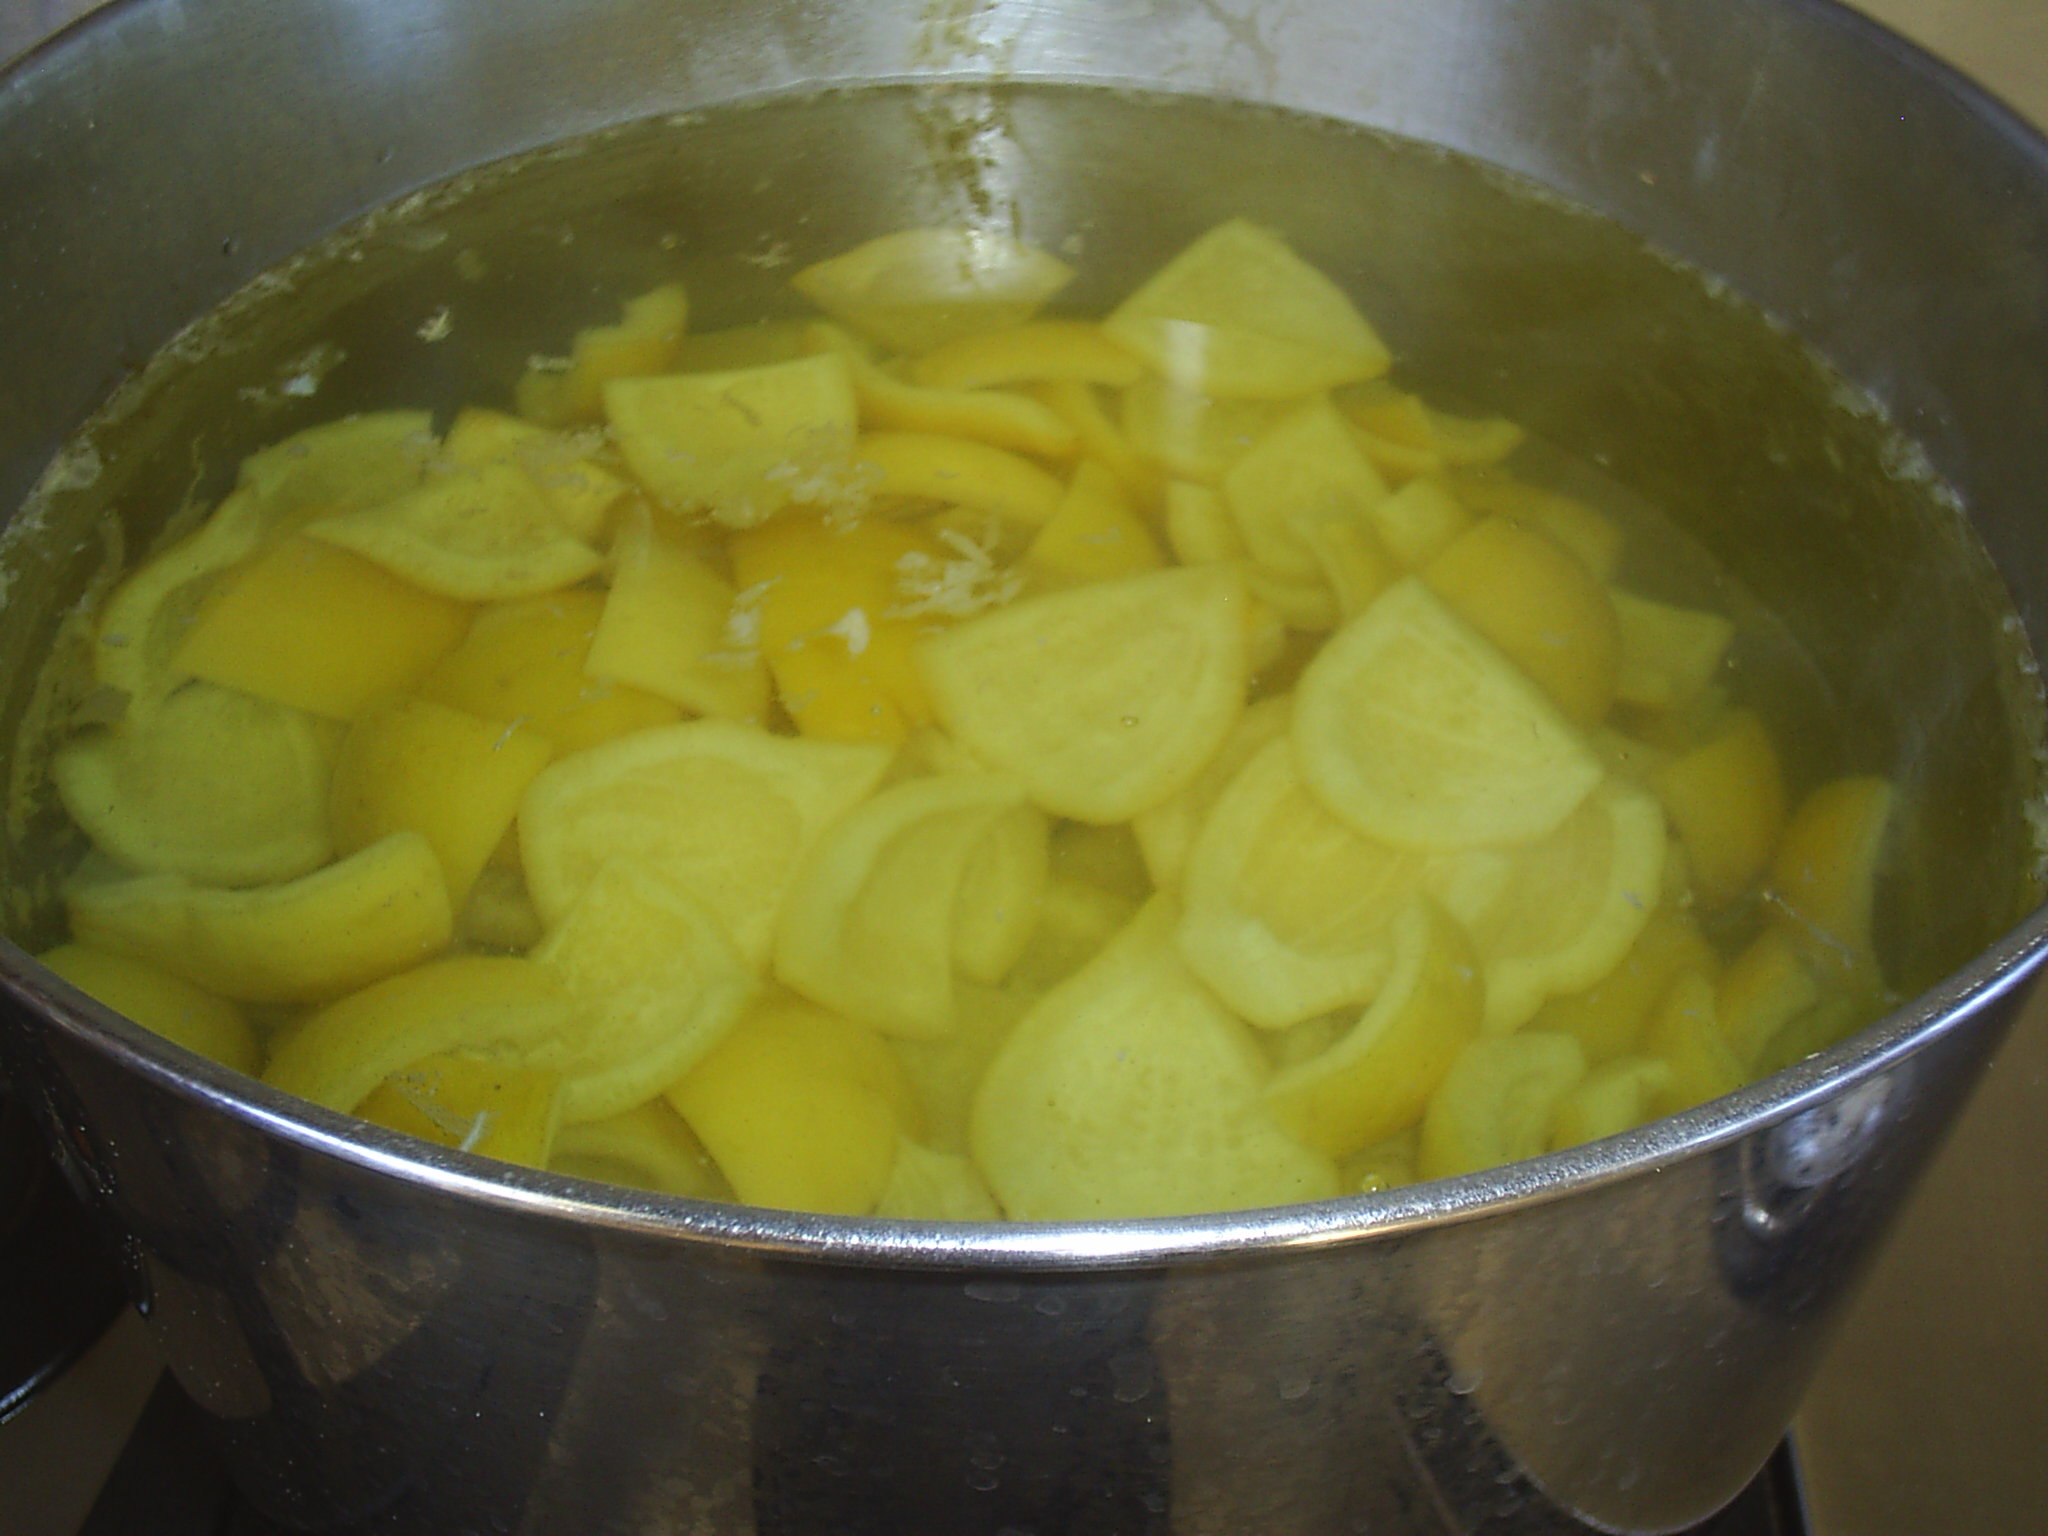
Once the peals are cleaned, they need to be boiled with 4-5 changes of water. It’s important that you start with a large quantity of water and boil until it is reduced by half. When you think the peels have cooked long enough and with enough changes of water, taste the water. If it is still bitter the lemons are NOT ready. Change the water again and boil them longer.
The cleaned lemon peels in their first pot of water. You can see how we cut the peels and how clean the insides of them are – very little white layer.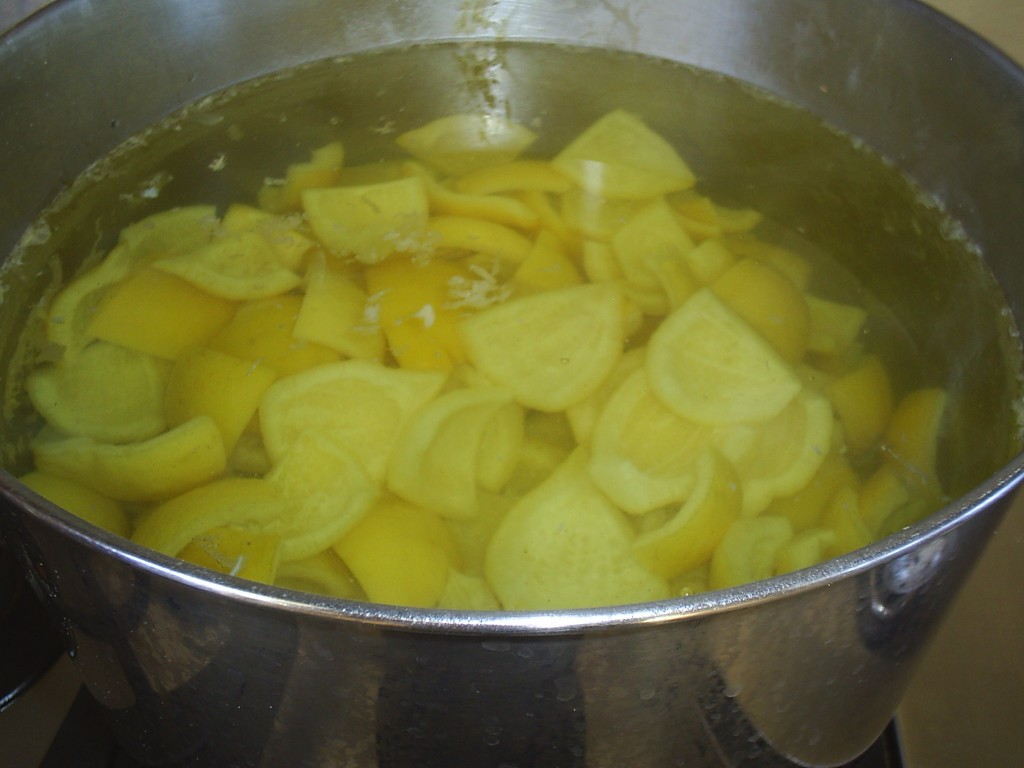
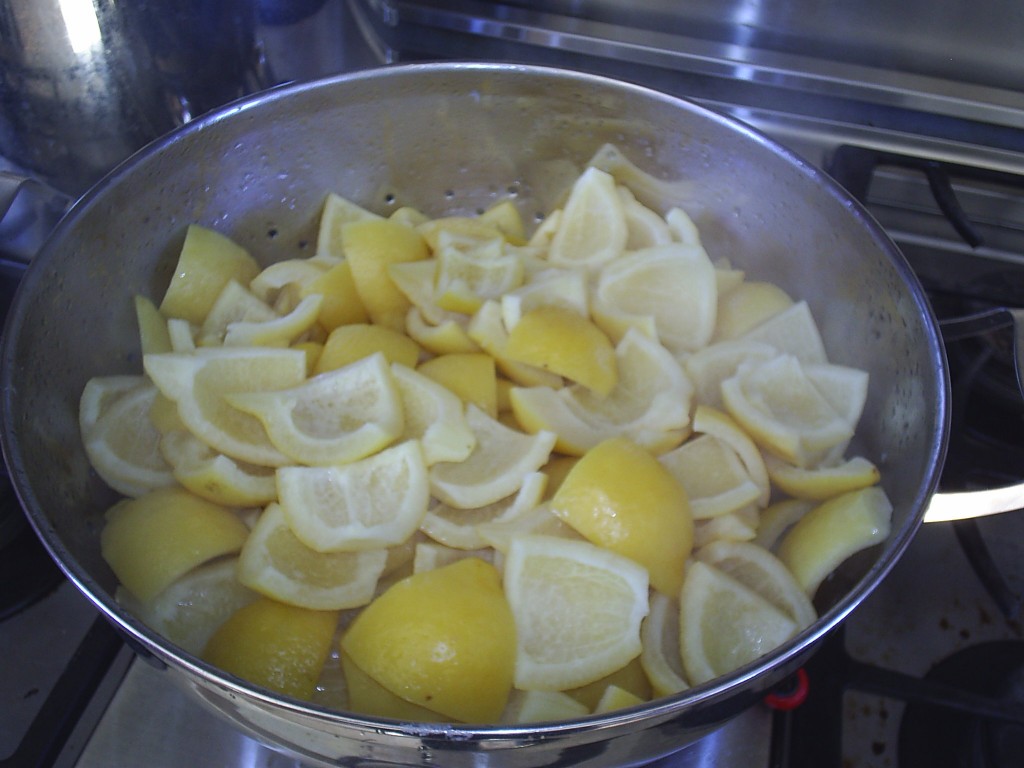
In a colander in between batches of water. The lemon peels are beginning to become more translucent.
To candy the peels, pour off the last batch of boiling water. Replace with enough water to barely go over the top of the peels. Add sugar enough to make a light syrup – it is hard to give exact amounts because we have NO idea how many lemon peels you have. When we made these for the feast we did it on the scale of a small industry – buying 20 pound bags of lemons and processing them all for juice (we served fresh lemonade) and succades. Simmer until the sugar/water mixture achieves a medium weight of syrup. Remove the peels from the pot and place over a wax paper on a rack to cool – I recommend using tongs – the sugar syrup is REALLY not. Do NOT leave the pot unattended once the level of syrup in the pot gets low. Sugar can burn and once it is burned the only solution is to start over.
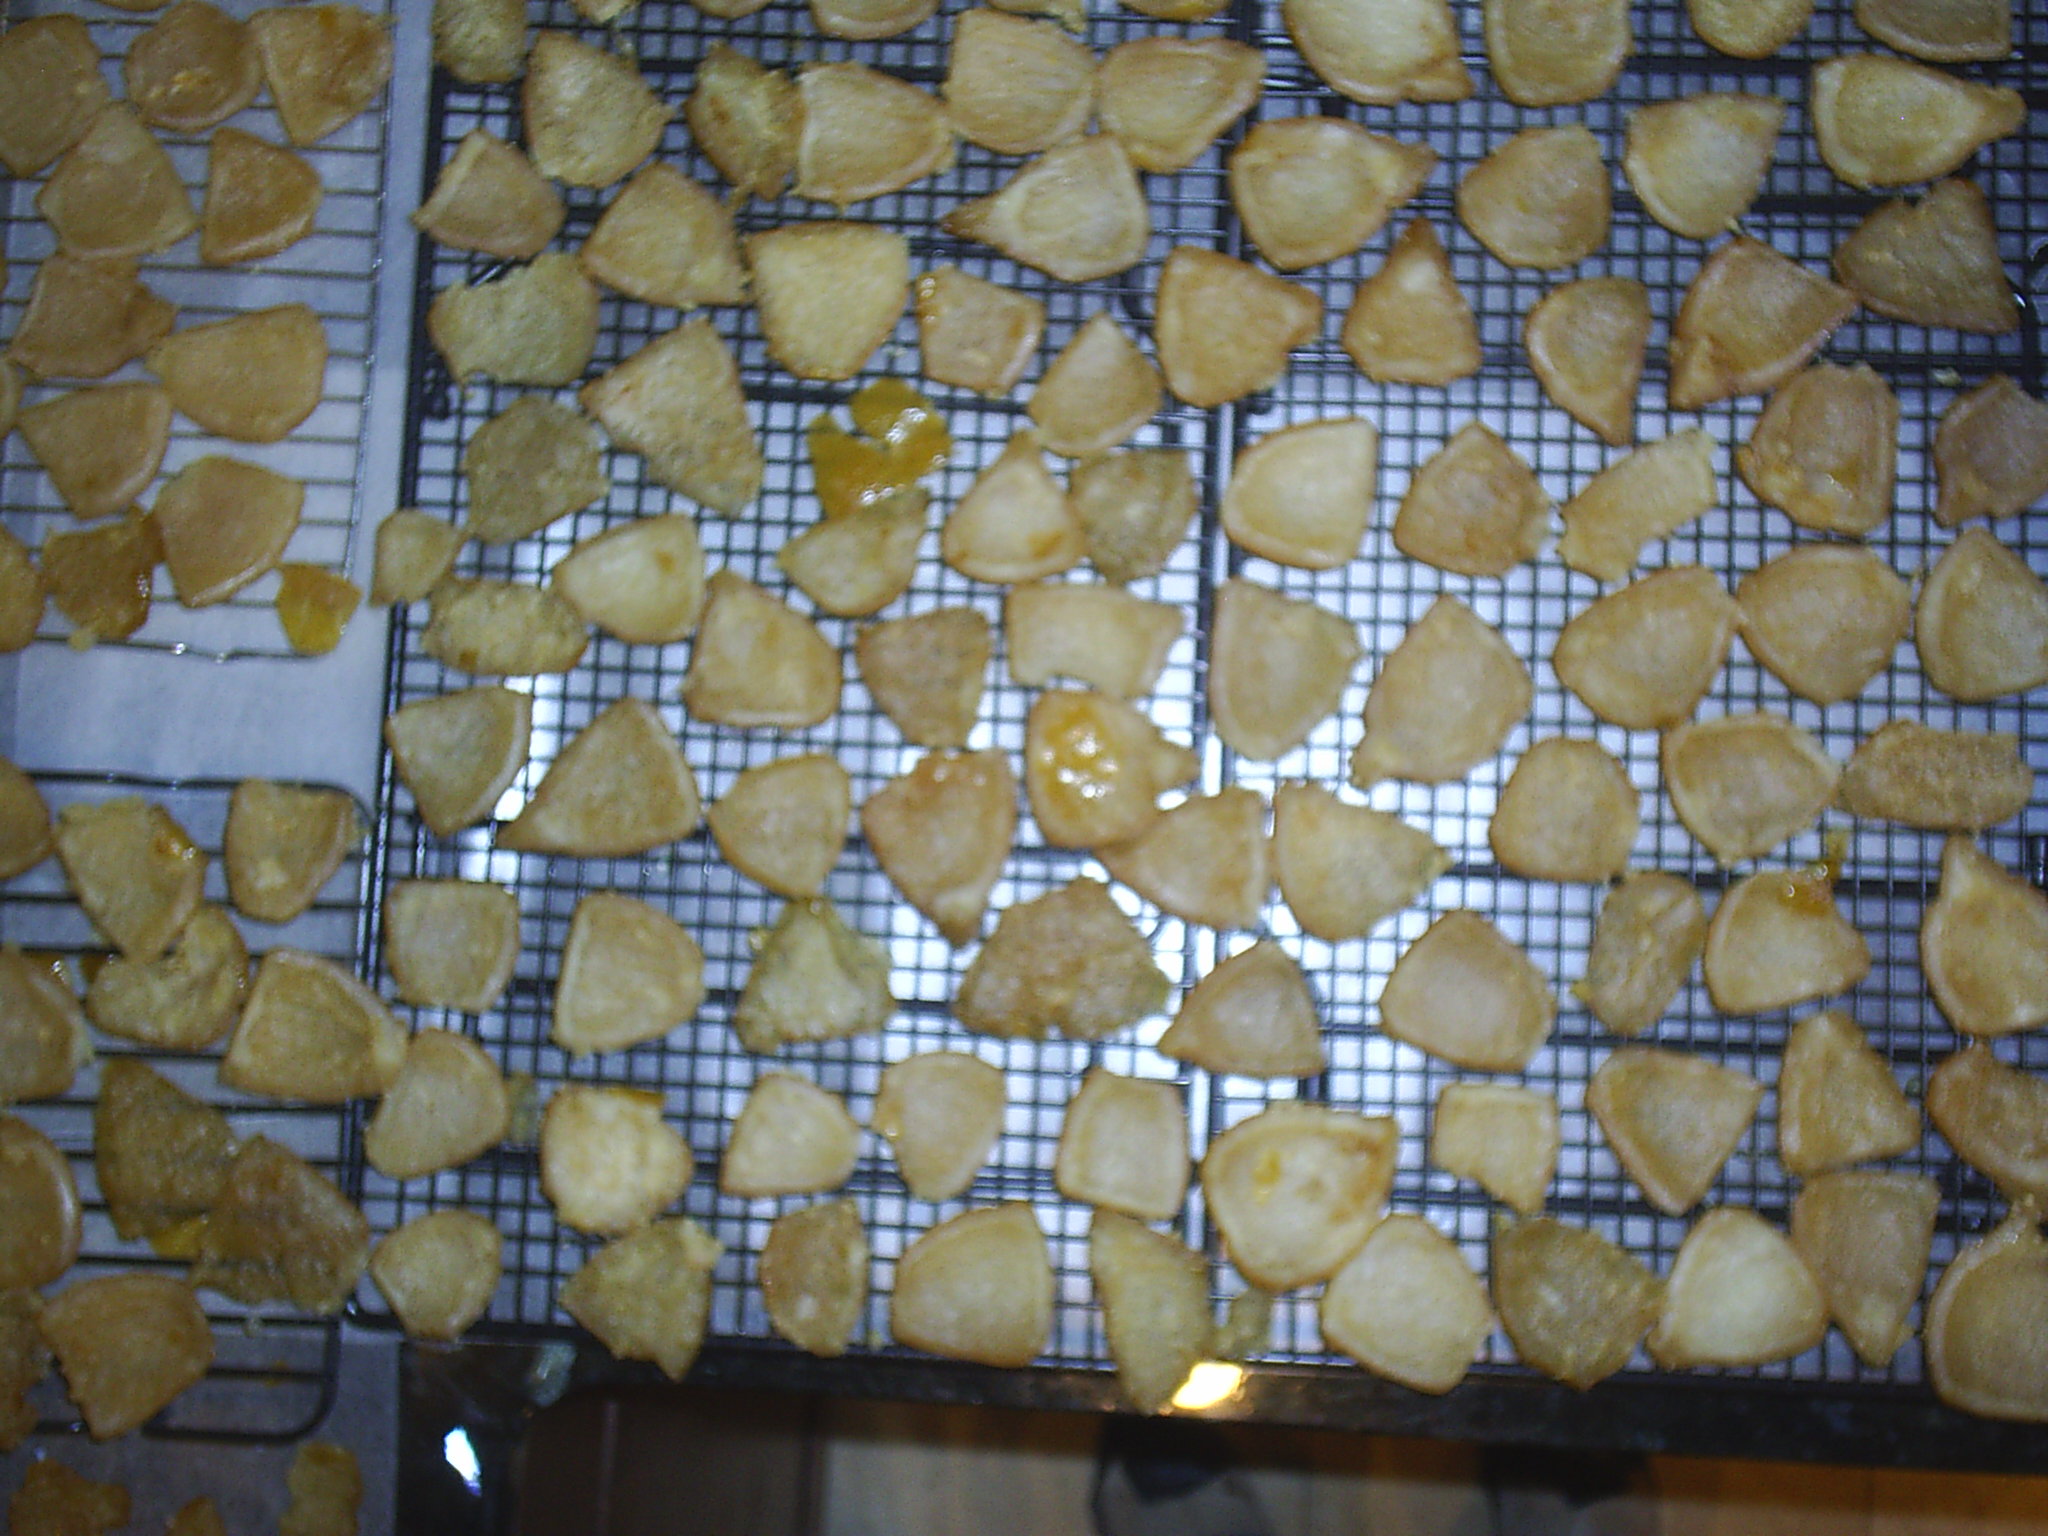
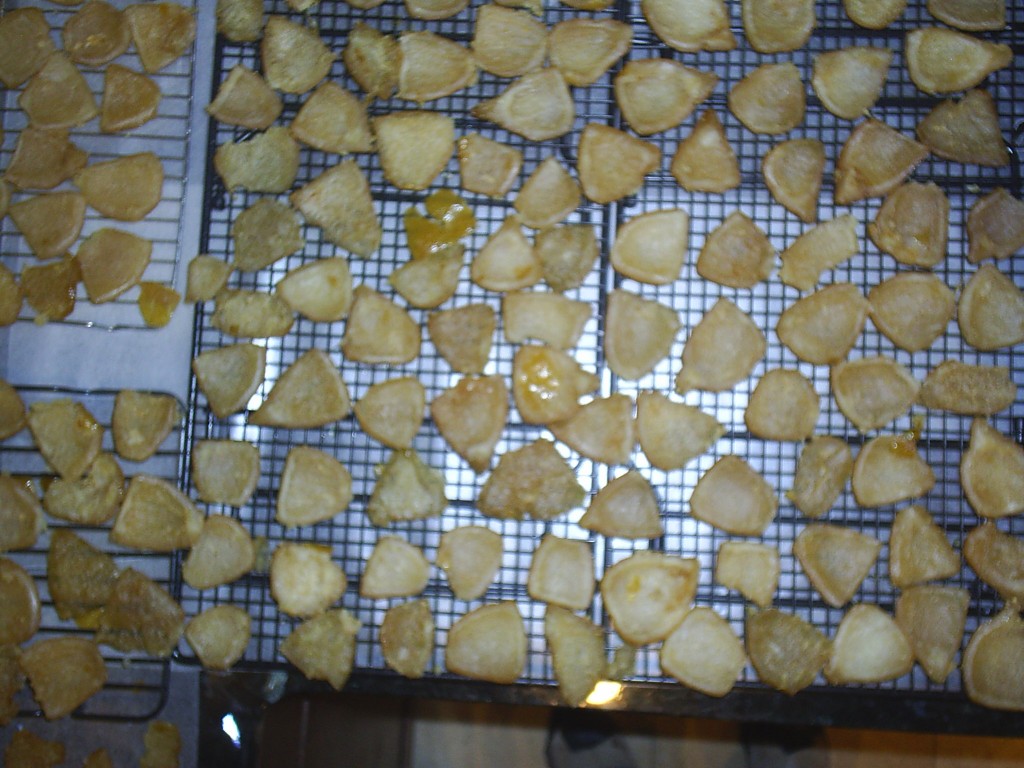
Here is a picture of some of our racks full of drying succades.
Once the peels have dried, layer them in a jar with sugar. Cover loosely. Let stand for 3-5 days. Serve. The “scraps” of lemon “jam” in the bottom of the pot can either be used as jam or rolled in sugar and served as lemon candy. If you roll them in sugar, allow them to dry overnight before you pack them in more sugar in jars. They will resemble the “fruit jelly” candies that you can buy, only they will taste waaay better. If you wish to use the jam as jam – it is really good on toast or with shortbread.
I hope that you will give this process a try. It takes several hours, but does not require a large amount of attention until the final stages of candying. I usually just set the timer and check the water level every fifteen minutes while the lemons are cooking. Our family has added this item to our lists of Medieval “goodies” to take to potlucks and they always disappear rather quickly.

 Toiletry sets were popularized by the Romans throughout their empire. They became an important part of personal attire for women, and remained popular through the Victorian Age. Pre-1066 women’s sets usually consisted of a pair of tweezers, an ear-spoon, and a toothpick/nail cleaner, or just an ear-spoon and a toothpick/nail cleaner. Some sets also included a small brush – possibly for the application of cosmetics. Late in the Roman Era specialized, and essentially unusable forms of the toiletry set developed that were only intended as a sign of Romanization – the Toiletry Brooch. This was basically a decorative brooch, often enameled, with a bar that had tiny representations of the various toiletry items hanging from it.