Camp Walls Part 2: Beyond Fabric and Rope

How complex you make your walls is determined only by your construction abilities, the amount of labor that you have access to, and your purse. Last time we talked about the basic rope and fabric walls. The next step up from these walls is simply scaling them up and adding a formal gate.

So, what do I mean about scaling the wall up? Here is an example.

Zemanta Related Posts Thumbnail

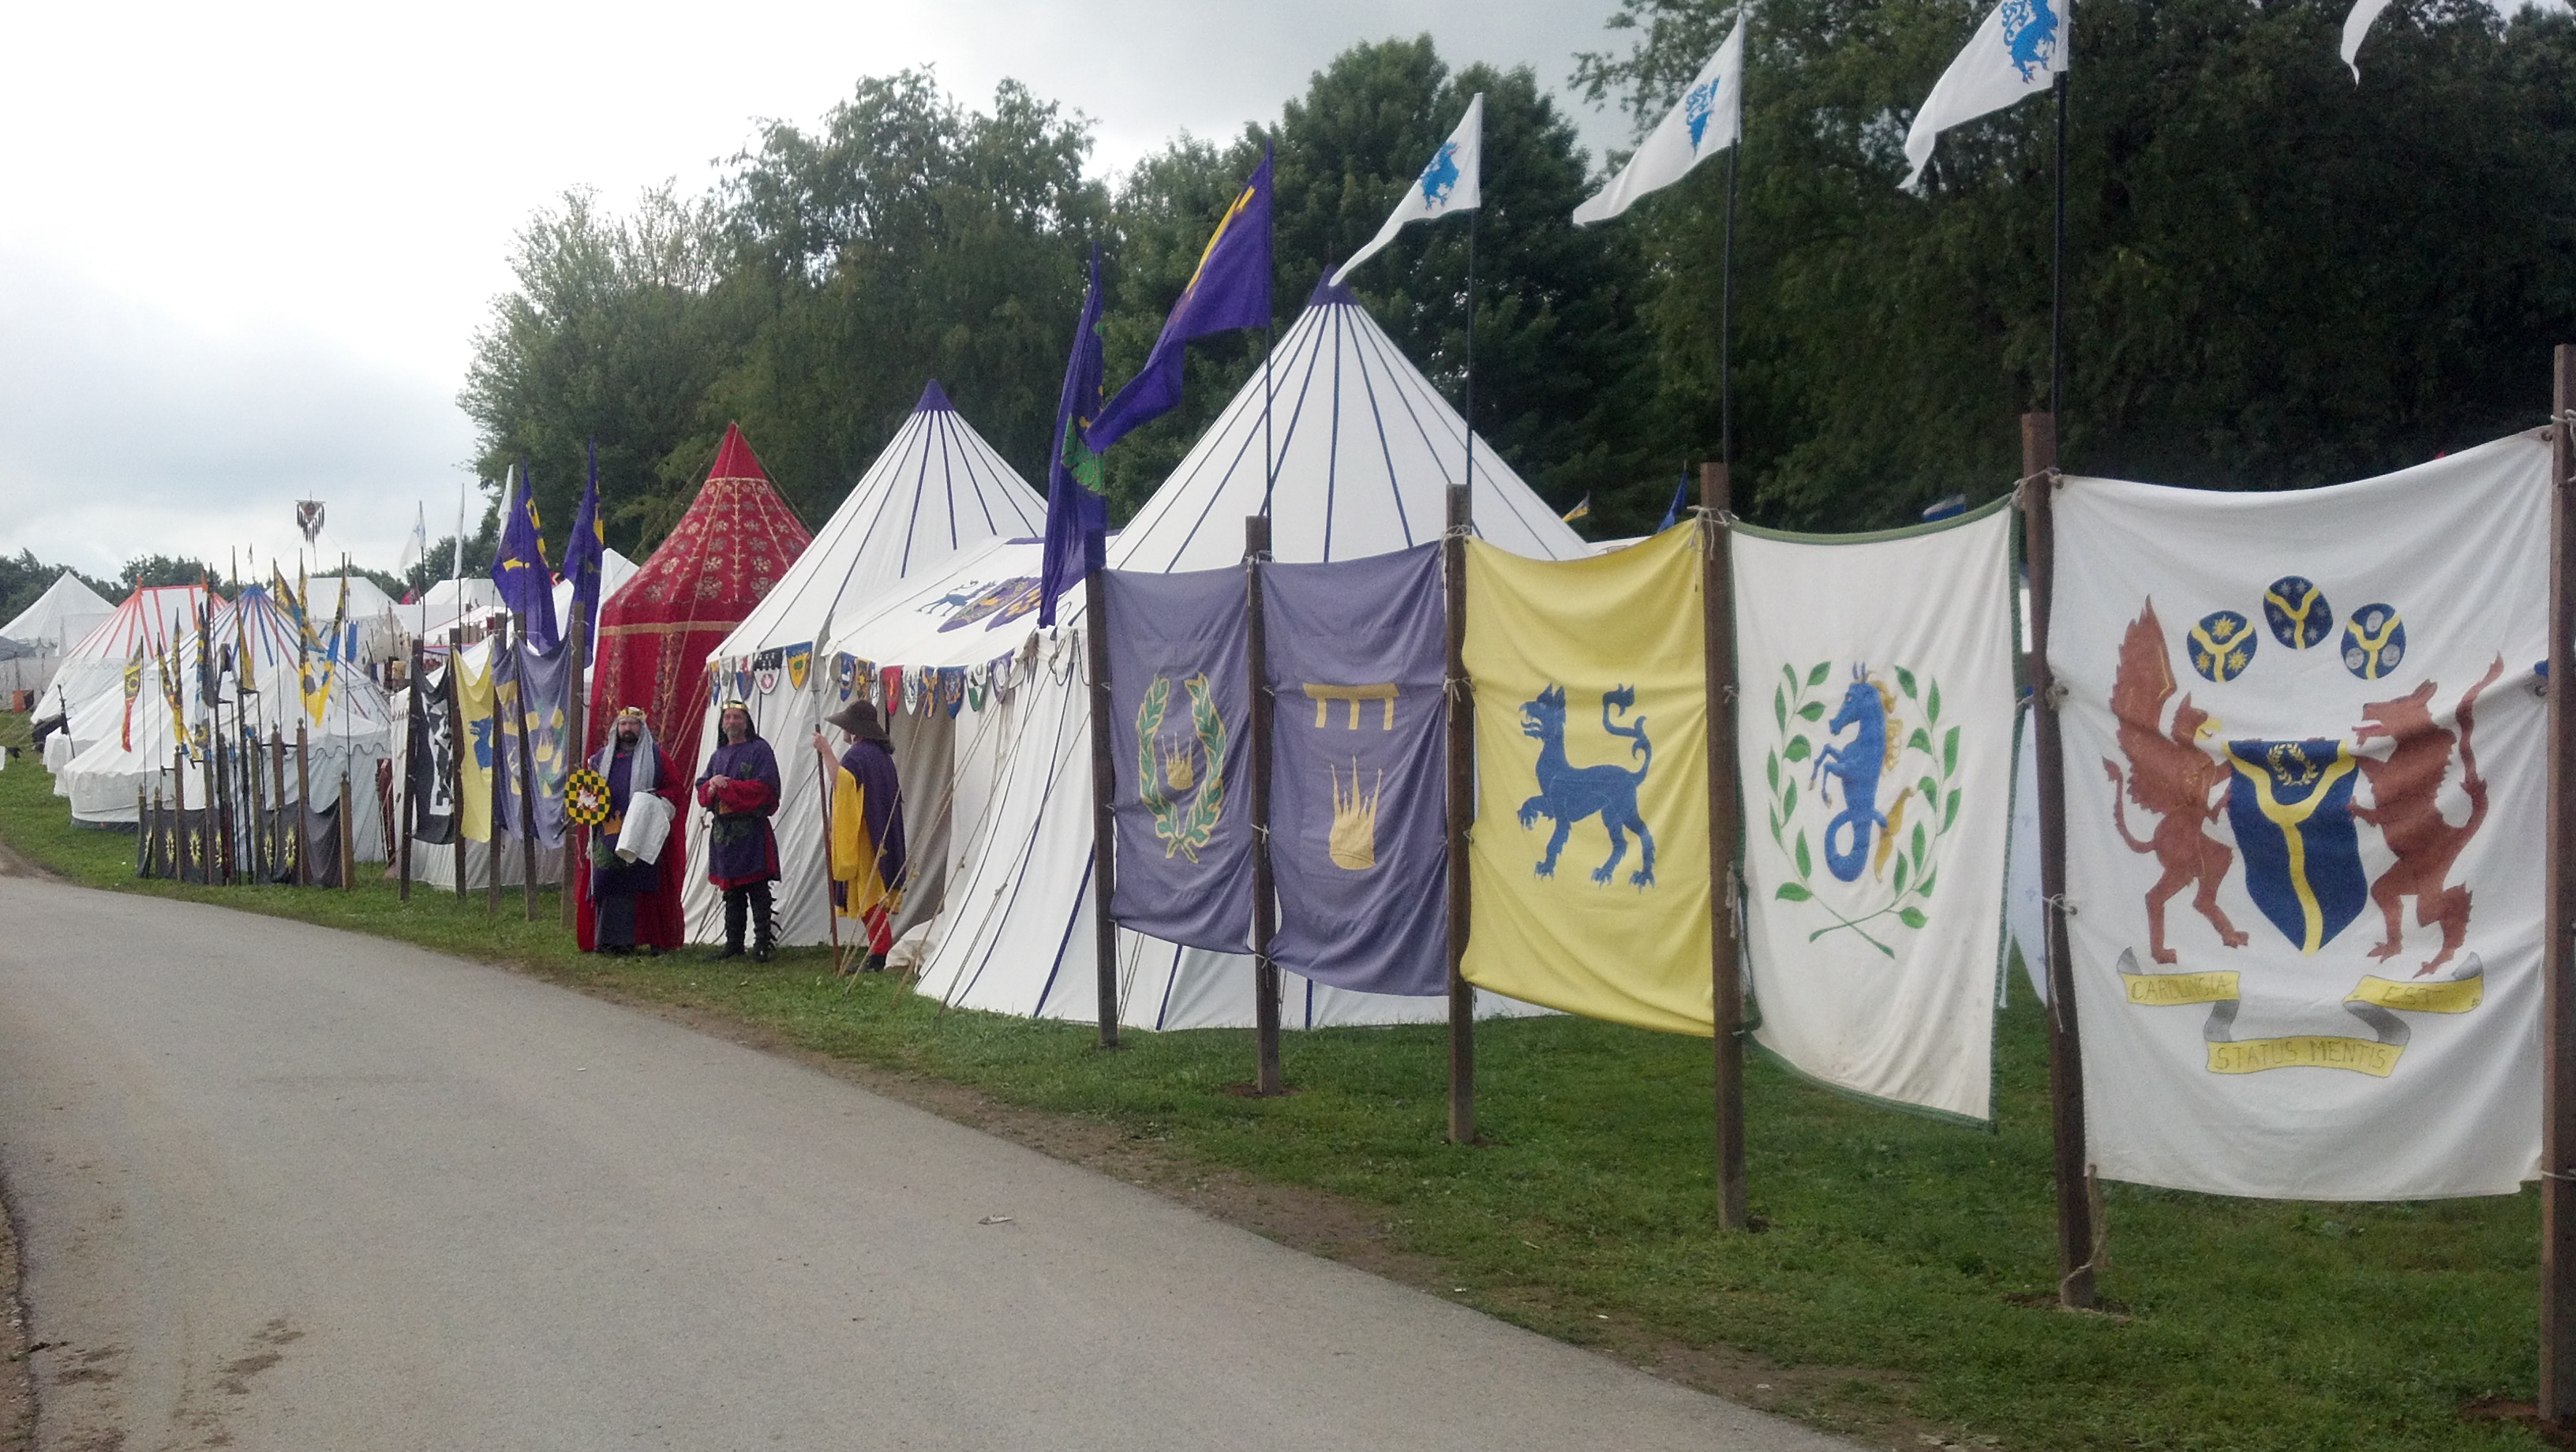
This wall was in the process of being set up when I took this photo. Privacy and access to the camping area is controlled by fabric, but the fabric supports have been turned into impressive columns. When the wall is completed all of the open spaces except for the gate are covered with fabric.

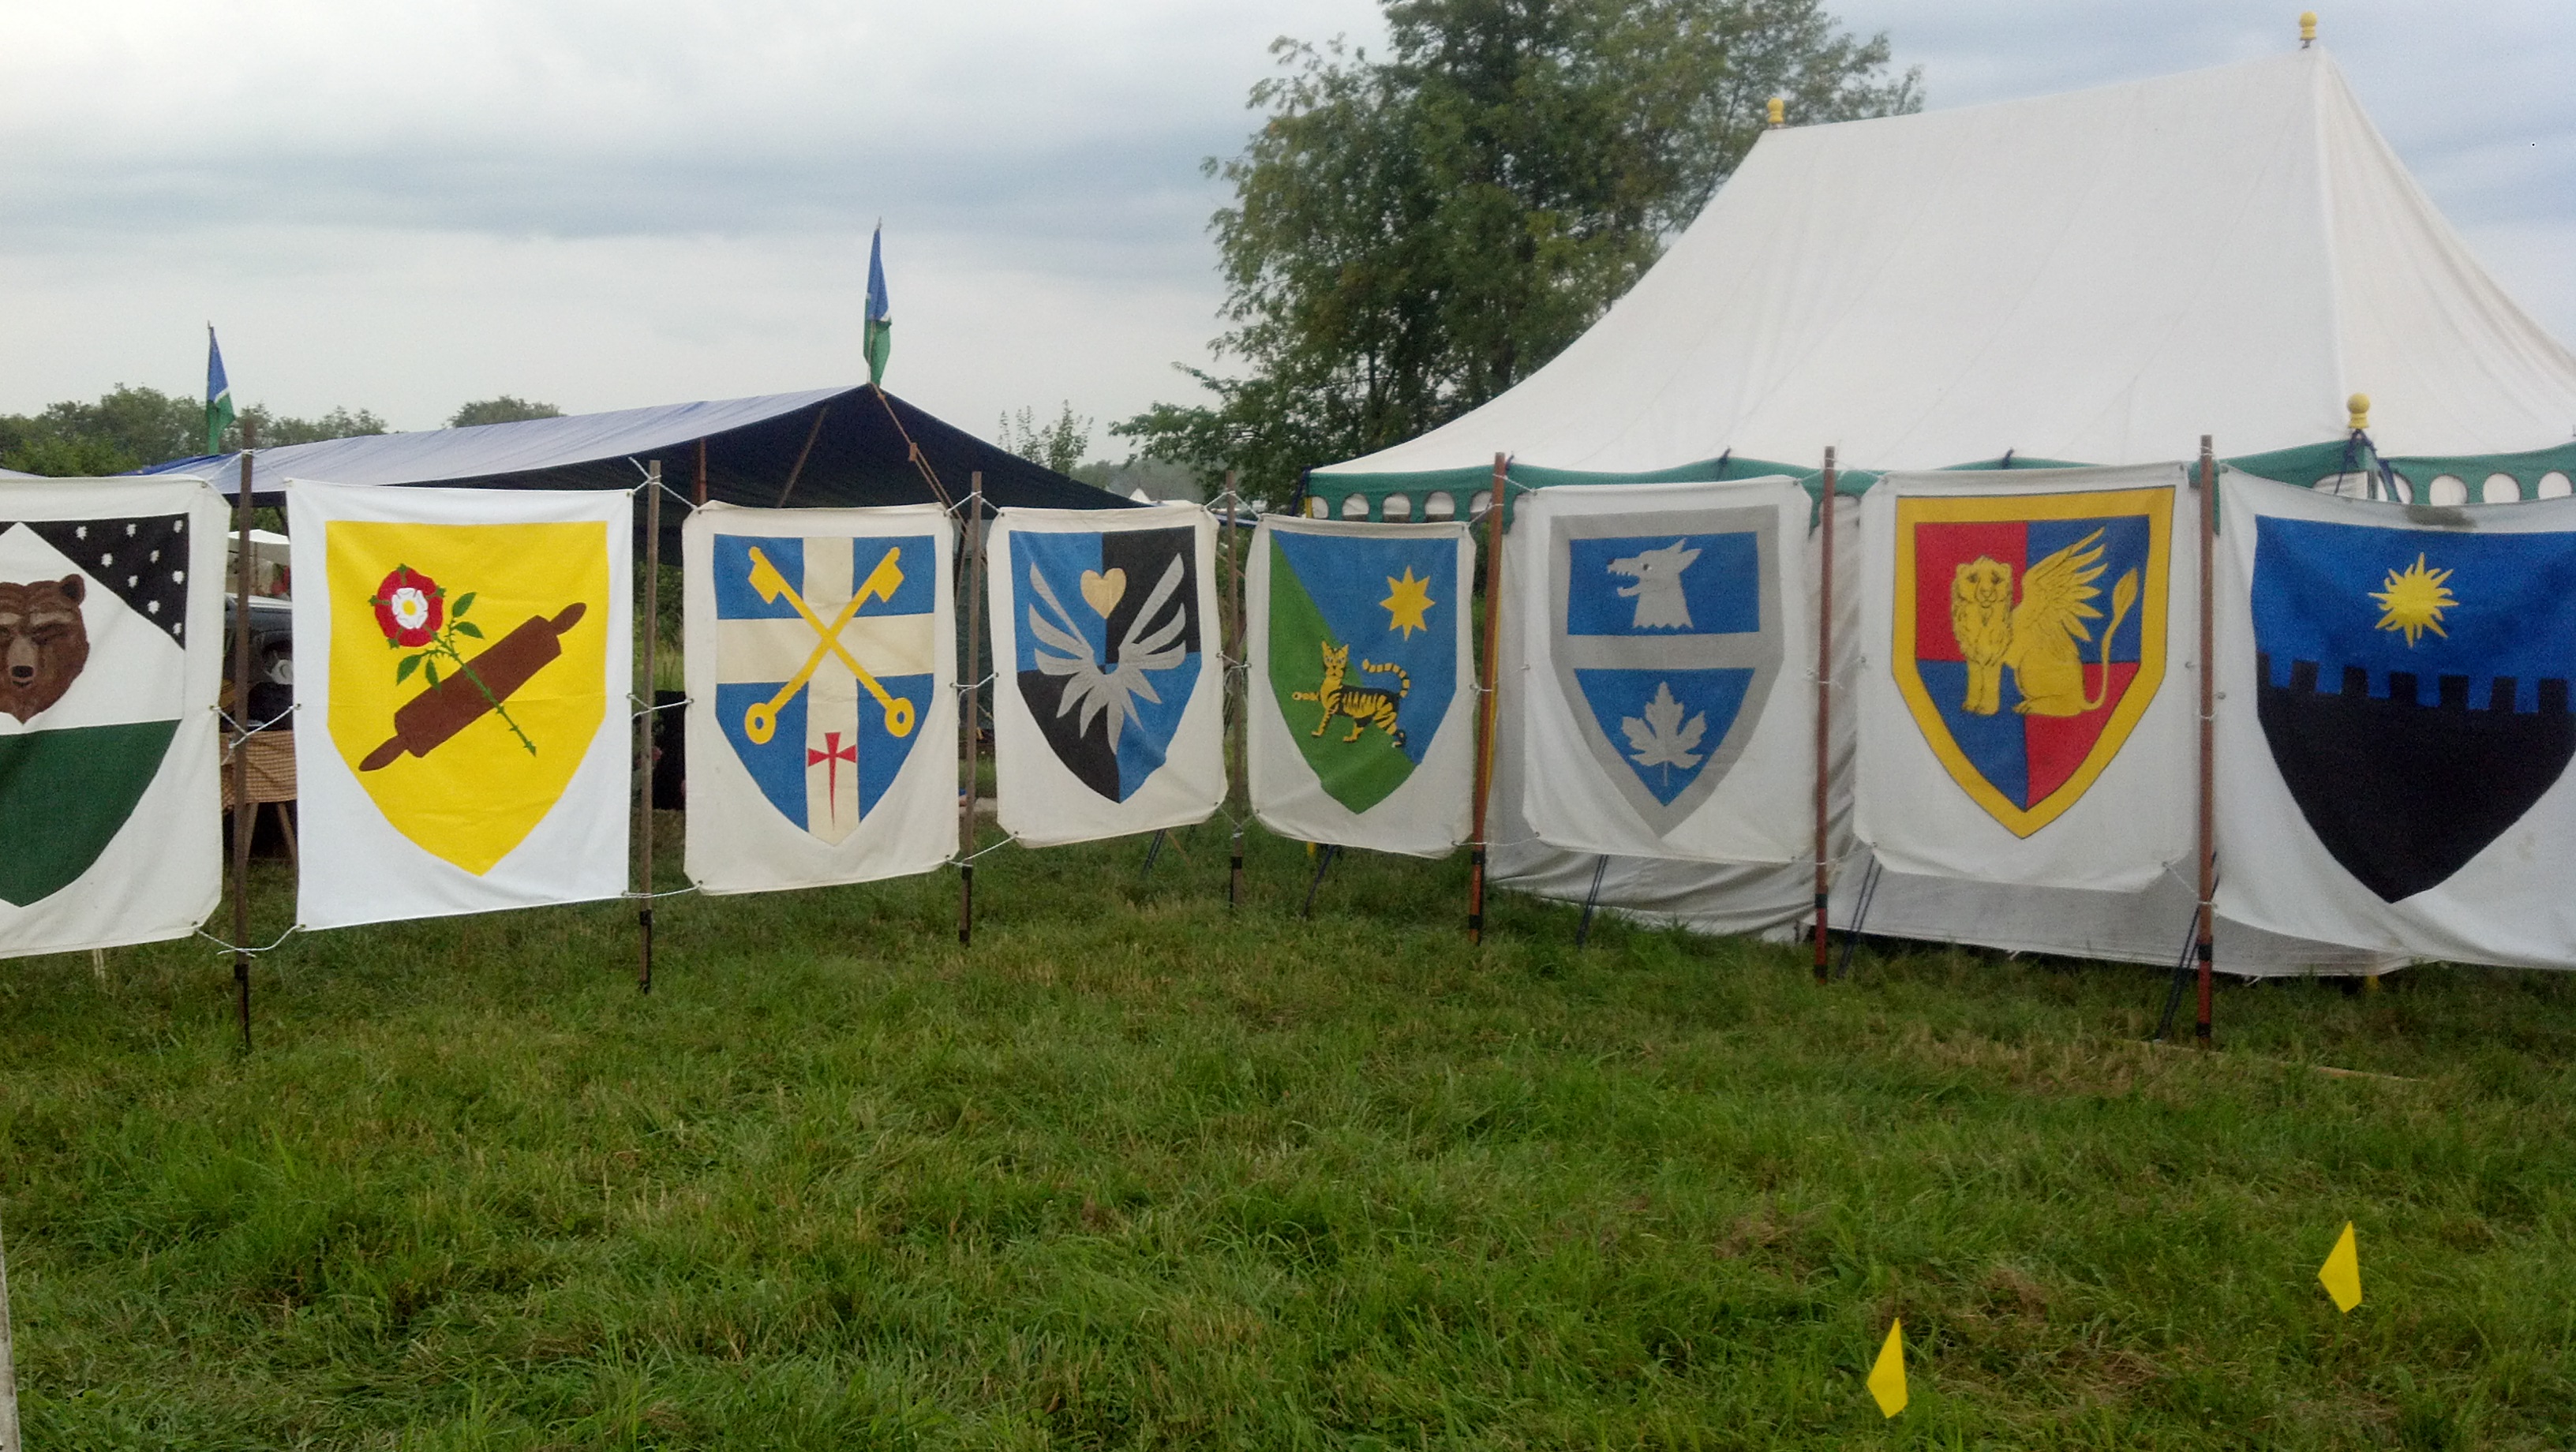
The next camp wall uses the same principal – gorgeous columns with simple fabric panels that create an impressive façade for the camp.

Darkyard Fascade

The next step up from this approach is adding some sort of special panels to replace the fabric.  In the case of this Japanese encampment the main gate is surrounded with panels that are designed to look like Shoji screens. I have also seen encampments that use panels of stockade fencing, wooden trellis panels and even manufactured plastic stone panels for the same purpose.

2013-07-31_13-44-35_171

Aside from improving the quality of your walls, the other major focus can be your gate. In the case of the Japanese encampment, a Japanese style gate, combined with Japanese banners, completes the presentation.

The simplest sort of gate arrangement is demonstrated by the Drachenwald encampment. Two simple uprights with a board across the top with the encampment name.

2013-07-24_19-48-09_679

Like walls, gates are limited only by imagination, building skills, money and manpower. Take this small monument for instance; each side of the gate is actually a shower stall. The walls are simple fabric squares, but the overall effect is still impressive.

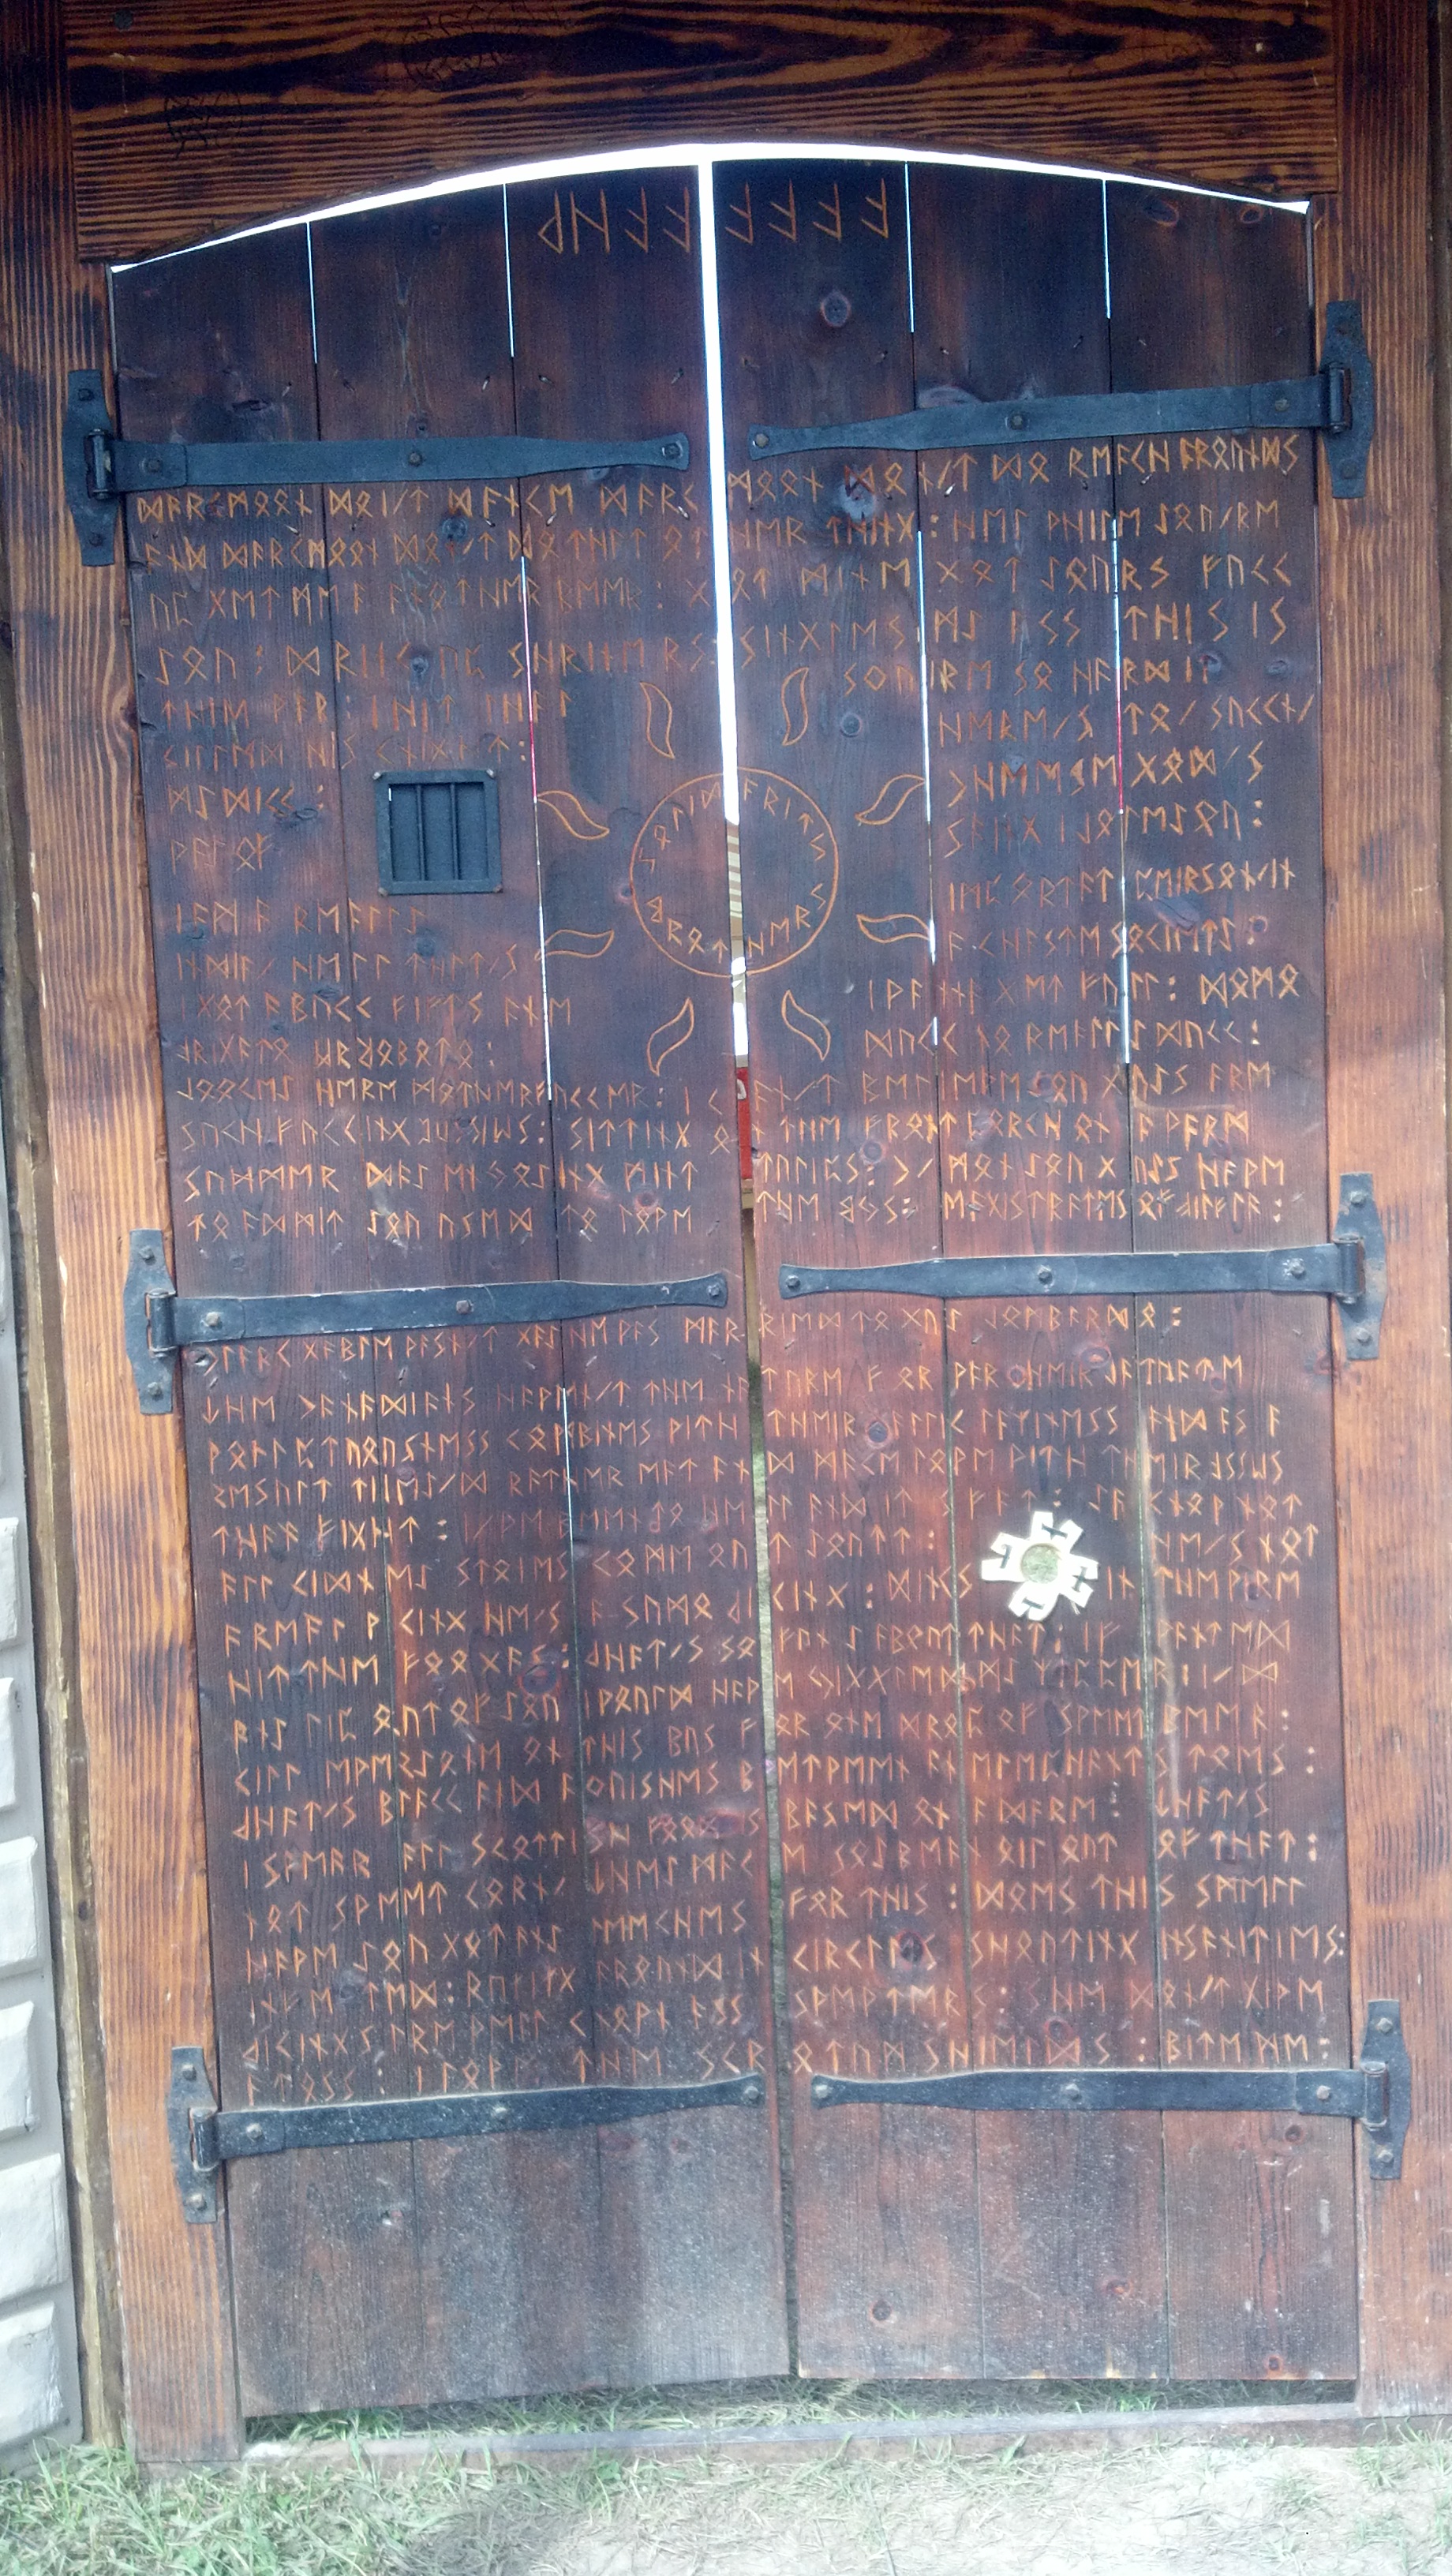
This camp creates a monumental front entrance way, using quality plastic formed stone wall sheets, and then sets a very impressive wooden door in the entrance to finish the effect.

2013-08-01_10-21-40_482

And an up close shot of the door, complete with a complex Anglo Saxon rune inscription.

2013-08-01_10-22-14_566

Another approach that requires considerably less construction and can be very functional is to place either one large tent, or two small ones at the edge of camp as a gate. This picture shows the entrance to the East Kingdom Royal encampment. The sheet wall provides some privacy and traffic control and the two white round marquee tents flank the entrance. There is actually a fly that is hung between them and provides shade, and protection from rain for those waiting to enter the encampment. There are several examples of this arrangement at the Pennsic War. Using a large pavilion as the gate, and a common area for the encampment, means that anyone entering camp has to pass through the tent. This makes it easy to control access to the camp and for visitors to connect with any household members in the communal tent.

2013-07-28_10-15-41_988

I hope that this brief survey of wall construction ideas helps you develop some ideas for you own encampment! We have “kept it simple” for about ten years now, but maybe one of these days…


Camp Walls: Simple Rope and Fabric Walls

I grew up in a household that used camp walls at larger events. They were usually just simple posts with rope or fabric strung between them, but they gave us some definite camp boundaries, and they helped to control the “cut-through” – people walking through the middle of our camp. At bigger wars, like Pennsic, a definitive gate with Tiki torches and a banner, made it easier for people to find the camp entrance and announce themselves to the camp. Our own household maintains the same simple esthetic today, with the only change being the substitution of solar lanterns for Tiki torches.

If you want to have walls for your camp you need to consider materials, execution, and storage, not necessarily in that order. What are your goals – complete privacy, heraldic display, household identity? How quickly does your wall need to go up? How many hands will be available to put up your wall? What do you want to make the wall out of? Where are you going to store the pieces when the wall is not being used? Only you can answer these questions for yourself.

The most basic wall structure is the pole and rope border that our household uses. We use green tomato stakes and a ½ inch red and yellow rope from Home Depot. A large tent stake and mallet is used to make holes in the ground and then insert the poles. The rope is simply tied to each pole in turn, leaving a slight swag between the poles. We used this form of wall for two or three years before I had the time to make small triangular pennants to fly from the top of each pole. It isn’t fancy, but it makes it easier to spot our camp from a distance.

rope border graphicThe next step up from the basic rope border is using fabric panels between the poles. The poles can be rebar, metal T-posts, metal pipes, wooden clothing rods, wooden posts, or just about any other sturdy support that you can afford. The posts can be short or tall, depending on the size of your panels. The panels themselves can be plain or decorated in any way that you would prefer. They are an excellent opportunity for heraldic display.

2013-07-23_18-37-01_677

Short walls with panels that are about 3 feet by 4 feet. Each panel has four grommets to tie the panels to the poles. This pattern is found in many illuminations.

2013-07-21_20-02-08_257

Six foot walls with heraldic display. Each panel has six grommets and uses sturdy clothesline to tie the panel to the poles.

2013-07-24_19-48-09_679

Large fabric panels with slits to relieve some of the pressure from the wind. These panels are about five by six feet. The panels are held in place with fabric loops. Many of the panels have been sponsored by an individual or group – they receive credit in the lower right hand corner of the panel.

Next time: Camp Walls: Part 2 – Beyond Fabric and Rope

How to Determine Power Needs

Xantrex 175 watt DC-to-AC power inverter rebad...

Xantrex 175 watt DC-to-AC power inverter rebadged by Duracell. It has one grounded AC outlet and one USB 5v DC output. It can accept cigarette lighter auxiliary power or battery clips for input. It uses a soft switch for powering on and off. (Photo credit: Wikipedia)


To use an inverter as a source of power for tent camping – decide on the wattage that you will need..


Step 1: Determine what AC appliances you want to operate simultaneously. Add their wattage together and buy an inverter with 20% more capacity. For example, suppose that you want to operate a laptop computer and CPAP machine at the same time. Assuming a few numbers for our example: 75W (laptop typical) + 120W (CPAP machine – your machine will draw a different amount of power) = 195 watts. So, select an inverter of at least 234 watts. For most types of inverters the 20% additional capacity accounts for many manufacturer’s practice of over-reporting the real capacity of their inverter.


Step 2: Determining battery size. Divide watts * number of operating hours by 12 to get amp-hours. Multiply this number by the number of days that you need to operate your devices on battery. Multiply by 2 to determine the number of battery amp-hours required at a minimum.


Step 3: What kind of wire do you use to connect your inverter to the batteries? There are many types of wire, but you’ll want to use either the short wires that come with your inverter, or marine grade wires at least as large as the gauge of the wires that come with your inverters (the smaller the gauge number the larger the wire).  I recommend using one gauge larger than the chart to minimize voltage drop. Voltage drop wastes power and causes the inverter to operate outside its ideal design parameters.


Step 4: Connecting it together – Connect the negative lead for the inverter to the negative post of the battery. Connect the positive lead of the inverter to the positive post of the battery. Some inverters have an on/off switch that can be used to turn the inverter completely on or off. If your inverter does not have a switch you will need to either install a switch or be prepared to disconnect a wire to the battery in order to completely turn off the inverter..


Step 5: To charge your battery for use, disconnect the battery from the inverter  and attach the charger. The charger will take a variable amount of time charge the battery from house current. By using a smart charger you will fill the battery faster than a simple charger. Look for a charger that says “multistage charger.” You will need the charger with you if your batteries won;t last long enough for the entire camping event.


Step 6: Managing your battery. A 12V battery is fully charged when the resting voltage is 2.7V. To measure resting voltage, charge the battery and let it sit with no connections for at least an hour. Use a voltmeter to check the voltage level. Generally, batteries should be kept above 11.95V at a resting level. The fastest charging will occur between 11.95V and 12.5V. Plan to use your battery within this range when camping. NOTE: start with a fully charged battery at home and recharge (if electricity is available to you when camping). A 125Ah battery discharged to 11.95V will take about 7 hours to replenish the battery to 12.5V


For most weekend uses for small medical devices I’ve found that a single 12V 125Ah battery will suffice for most people using modern CPAP machines. As always, make certain that you know how to determine the power requirements for your specific machine. If you aren’t certain, engage a professional who can help size your system to meet your needs.