Jewelry Basics : Understanding Wire: Part 2

So last time we started talking about what you need to understand about wire, and we started learning the basics.

The three basic things that you need to understand about wire are:

1. What the wire is made of.

2. How hard the wire is.

3. What gauge the wire is.

This week we are talking about understanding the hardness of the wire. Wire is usually sold hard, half hard or dead soft. But what exactly does that mean? Well, basically it means what it says. If the wire is hard, it is stiff and relatively inflexible. Dead soft means that the wire has been thoroughly annealed and is about as soft as the metal that it is made of will allow it to be. And half hard is half-way in between. Some manufacturers will use other terms using fractions, like ¼ hard, or ¾ hard, but these are less common, and rarely found in craft wire. If you feel a need to understand the more complex scientific definitions of wire hardness, in terms of tensile strength and hardness scales, Rio Grande Jewelry has a chart which shows all of the major hardness details.

http://www.riogrande.com/Content/Wire-Wrappers-CG-html?Pos=12

But why does the hardness of the wire matter? Well if the wire is too soft it will not hold its shape, but if it is too hard it may actually break while you are bending or twisting it. Most of the time half-hard wire is a good choice. It will allow you to bend it, but it will harden just enough from bending it that it will hold its shape well. Remember, the process of bending or hammering a wire actually hardens it.

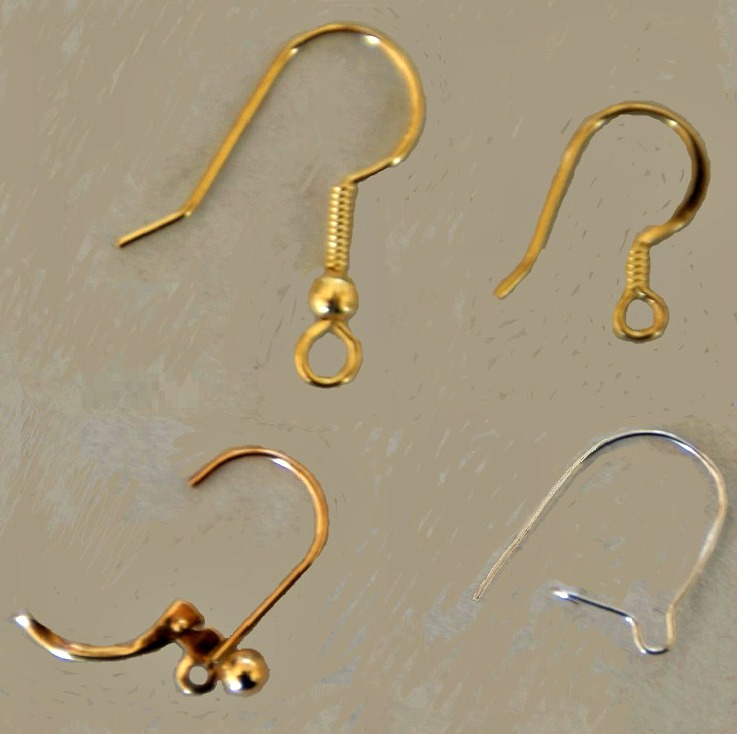
If you are doing complex twisting of the wire, as with head pins and wire wrapping, then you probably will want to purchase your wire dead soft. There are few things more frustrating than having a wire break while you are trying to finish the final wrap on a piece.

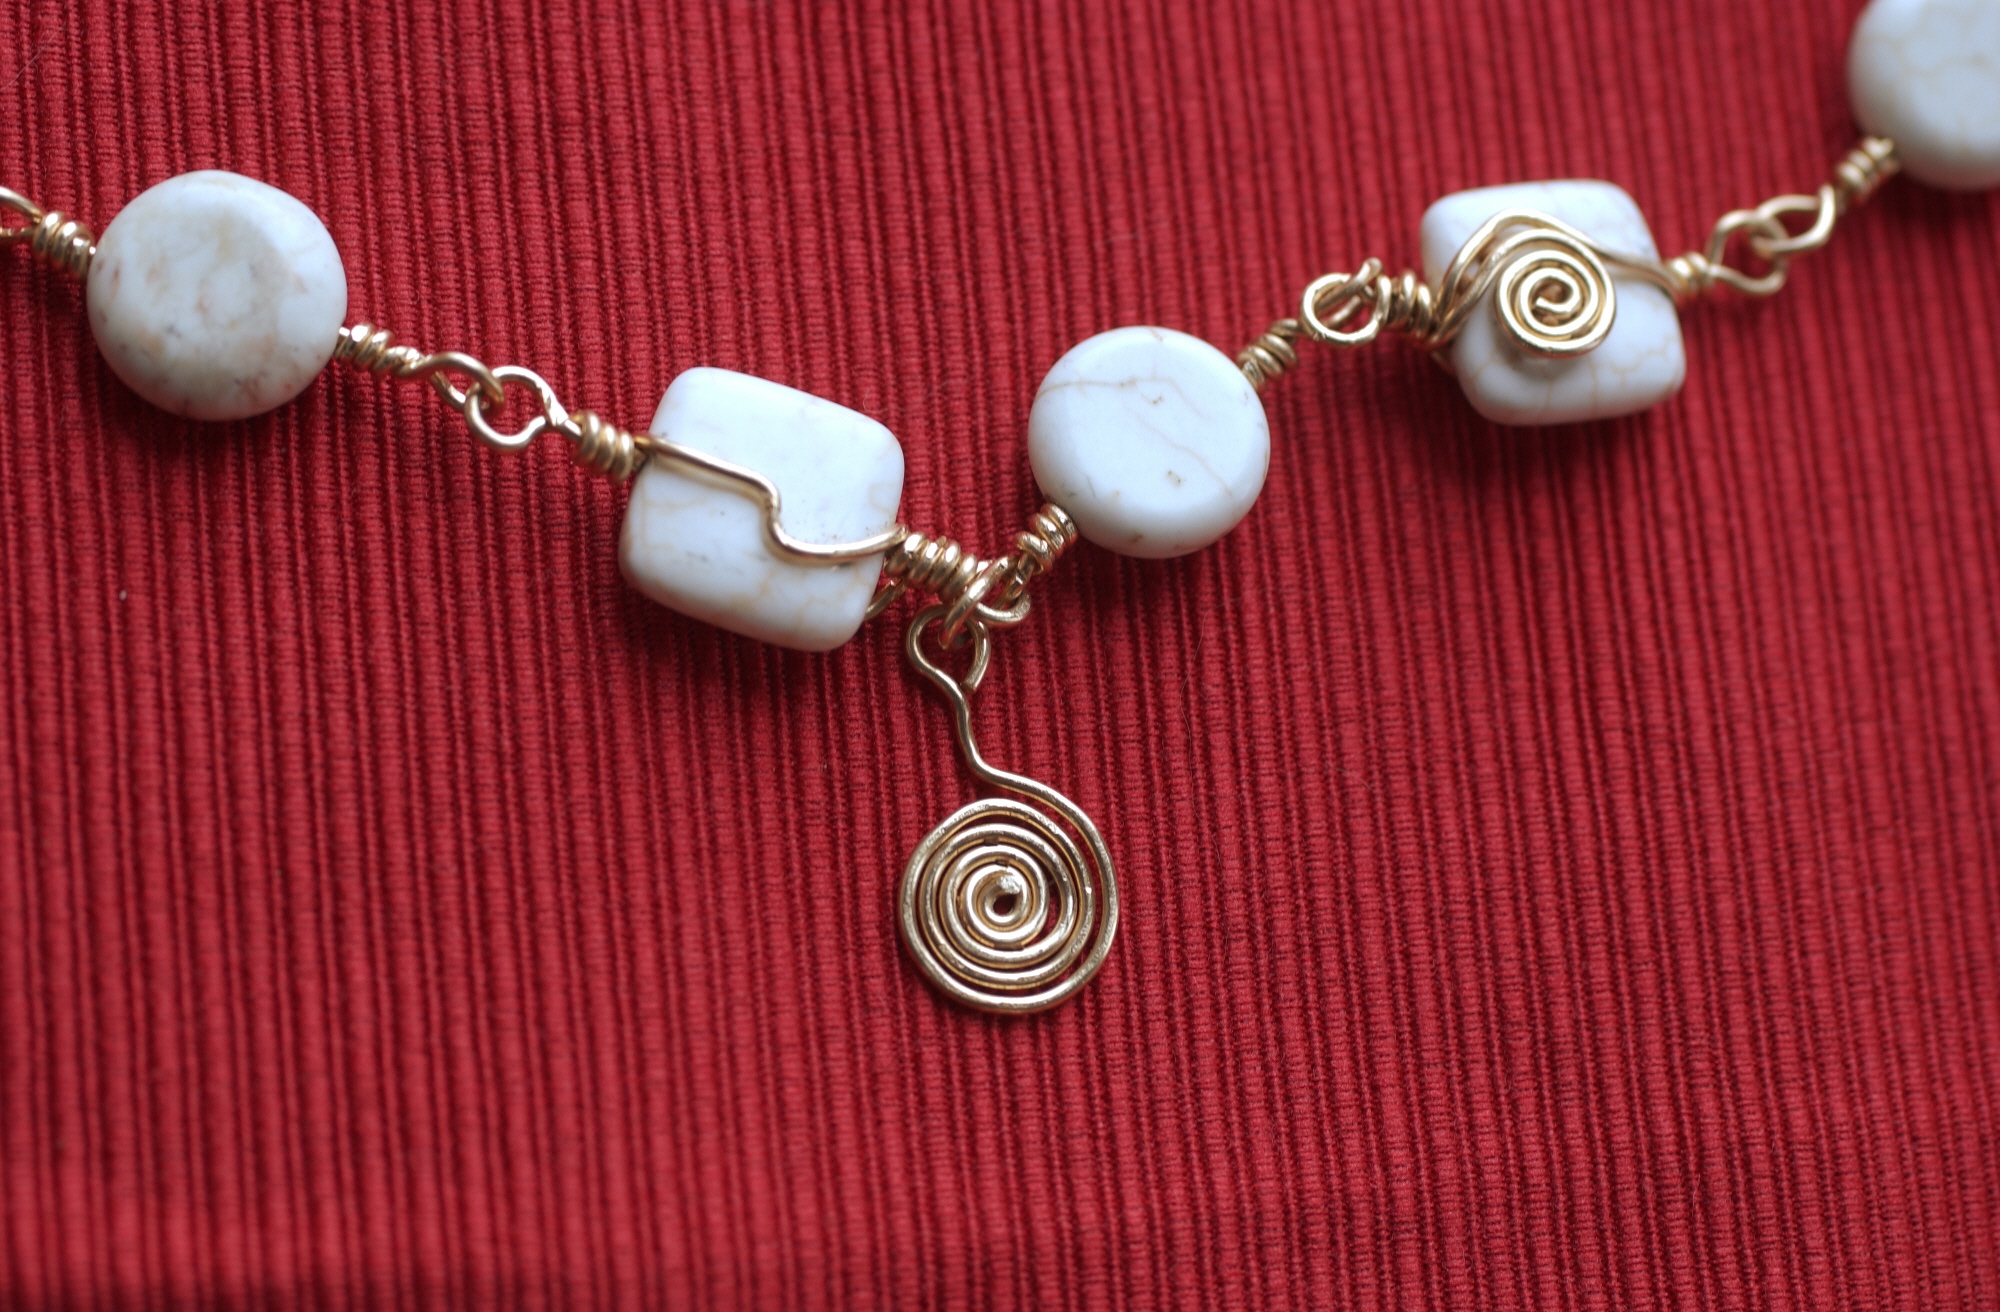
This picture shows a piece of modern jewelry that was wire wrapped. The wire started out dead soft, but because of the extensive twisting and shaping, the final form of the wire is hard.

Etsy 18 close

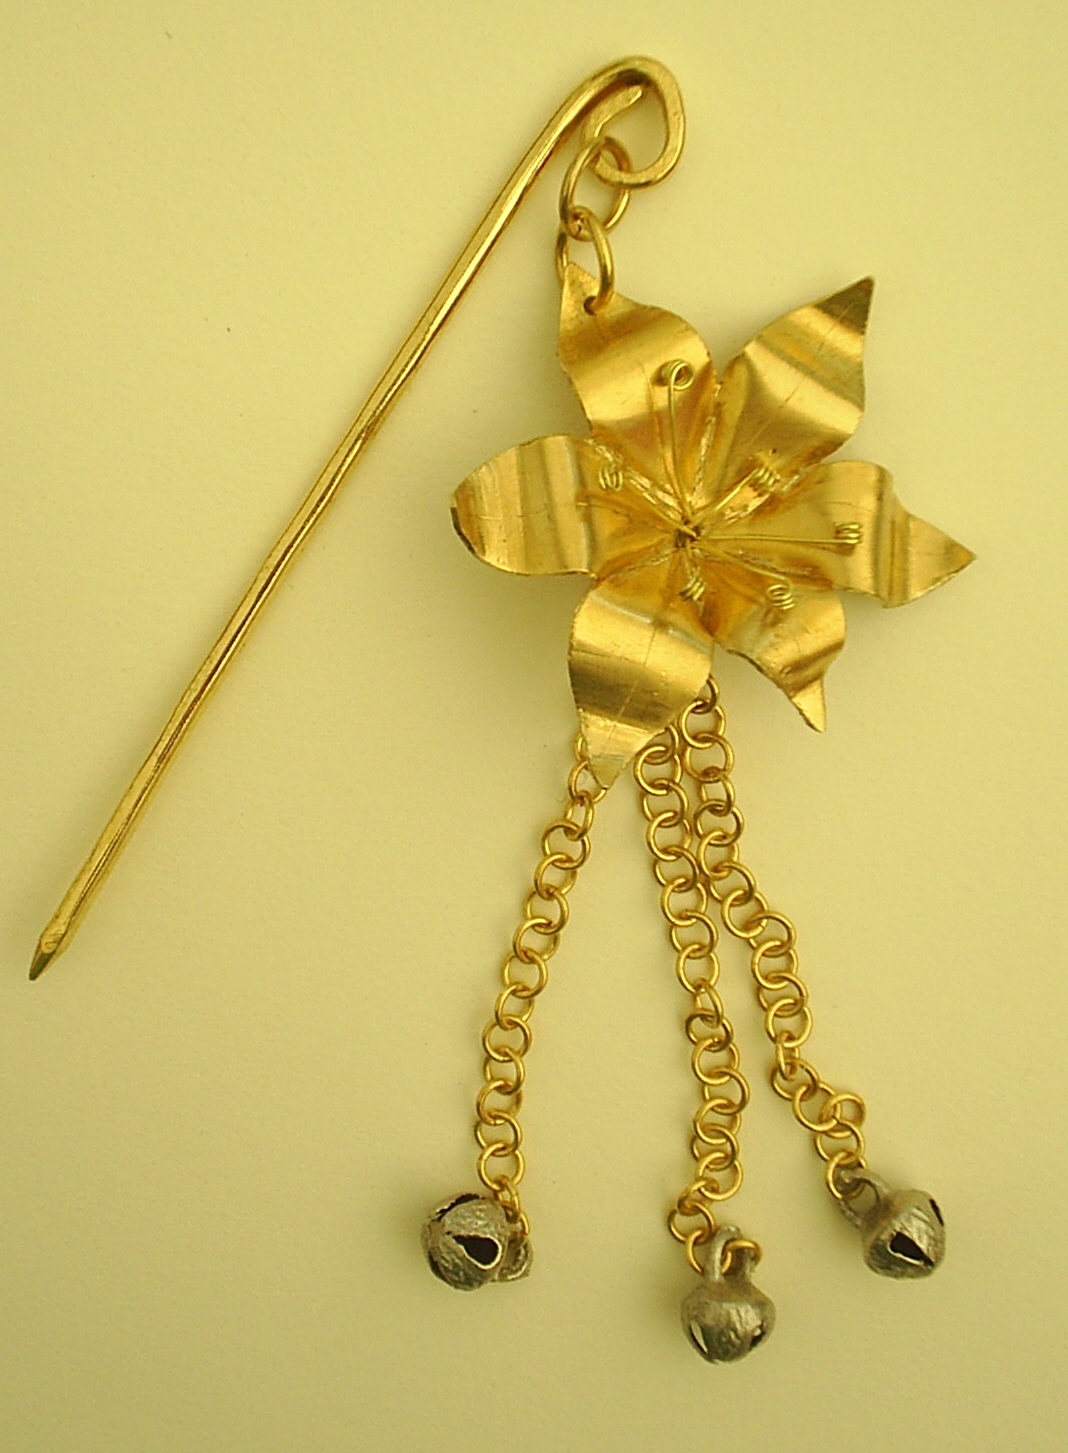
Hard wire is usually used when you want a very stiff wire form, like a pin. Very few craft locations, or even jewelry suppliers sell hard wire, it must normally be purchased from a metal supply house in the form of straight sticks, or created by drawing the wire down and/or hammering it.

Another term that you may run across for some metals is spring hard. This indicates metal that has been hardened, usually by a combination of drawing and heat treating until it is actually springy and is VERY difficult to bend. This type of metal must definitely be purchased from a metal supplier in the form of straight sticks. It is usually used in equipment manufacturing.

I hope this simple explanation of wire hardness is helpful to you. Choosing the correct wire hardness for a project is important in assuring your success.

Next time: Understanding Wire Gauges


Jewelry Basics: Understanding Wire

Wood Lily Hat PinSo what is there to understand about wire? Maybe more than you think. It isn’t hard, but it can be a little confusing unless you learn the basics.

There are three basic things that you need to understand about wire:
1. What the wire is made of.
2. How hard is the wire?
3. What gauge is the wire.

Let’s look at each of these issues in turn. First, what is the wire made of?
Many crafts people use brass or copper wire, because they like the warm colors, the wire is easily purchased at craft and hardware stores, and it is inexpensive.

If you are using a craft wire you need to read the packaging carefully to determine exactly what the wire is made of. Some wires are made of just one metal and some have a core of one metal and a covering of another.

But why does it matter what a piece of wire is made of? Well different metals will work harden at different rates and some may actually break much sooner than others. As you work with your wire I recommend keeping records of how the different wires that you use behave. It will help you choose which wire you use for a specific project and improve your chances of success.

Many colored craft wires have a brass or copper core and some sort of surface coating. How good that craft wire will be is determined by how sturdy that color coating is. Generally name brand wire has better coatings than the cheap stuff. Some of the older coatings had a tendency to peel, so be aware of that when using older wire.

Another type of wire that comes in colors is niobium. These wires come pre-colored, by a process known as anodization. The colors can be very intense, but you do need to be careful about damaging the coating when you are working with it. The ideal solution to this problem is to anodize the wire after you are finished working, but the equipment that is required to do that is generally beyond the means of the average crafter.

A step up from brass and copper wire is silver wire. NOT silver colored wire, but wire made from real silver. There are three kinds of real silver wire commonly found in the market: Sterling silver, Argentium silver, and Fine silver. Sterling silver and Argentium silver are both 95.5 % pure silver. The big difference is that Sterling silver tarnishes fairly easily and Argentium silver is very tarnish resistant. Fine silver, is 99.9% pure silver and is less susceptible to tarnish than sterling silver. It is also softer than Sterling silver. Real silver wire can usually only be bought from a jewelry supply store.

Wire is also available in gold and platinum metal, but that is an entirely different world. With gold at over $1200 an ounce and platinum at over $1350 an ounce, working in these metals is usually reserved for professional jewelers. If you decide to work with these metals you need to thoroughly understand what you are buying and be certain of your source.

I hope that this brief article on wire helps you achieve greater success with your jewelry endeavors.

Next time: Understanding Wire Hardness


Enhanced by Zemanta

Understanding Jewelry Basics: Replacing an Ear Wire

Have you ever had this happen? A favorite pair of earrings looses an ear wire and you have no clue what to do?

broken earring

Well, assuming that the earring itself is not broken, you CAN repair it! All you need to do is replace the ear wire.

Now I recently received a call from a family member asking me about exactly this problem. She had no idea how do find replacement ear wires. Well, years ago I would have told you to locate a jewelry supply store, and obviously that is still an option. But with the major explosion of crafting stores you can easily locate a store that sells ear wires. Bead stores, JoAnn Fabrics, Michael’s, and Hobby Lobby are just a few of the places that will have ear wires for sale. If you are not sure where to look in the store just ask for the location of the jewelry supplies. Ear wires are usually sold in clear plastic packages on the hanging racks.

Ear wires come in different styles and metal colors. Be sure to choose new wires that match the old ones, unless you decide to change both of the wires. Here is a picture of just a few of the styles that are available.

Ear Wires

So now that we have earring wires, we need to put the new wire on the earring. If you have an ear wire that has a closed loop you need to look carefully at the loop and figure out where the loop opens.

Now, the most important technique that you can learn is how to open the ear wire loop correctly. If you open the loop correctly it will be easy to close it back up again and have it look good. The process is simple. Never, and I repeat NEVER open to the loop to form a letter “C”. The loop must be opened by using a pair of chain nose or flat nose pliers to push it sideways. This picture demonstrates the process.

opening the ear wire loop

All metal loops that are used in jewelry should be opened in this manner. It avoids stretching the metal loop out of shape and is much less likely to break the loop. If you do accidentally warp the shape of the loop it should be possible to carefully reshape the loop using a pair of round nose pliers.

I hope that this simple technique helps you in your quest to do minor jewelry repairs.