
I deal with jewelry photography on almost a daily basis. Websites, Art Show applications, and advertising all require good photographs.
The most critical element in photography is the quality of the lens. Bad glass means a bad image. Photography is “writing with light”, and the lens is what does the writing. The type of photography that we need for close-ups of jewelry and small sculpture is called Macro photography. Many good lenses have a Macro setting, but these usually produce a picture of the item that is 1:4, that is ¼ of the actual size of the item. The ideal situation, which usually requires a specialized Macro lens, is 1:1. This allows the item to be blown up larger and retain more detail because more detail was recorded in the beginning of the process.
One of the most important points to remember is that a digital zoom is just cropping the image – it is not adding more information to the photo. An optical zoom actually adds more information to the image and provides the best image quality.
What about using my point and shoot camera that only has a built-in lens?
Well, cameras are divided into two types, based on their method of focusing: Single Lens Reflex Cameras (SLRs), and range finder cameras. SLRs focus directly through the actual lens of the camera, while range finder cameras focus through a small rangefinder. Either type of camera may be used for Macro photography, but it is much more difficult to accurately control the focus with a rangefinder. It is important to remember that the part of the picture that is in focus is shallower with Macro photography than with regular photography. This means that parts of a piece are going to be out of focus to some greater or lesser extent. The photo must therefore be focused in such a way that the most important parts of the piece are in focus. If you are working with a digital rangefinder camera you can check the focus of the photo on the screen or dump the photo to the computer to double-check the focus.
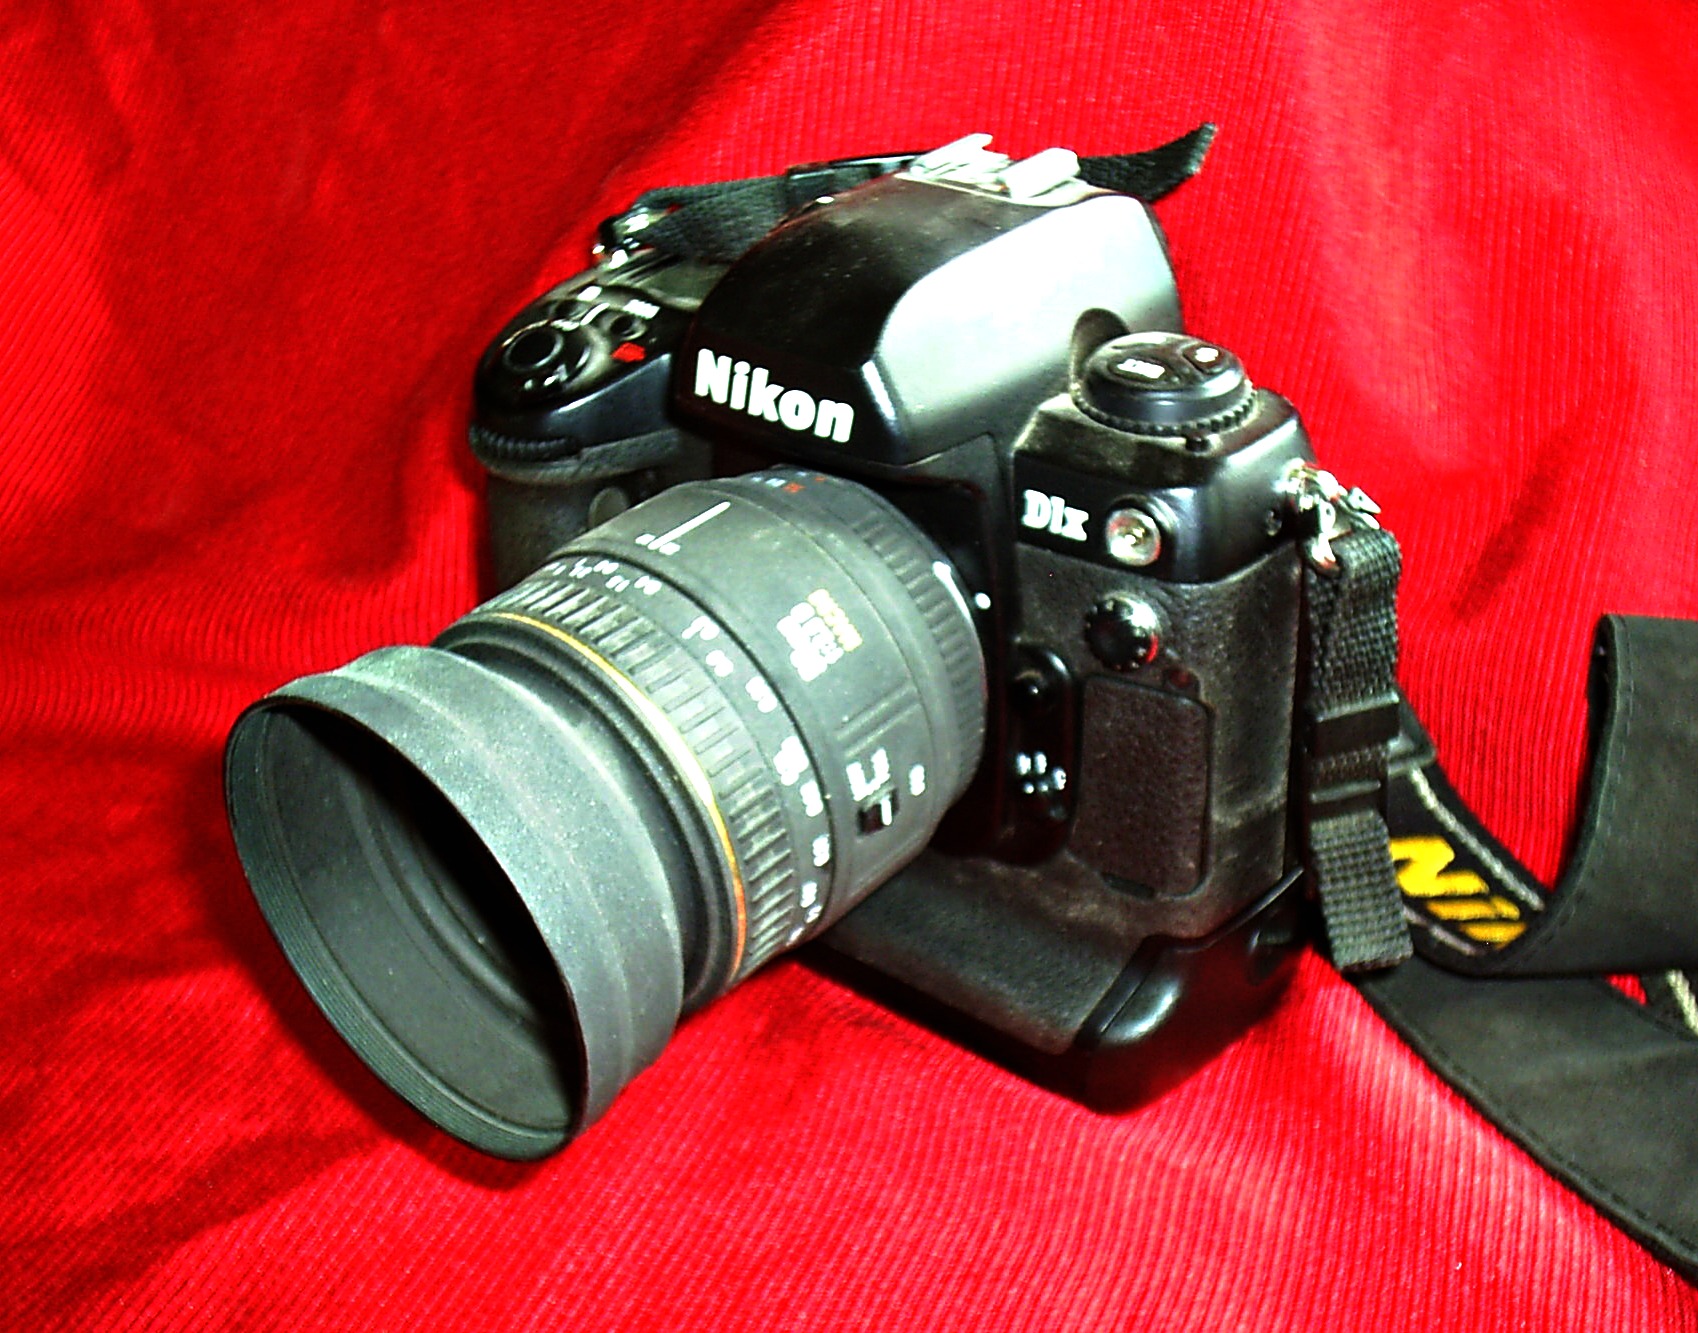
I have done many successful jewelry and nature photos with a cheapy point and shoot camera, but it is simply easier to be able to accurately adjust the focus to emphasize the portion of the object that you want emphasized.The picture of my Nikon at the top of the article was taken with my cheapy camera. It took a couple of tries to get a picture this good, and I do NOT consider it to be great, but I only have one good camera, so…
The type of film that was being used in your camera used to be a serious issue. It still is if you are using a very high end SLR or Medium Format Camera, but for most of us, our cameras are now digital. In the old days, when we were using film, the ability of the film to record detail was determined by what was called the “grain size”. The actual physical size of the clusters of molecules on the film set the limitations of how much information the film could record.
You may wonder how “fancy” a digital camera has to be in order to do good jewelry photographs. A 5 mega pixel camera is fine for up to an 8”x10” print or web work. You only need a camera with 5-8 mega pixels if you are doing pictures 11×17 and larger. Check the instructions that come with your camera. Even a lot of “point and shoot” cameras now have the ability to take different quality photos. The more information that your camera records, the more detail you will have in your photo.
Next time – Part 2 – How to illuminate your jewelry for the best pictures